
Most laundry rooms were designed as afterthoughts: exposed plumbing, wire shelving, poor lighting, clutter. But because these spaces are compact, even modest upgrades have dramatic impact — no demolition, no major construction, realistic budgets. Thirteen ideas for dedicated rooms, hallway closets, and compact nooks.
First: Find Your Biggest Frustration
Before buying wallpaper or baskets, identify what actually bothers you most: storage? folding space? visual clutter from cleaning products? darkness? exposed pipes? Fixing one or two functional problems usually improves the room more than decorative accessories ever will.
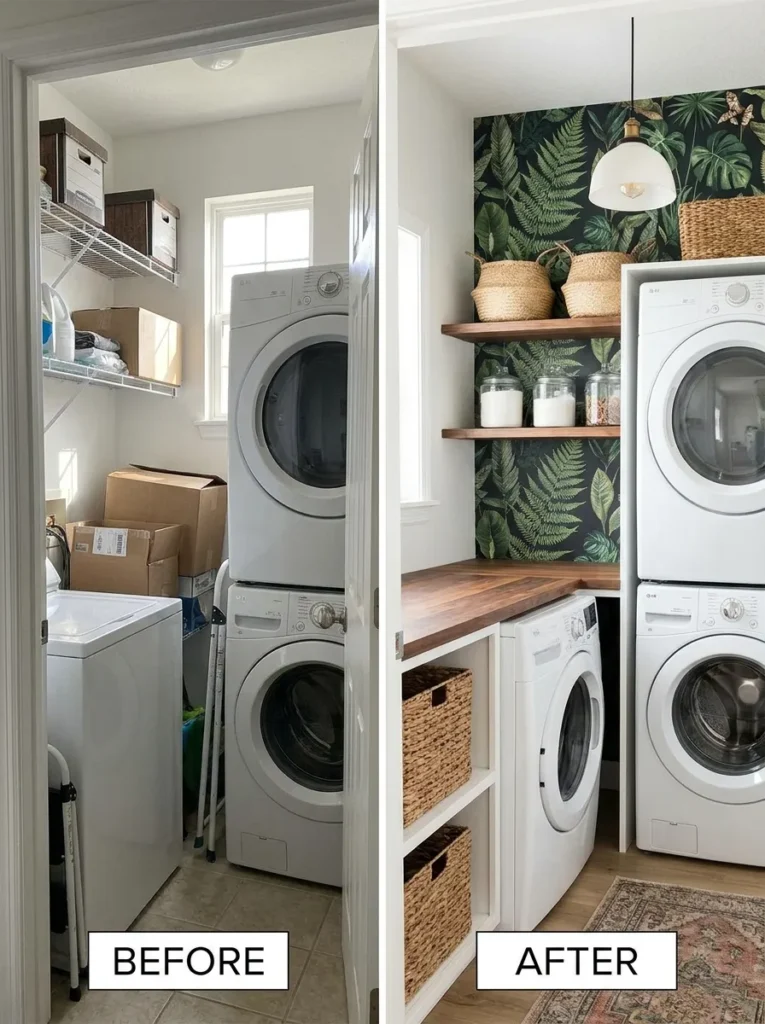
1. Refresh One Wall
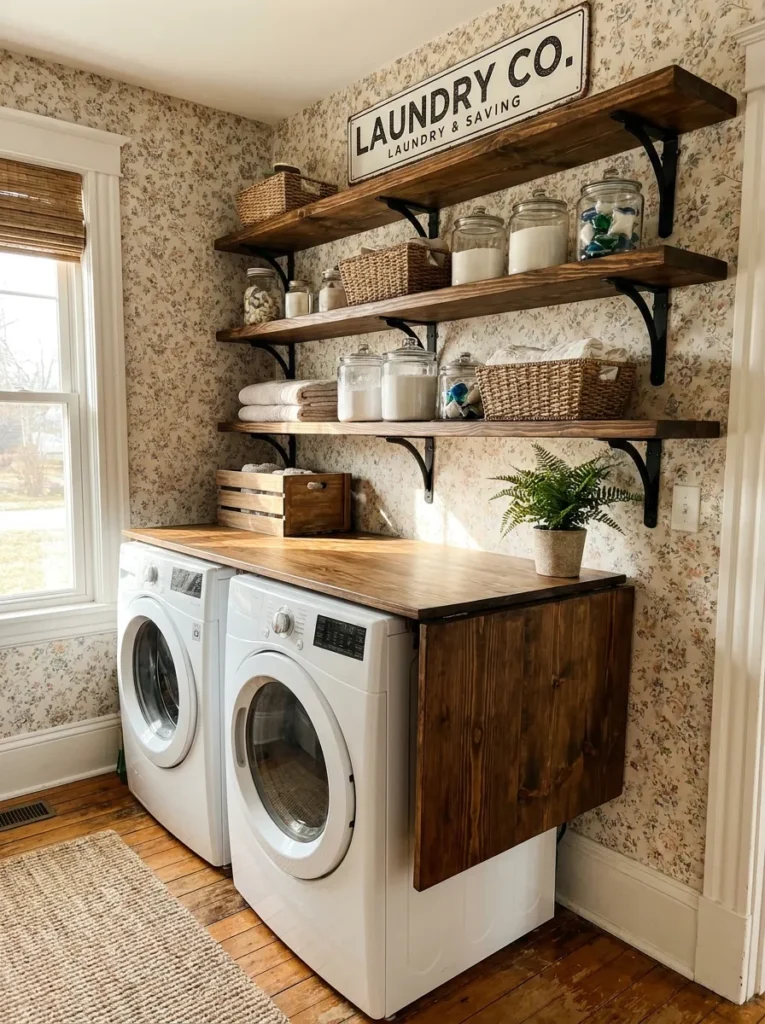
Don’t paint the whole room — make the wall behind the washer and dryer the focal point. Peel-and-stick wallpaper (botanical, subtle stripes, geometric, linen texture) adds personality without commitment; one roll often covers a laundry room. Or paint the accent wall sage green, warm greige, or soft blue.
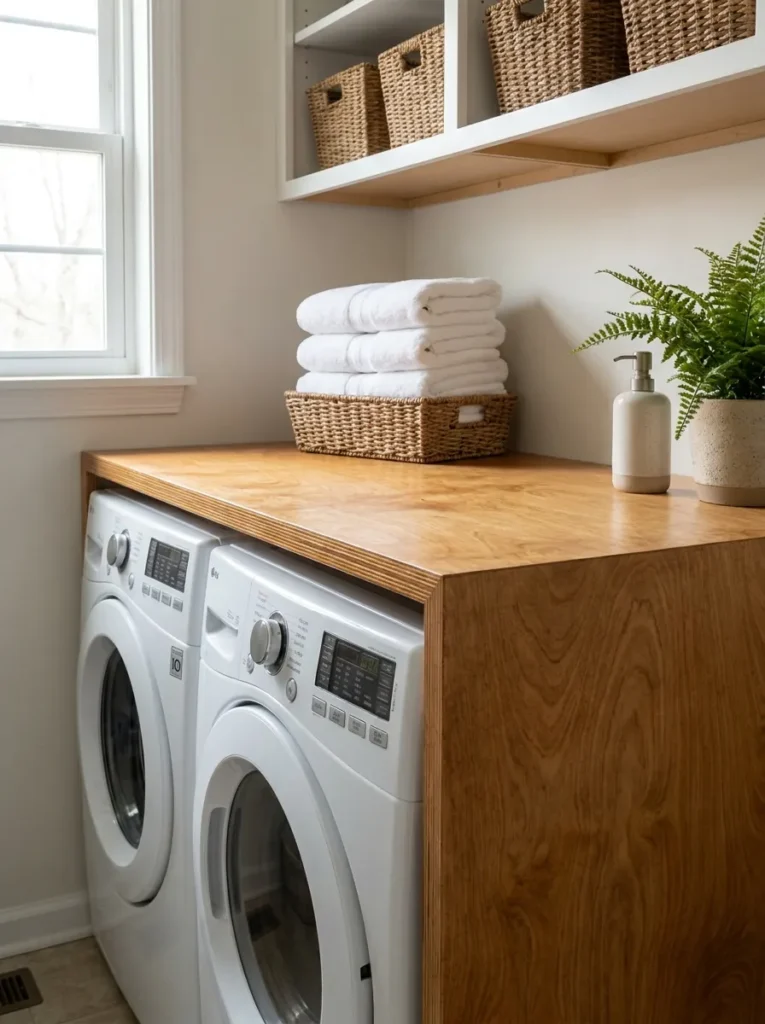
2. Countertop Over Front-Loaders
Nowhere to fold? A plywood, butcher block, or laminated wood countertop above front-loading machines solves it and makes the room feel custom-built — plus it stops socks and bottles vanishing behind the appliances. Many stores cut the board to size; stain warm and seal with polyurethane for moisture protection.
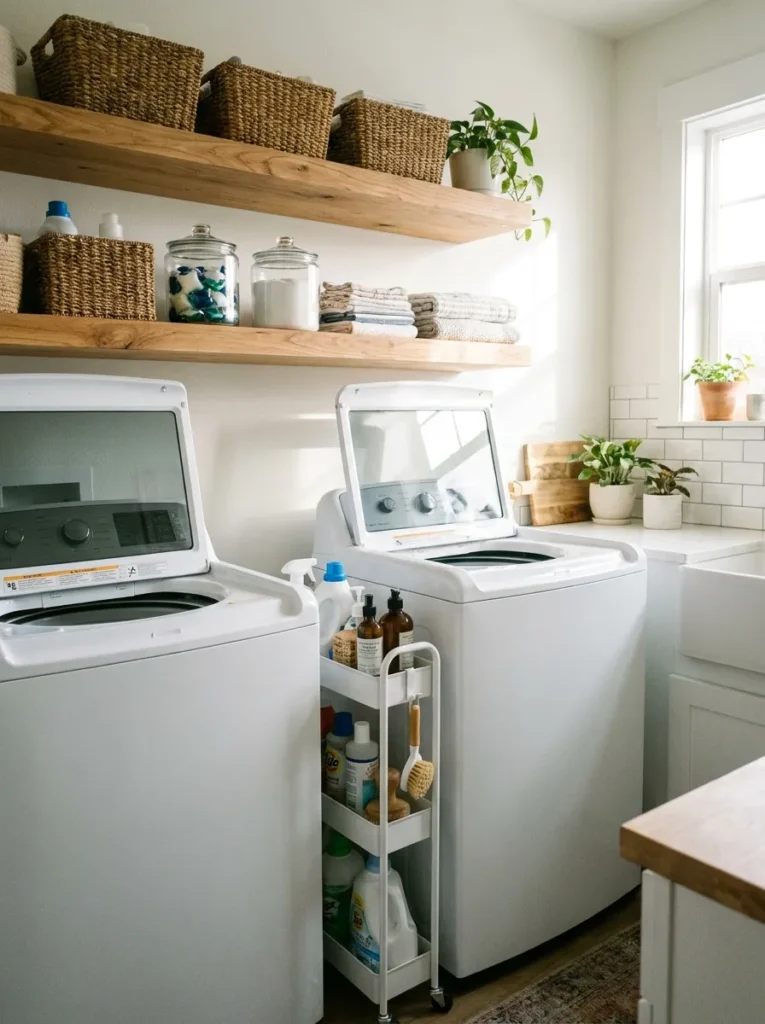
3. Design Around a Top-Loader
Top-loaders need vertical clearance, so skip the countertop: a deep floating shelf above the fully opened lid, a slim rolling cart between the machines for detergents, and — if space allows — a narrow folding table on the adjacent wall. Design around how your appliances work instead of forcing a layout that doesn’t fit.
4. Ditch the Wire Shelving
Builder-grade wire shelving bows under detergent and looks messy. Heavy-duty black iron brackets ($15) + pine project boards ($20), stained to match: about an hour, under $40, and the room jumps from basic closet to high-end farmhouse.
5. Hide Pipes With a Tension Rod
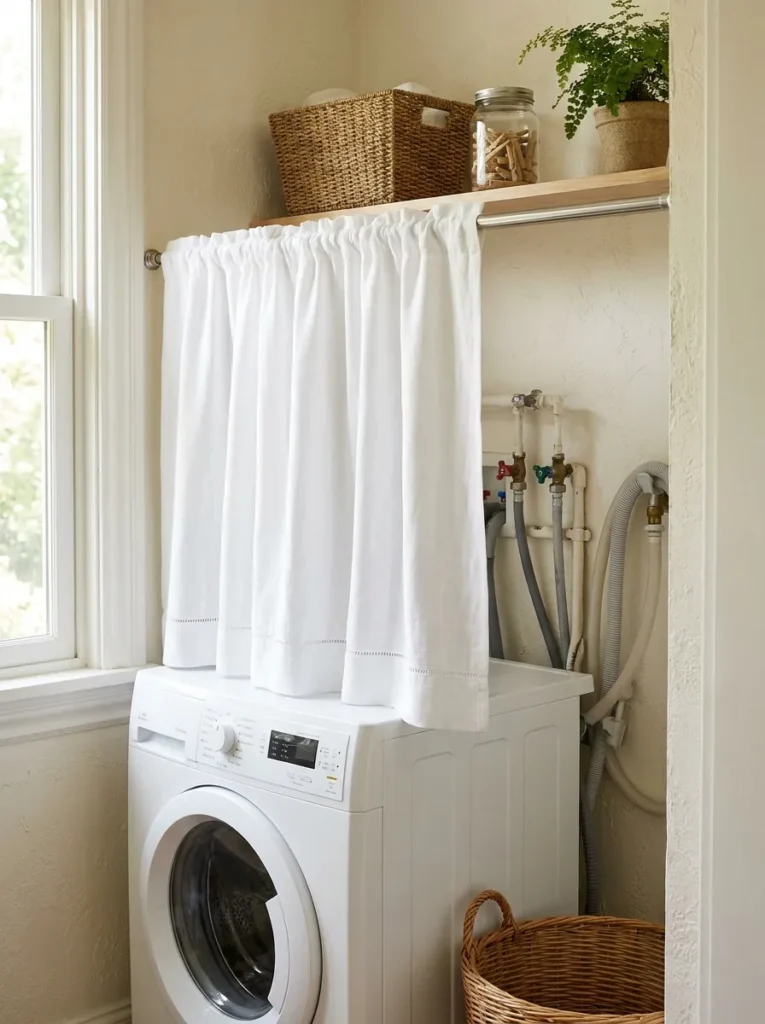
Exposed valves, hoses, and outlets above the machines: wedge a $5 spring-loaded tension rod between the side walls and hang a short linen cafe curtain ($15). The fabric conceals the utility mess, softens hard lines, and slides aside for shut-off access.
6. Decant the Visual Clutter
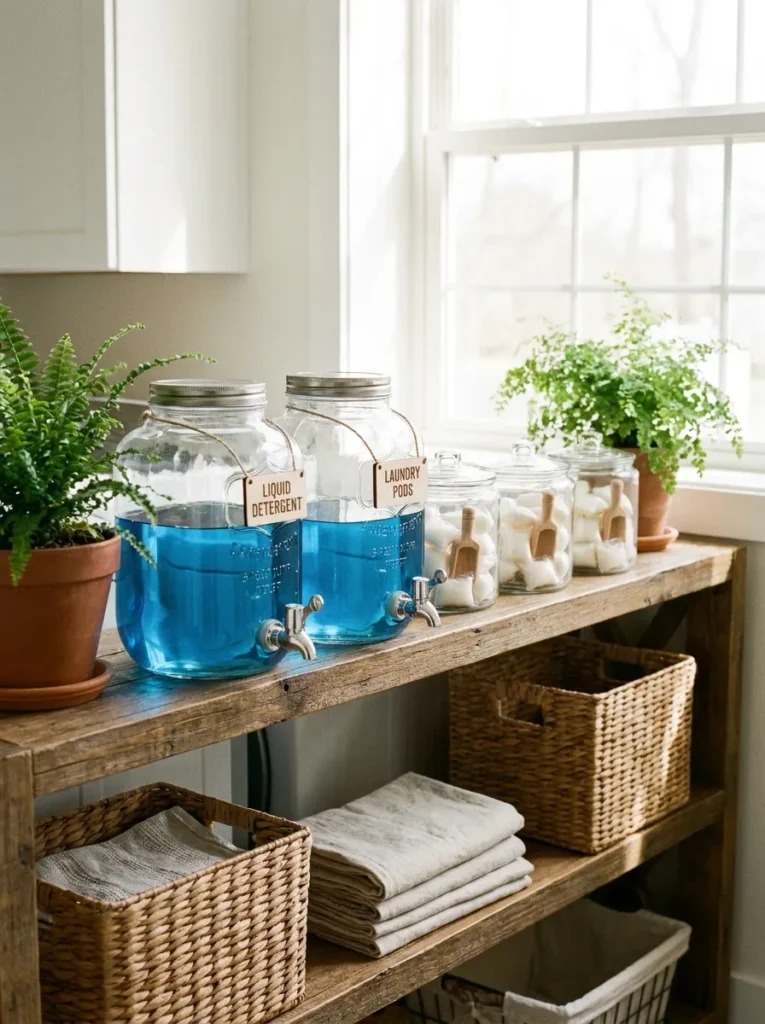
Bright plastic packaging makes clean rooms look chaotic. Group products in baskets or transfer detergents into labeled refillable containers — glass, ceramic, matching dispensers. Consistency beats expensive materials; the goal is a room that’s easier to maintain weekly.
7. Match Your Storage Bins
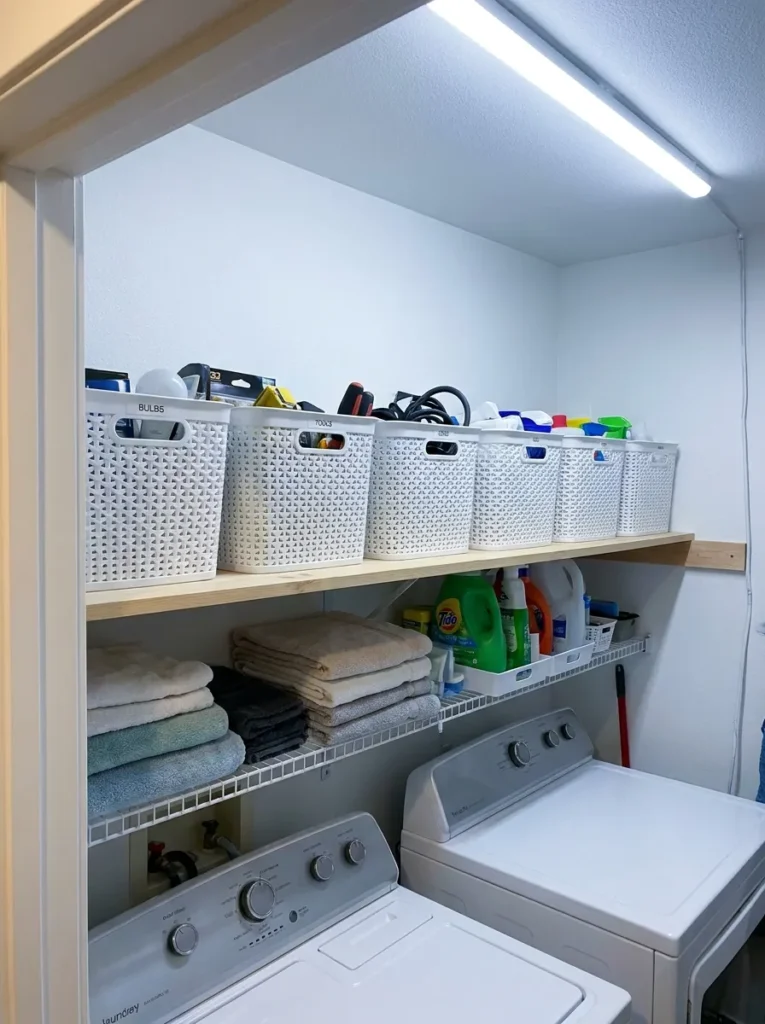
Same color, same style — plastic bins, woven baskets, or fabric cubes. Separate bins for stain removers, dryer sheets, sewing supplies, cleaning cloths, lost socks; add simple labels. When every shelf follows one visual pattern, the room reads as designed, not crowded.
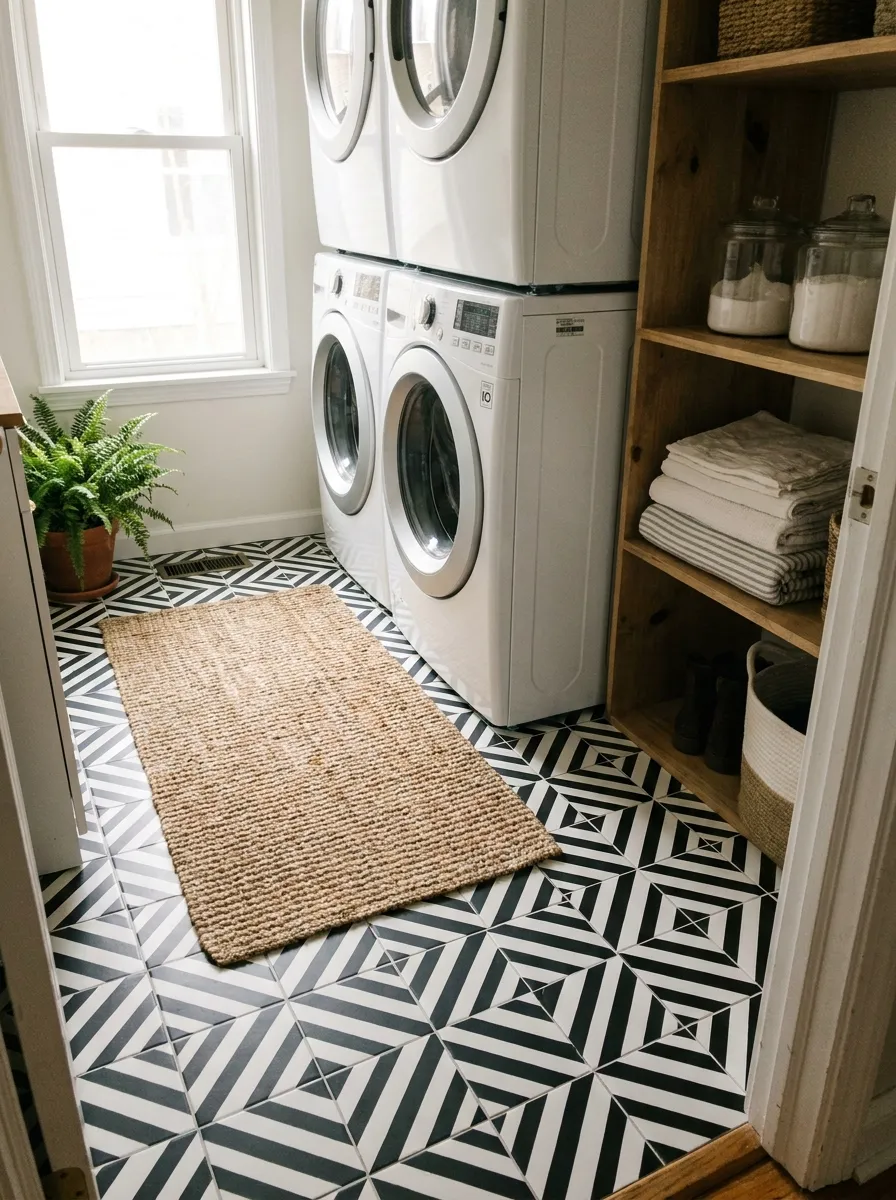
8. Peel-and-Stick Floor Tile
Stained linoleum or cracked tile? A laundry closet is only a few square feet — one or two boxes of vinyl peel-and-stick tile ($30) in geometric or checkerboard, installed with a utility knife right over the old floor. Two hours, ground-up transformation.
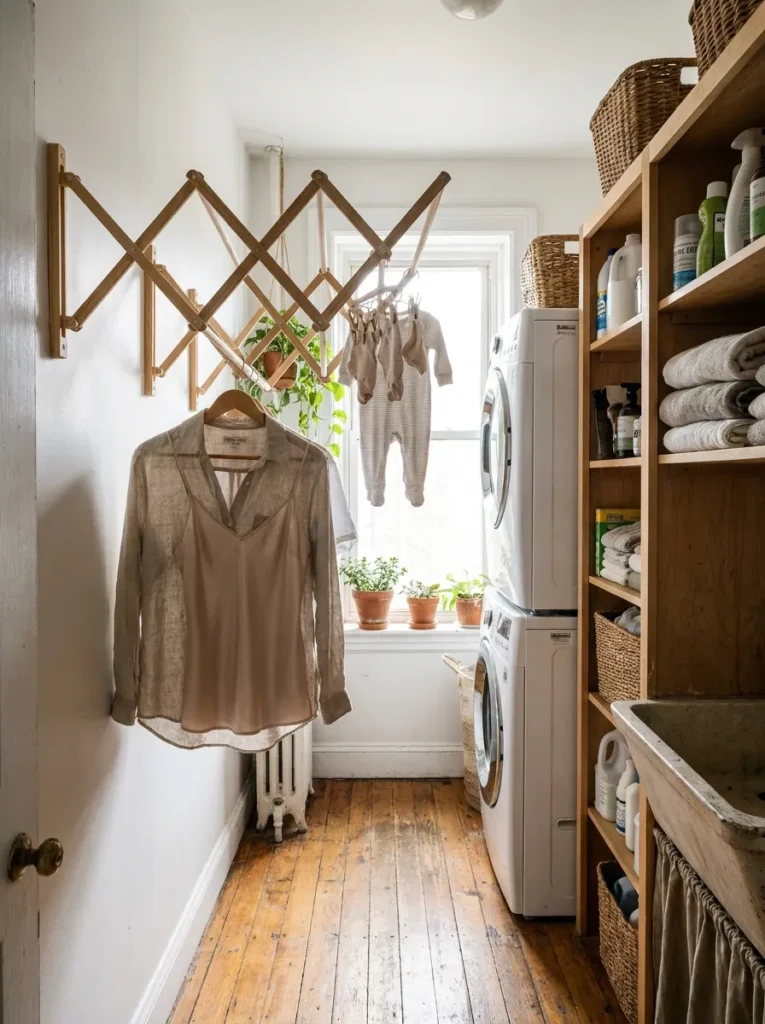
9. Wall-Mounted Drying Rack
In a galley-style room, a floor drying rack blocks the walkway. An accordion-style wall-mounted rack ($25) on the blank wall opposite the machines: pulls out for delicates, folds flat when done. Floor space reclaimed entirely.
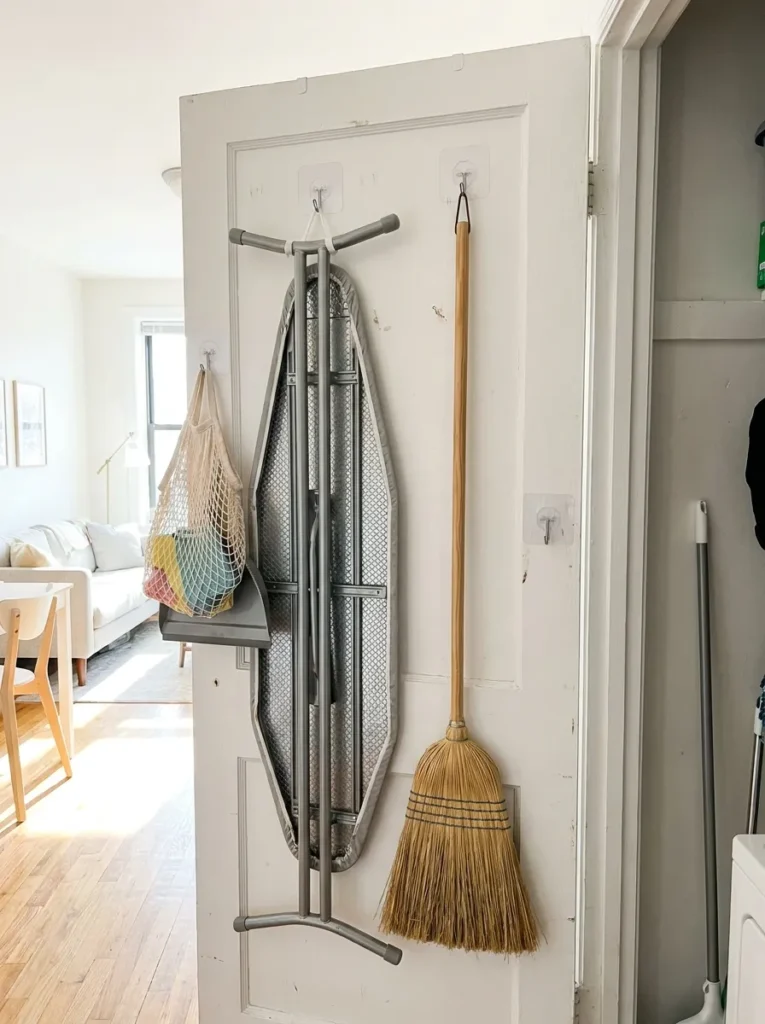
10. Renter-Friendly Hooks
Adhesive broom grippers with command strips ($10) on the inside of the closet door or the machine’s side: ironing board, broom, and mop hang off the floor with zero nails and zero deposit risk.
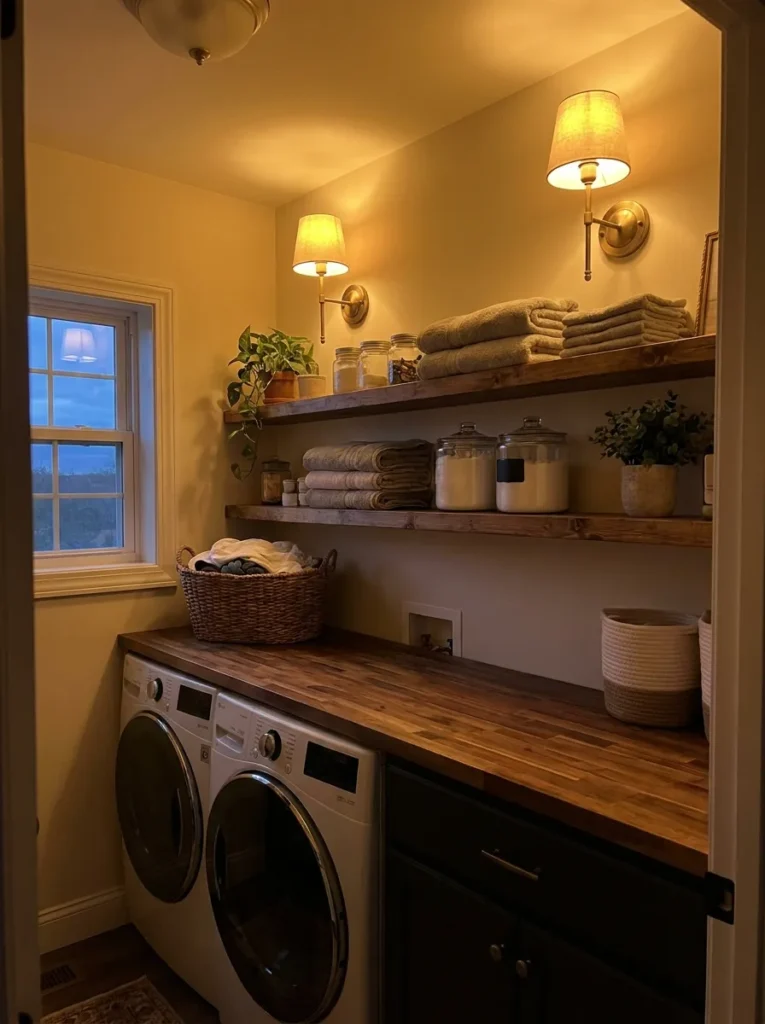
11. Upgrade Lighting First
Better lighting beats new decor in a laundry room. Battery sconces, rechargeable puck lights, LED strips under shelves — affordable, no electrician. Choose warm white over cool blue: softer, welcoming, still excellent for spotting stains.
12. Swap the Hardware
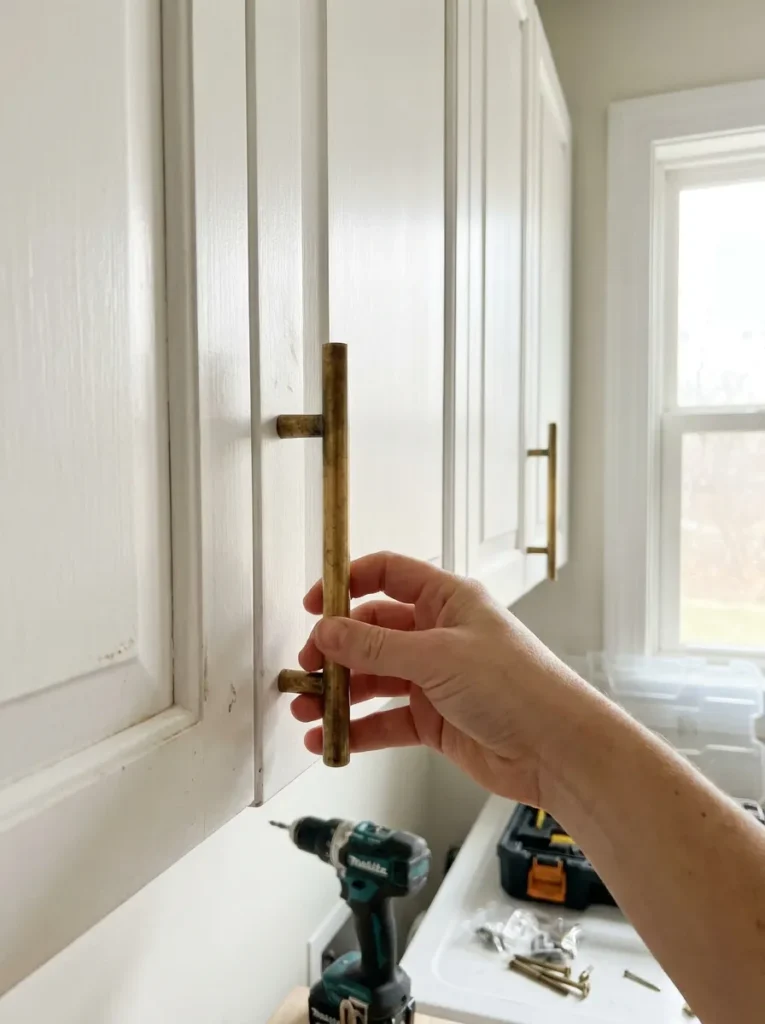
Builder-grade silver knobs read generic. Warm unlacquered brass pulls or matte black knobs ($15): five minutes, and stock cabinets look like custom millwork. The cheapest trick in the design book.
13. Color-Drench the Door ($20)
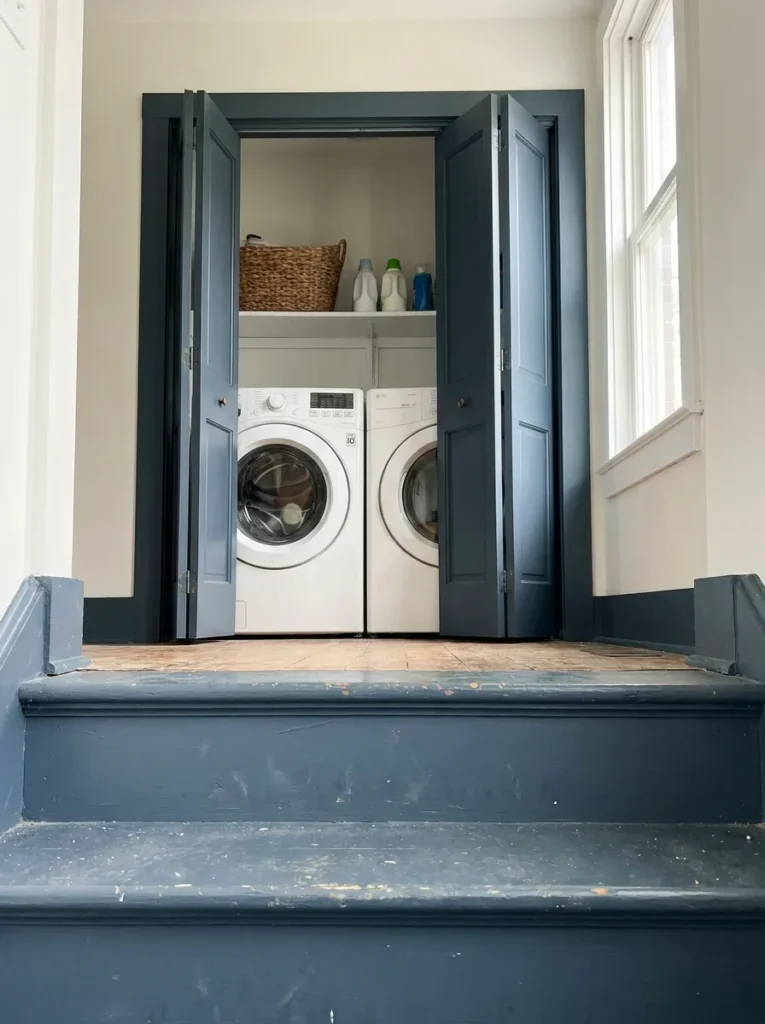
The highest impact per dollar: leave walls white, paint the inside of the door, the trim, even the ceiling a moody saturated color — slate blue, deep olive. Opening the door reveals dark trim framing crisp white machines: an architectural moment for the price of a quart of paint.
How to Spend $150
Function before decoration: 1. Countertop/folding surface. 2. Shelving. 3. Lighting. 4. Organization. 5. Decorative accessories. Solve everyday problems first; spend leftovers on wallpaper, baskets, and art. Spread projects across weekends and shop sales — the room gets finished either way.
Mistakes to Avoid
Shelves too high for daily reach. Decorative storage that can’t hold detergent. Blocking plumbing shut-off valves. Indoor materials in a humid room. Filling every wall and leaving no breathing room. Functional layout always comes before decorative finishing.
Planning the layout first? Start with our small laundry room planning guide.
Quick Answers
How can I remodel my laundry room for $150?
Prioritize function: a folding surface, shelving, lighting, then organization. Decorative touches come last. One or two boxes of peel-and-stick tile, a plywood countertop, and new hardware fit comfortably in budget.
What is the cheapest laundry room upgrade?
A quart of paint on the door and trim ($20), or swapping cabinet hardware ($15). Both take under an hour and transform how custom the room feels.
How do I hide pipes in my laundry room?
A $5 tension rod + a $15 linen cafe curtain hung in front of the plumbing. It conceals everything, softens the room, and slides aside when you need shut-off access.
Affiliate Disclosure: As an Amazon Associate, I earn from qualifying purchases. If you click a link and buy, I may receive a small commission at no extra cost to you. Thank you for supporting my content!