
15 Gingerbread House Decor Ideas (Display Them, Don’t Just Bake Them)
A gingerbread house is not just something you bake — it is the sweetest decoration in the house. A little iced cottage on the mantel, a whole village down the dining table, a glowing house on the kitchen shelf: gingerbread turns a room into a storybook, and it smells wonderful while it does it.
These fifteen ideas are about displaying gingerbread houses as decor — kits that save the baking, cloches and cake stands that make a house look like a treasure, fairy lights that make the windows glow, and villages that fill a whole table. No baking degree required, and no recipe here: buy the kit, build the house, and style it like the decoration it is.
If you are decorating the whole house, start with our Christmas kitchen decor and our Christmas dining room decor — and our easy DIY holiday wreaths and Christmas tree decorating ideas fit right in with a gingerbread display.

1. A Classic Gingerbread House on the Mantel
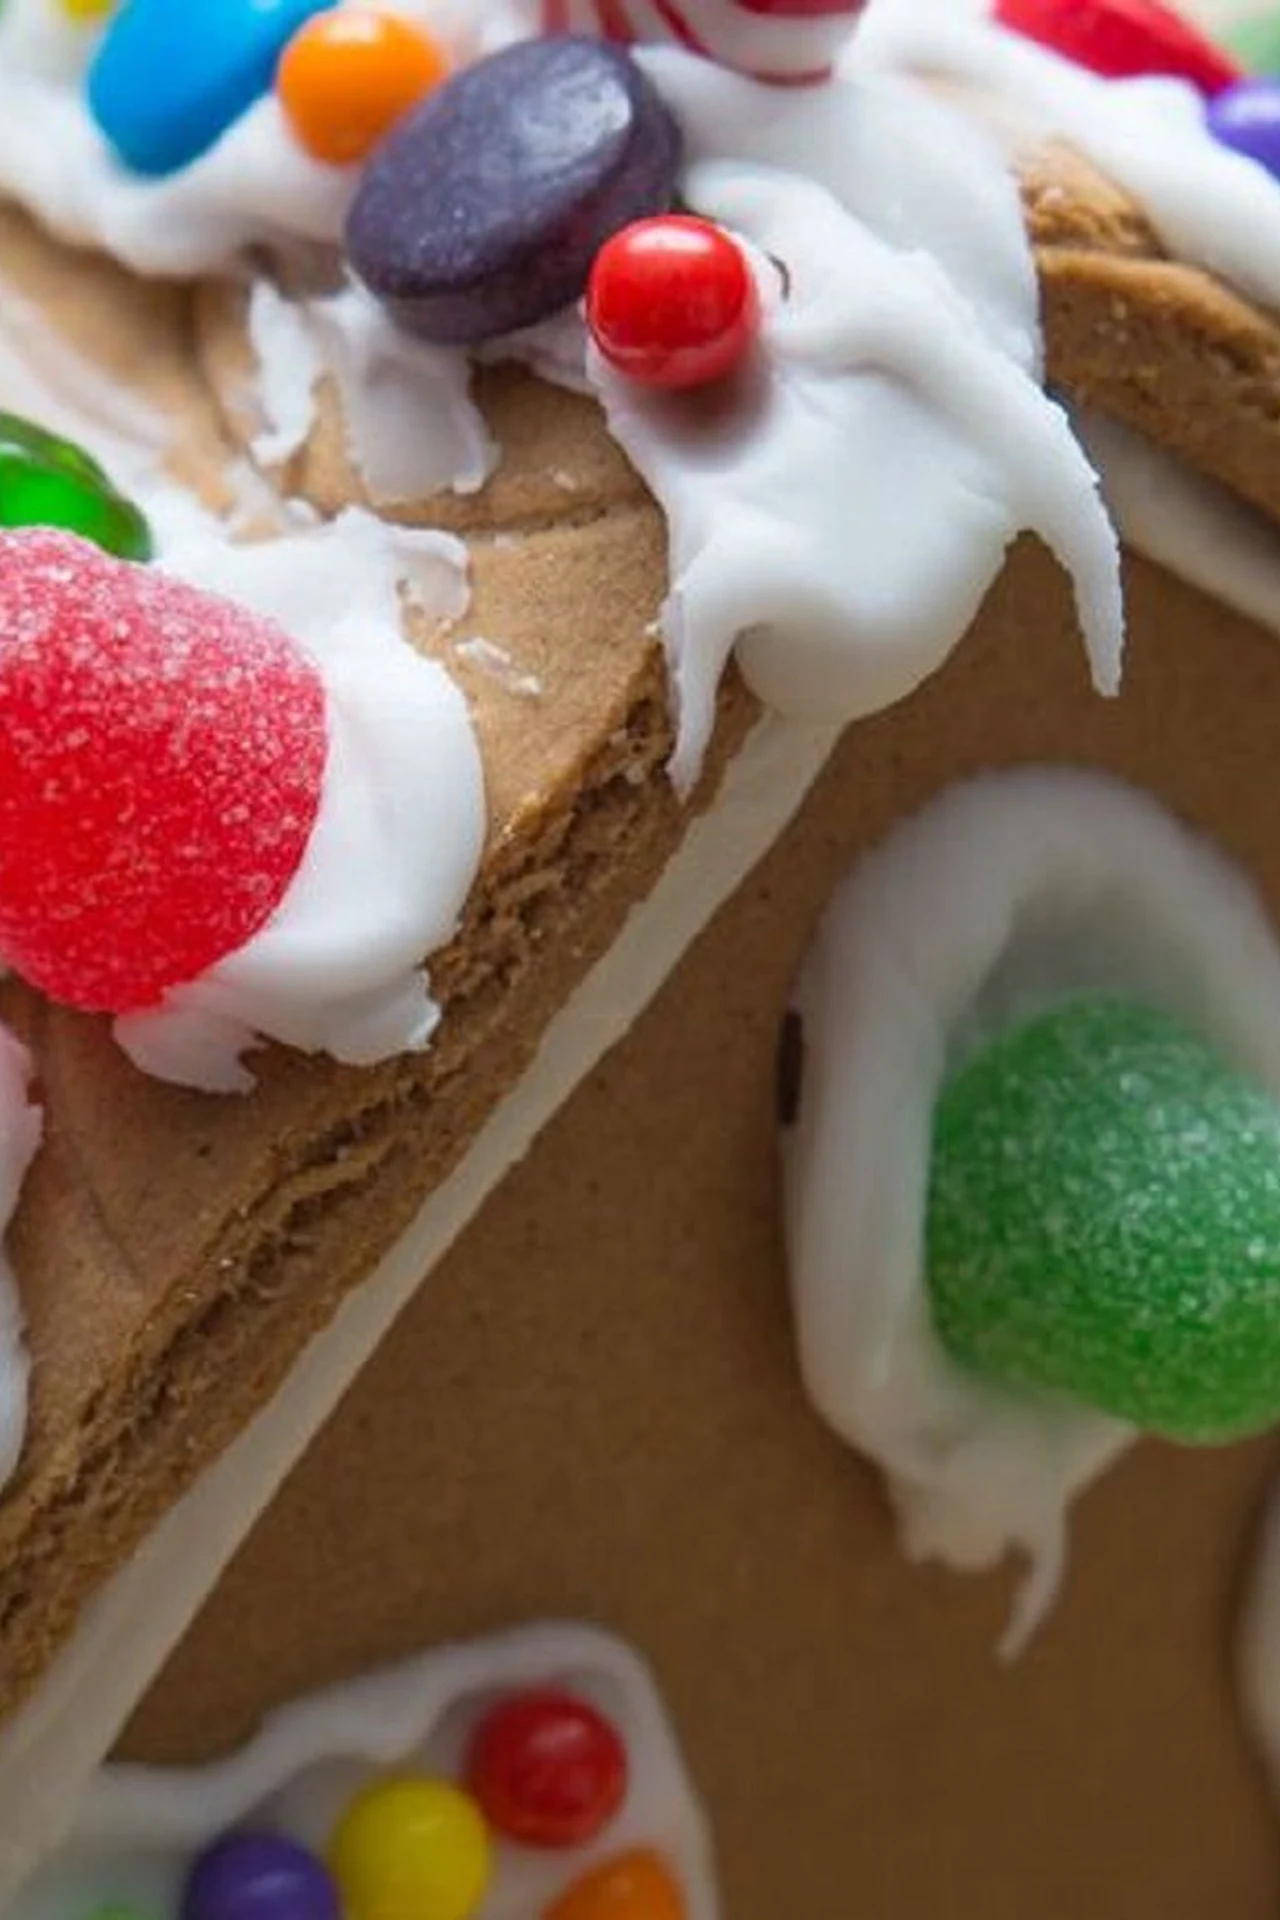
A classic gingerbread house on the mantel is the whole tradition in one object: gumdrop roof, icing snow, candy-cane columns, and a little path of sweets leading to the door. It is the first thing guests notice when they walk into the room.
Set the house on a wooden board or a cake plate so it has a base, and flank it with a little evergreen — a sprig of fir on each side is enough. Keep the mantel around it simple, so the house is the star.
Tip: Build the house a day before you display it, so the icing sets completely hard — a house that is still soft will sag under its own candy roof.
2. Build a Gingerbread Village on the Dining Table

One gingerbread house is a decoration; five of them is a village. Line up a row of small houses down the middle of the dining table, dust the table with powdered sugar snow, and you have a centrepiece that guests will photograph before they sit down.
Vary the sizes — one tall house, two medium, two tiny — and leave a little space between them, so each house reads on its own. A few bottle-brush trees and a sprinkle of sugar snow finish the scene.
Tip: Use a long wooden board as the village base, so the whole display lifts off the table in one piece when dinner needs the space.
3. Style a Gingerbread House on the Kitchen Shelf
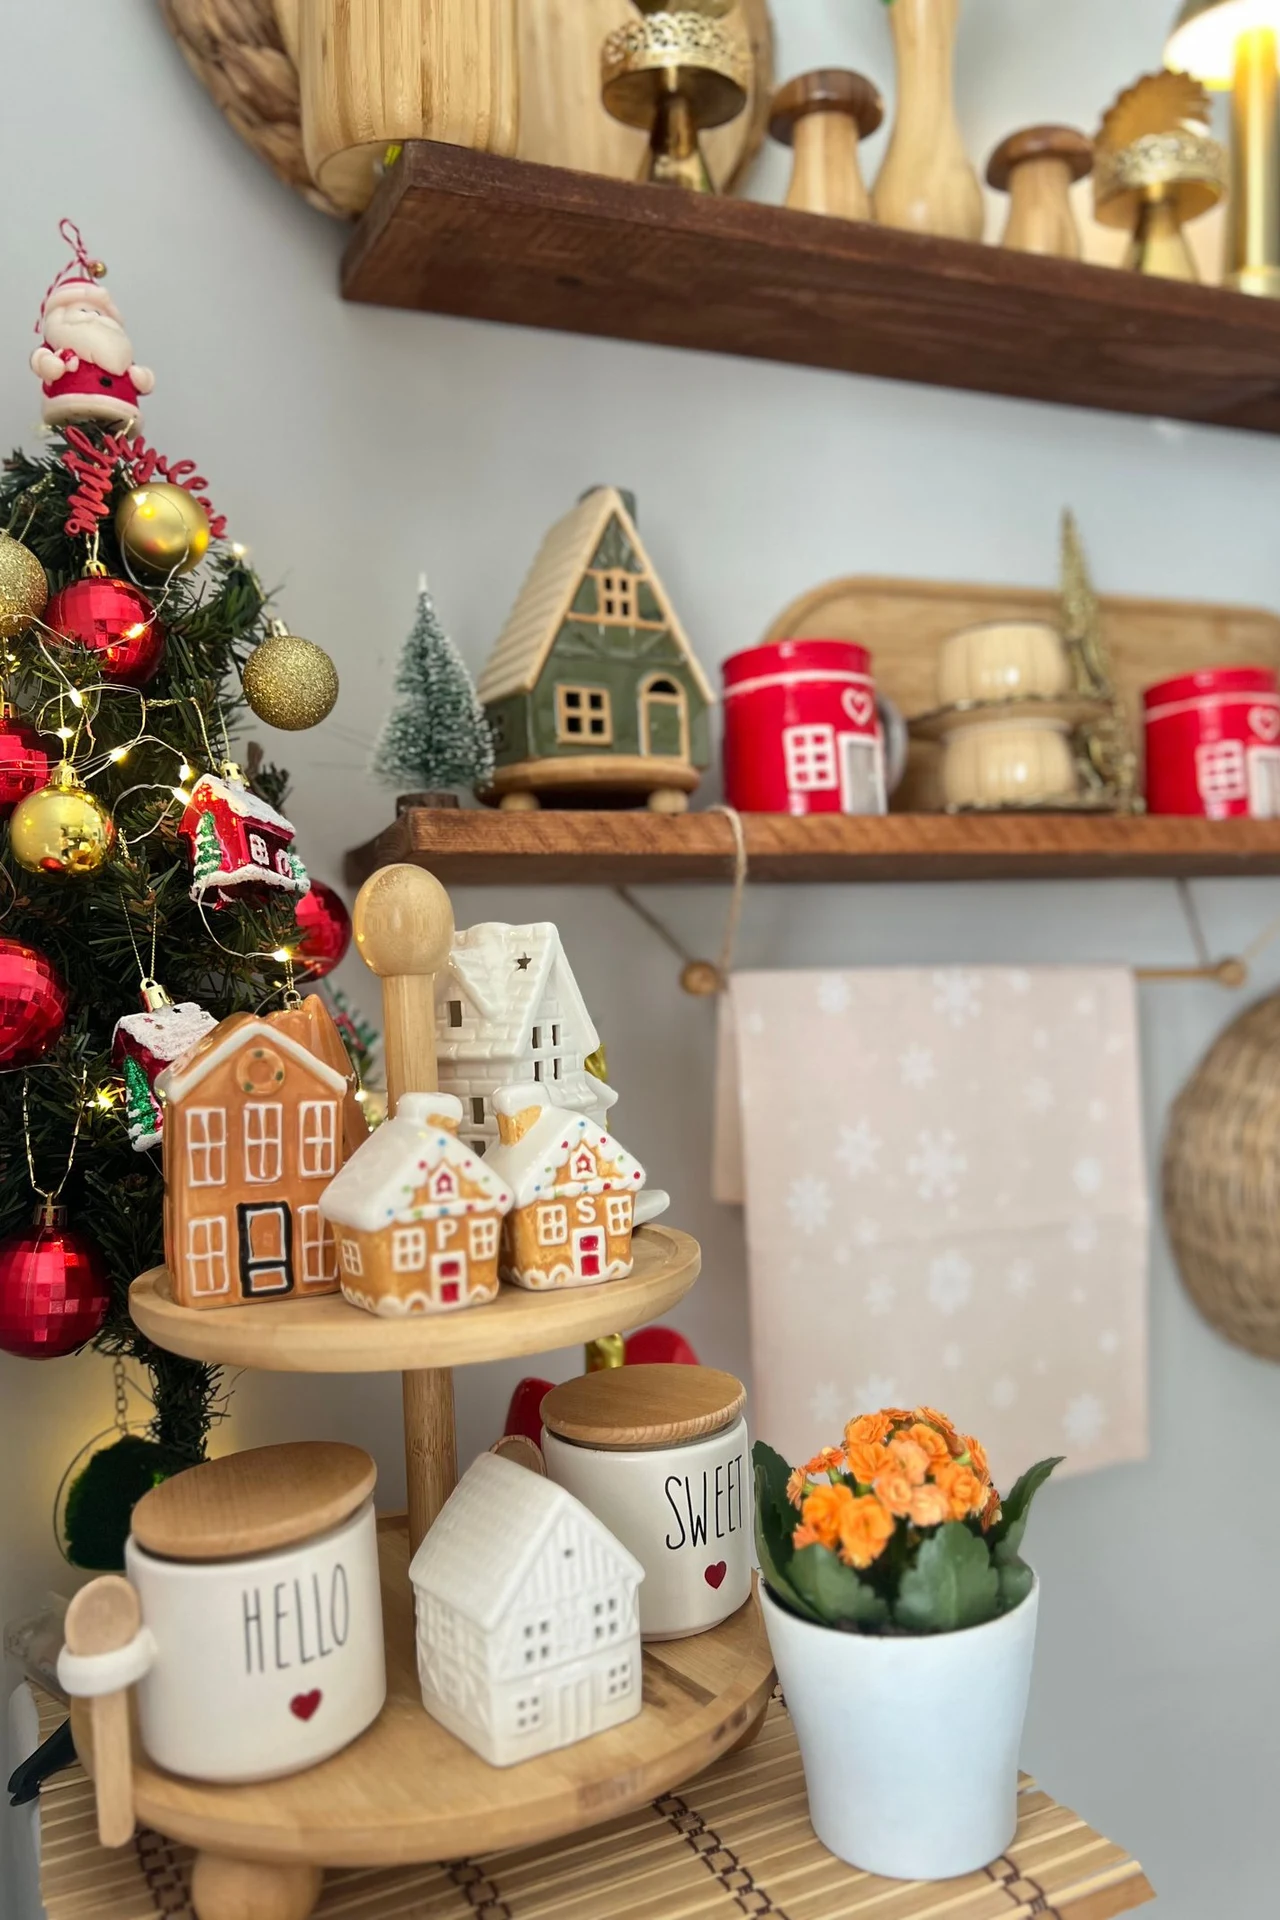
The kitchen shelf is the natural home of a gingerbread house: it sits among the jars and the mugs, it smells like the room it is in, and it makes the whole kitchen feel festive while you cook. A tiered tray of mini houses on the counter works the same way.
Keep the house small on a shelf — a mini house or two, not a mansion — and pair it with a small tree or a sprig of greenery. The shelf should still look like a shelf, just a festive one.
Tip: Keep a gingerbread house away from the hob and the kettle — steam softens icing fast, and a house that goes soft will lean.
4. Start With a DIY Gingerbread House Kit
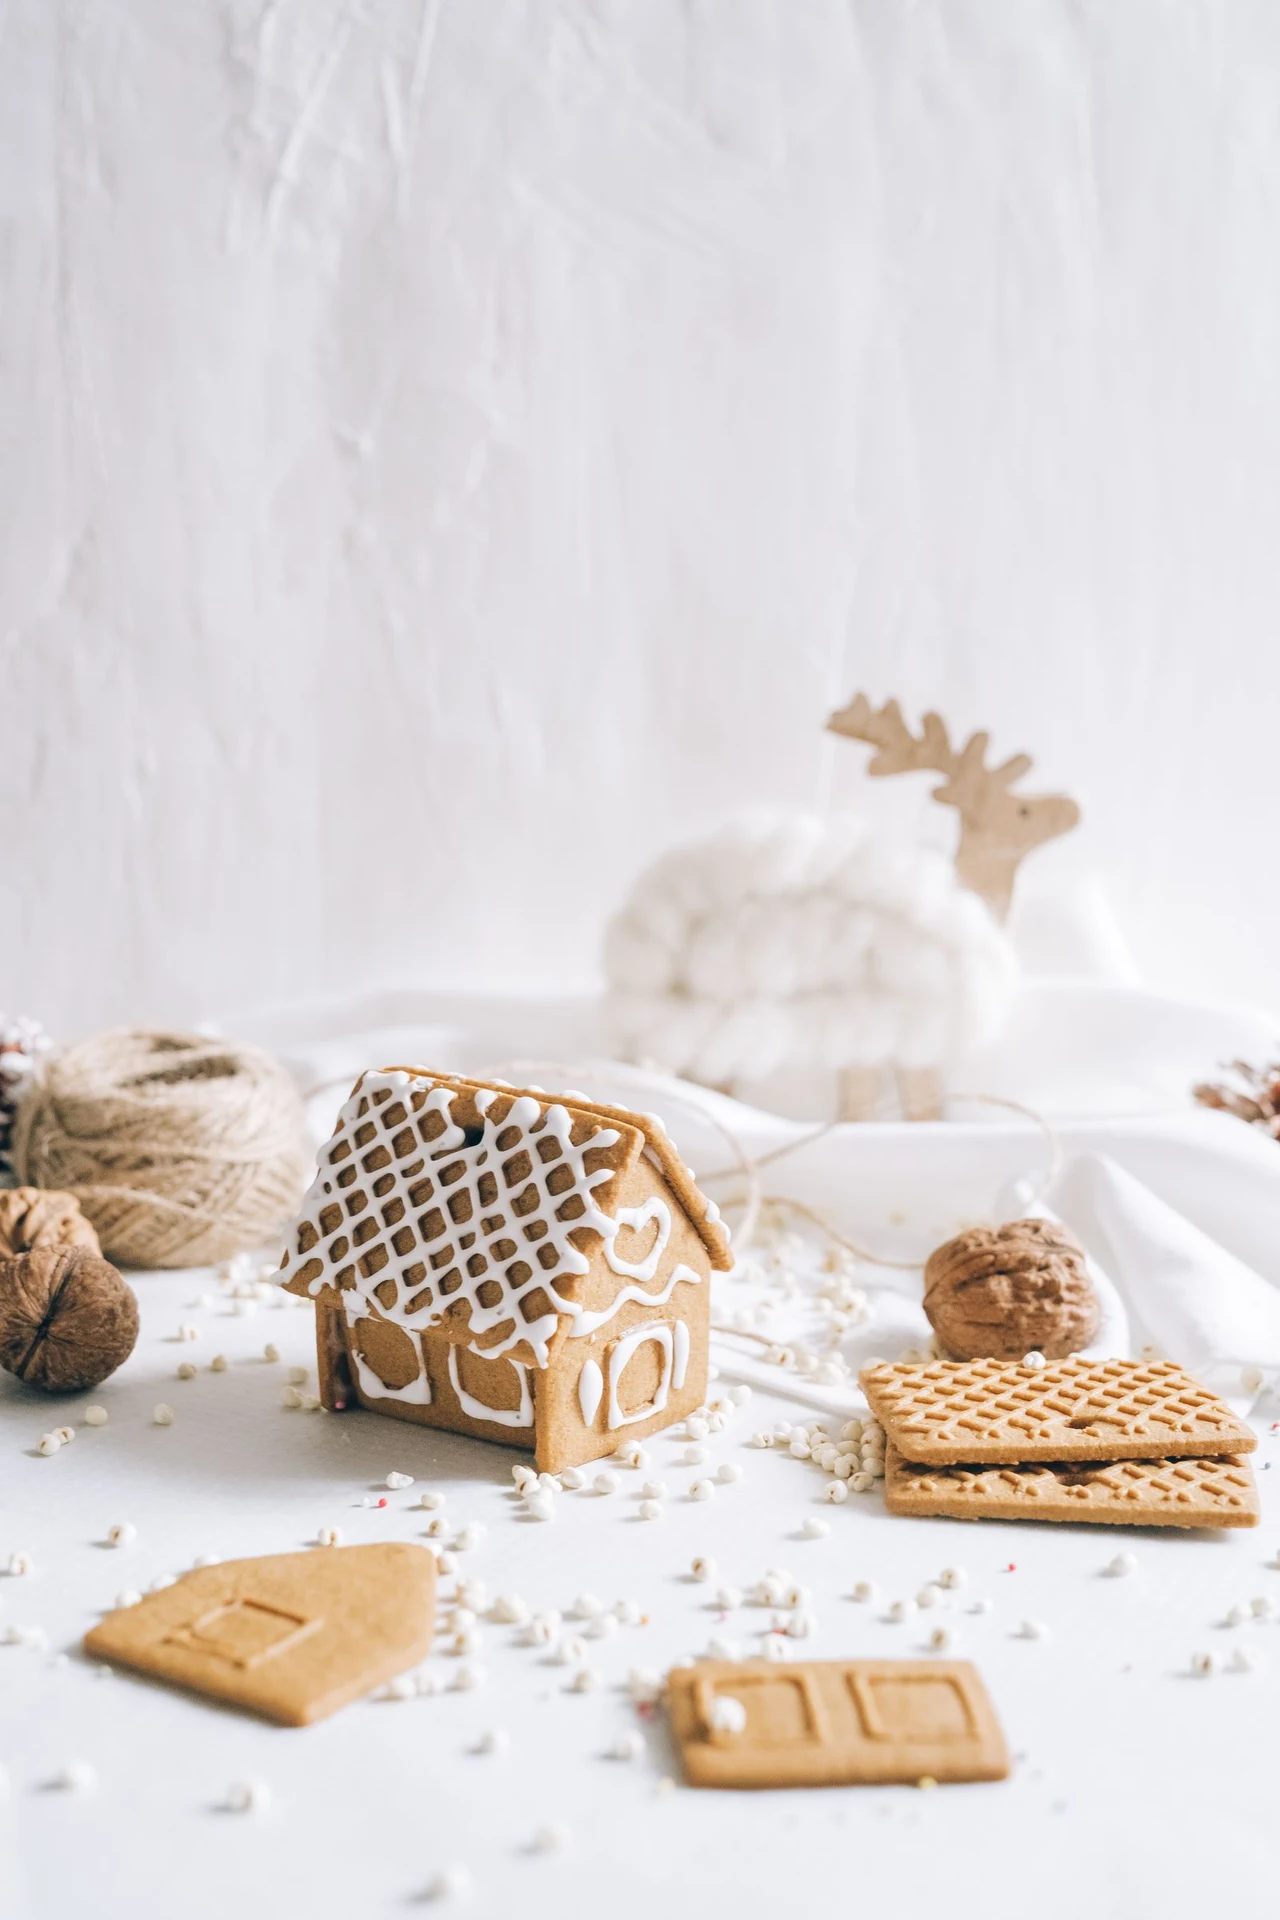
A gingerbread house kit is the honest shortcut: pre-baked walls, ready-made icing, and a bag of sweets, all in one box. You skip the baking and the measuring, and you go straight to the fun part — decorating.
Buy the kit early, because the good ones sell out by mid-December, and pick a kit with pre-cut pieces rather than one you have to cut yourself. The decorating is the memory; the baking is just the homework.
Tip: Add your own sweets to a kit — a few extra gumdrops, some candy canes, a handful of sprinkles — and the house will look like yours, not like the picture on the box.
5. Light a Gingerbread House With Fairy Lights
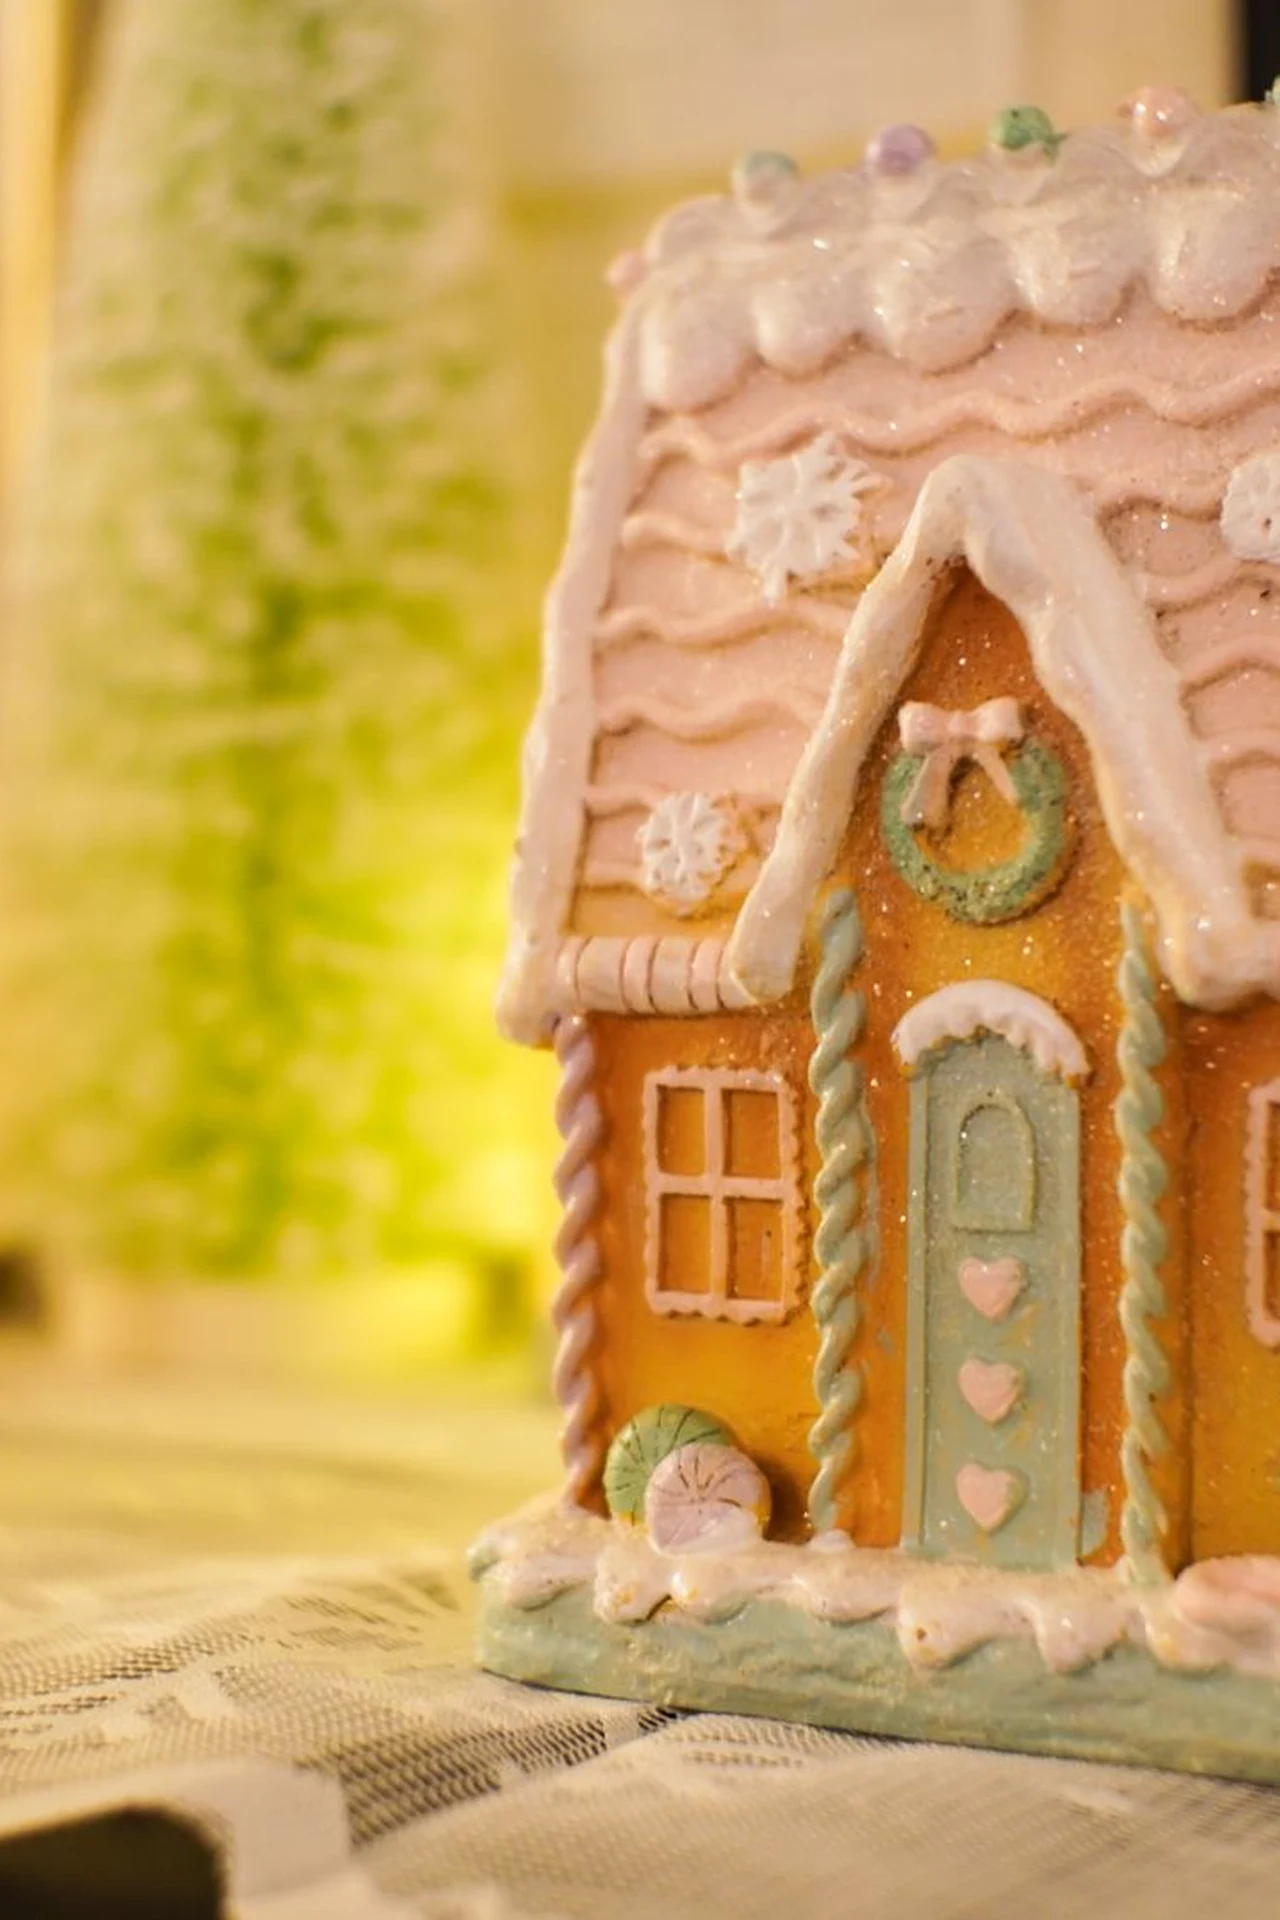
A gingerbread house with fairy lights inside it glows from the windows like a real house at dusk — and it is the prettiest thing on the shelf after dark. A short battery string of warm white lights, tucked inside before the roof goes on, is all it takes.
Use lights with a timer, so the house lights itself every evening, and keep the battery pack hidden behind the house. The glow should come from the windows, not from a visible wire.
Tip: LED fairy lights give off no heat, which matters — a warm bulb inside a gingerbread house will soften the icing from the inside out.
6. Use Mini Gingerbread Houses as Place Settings
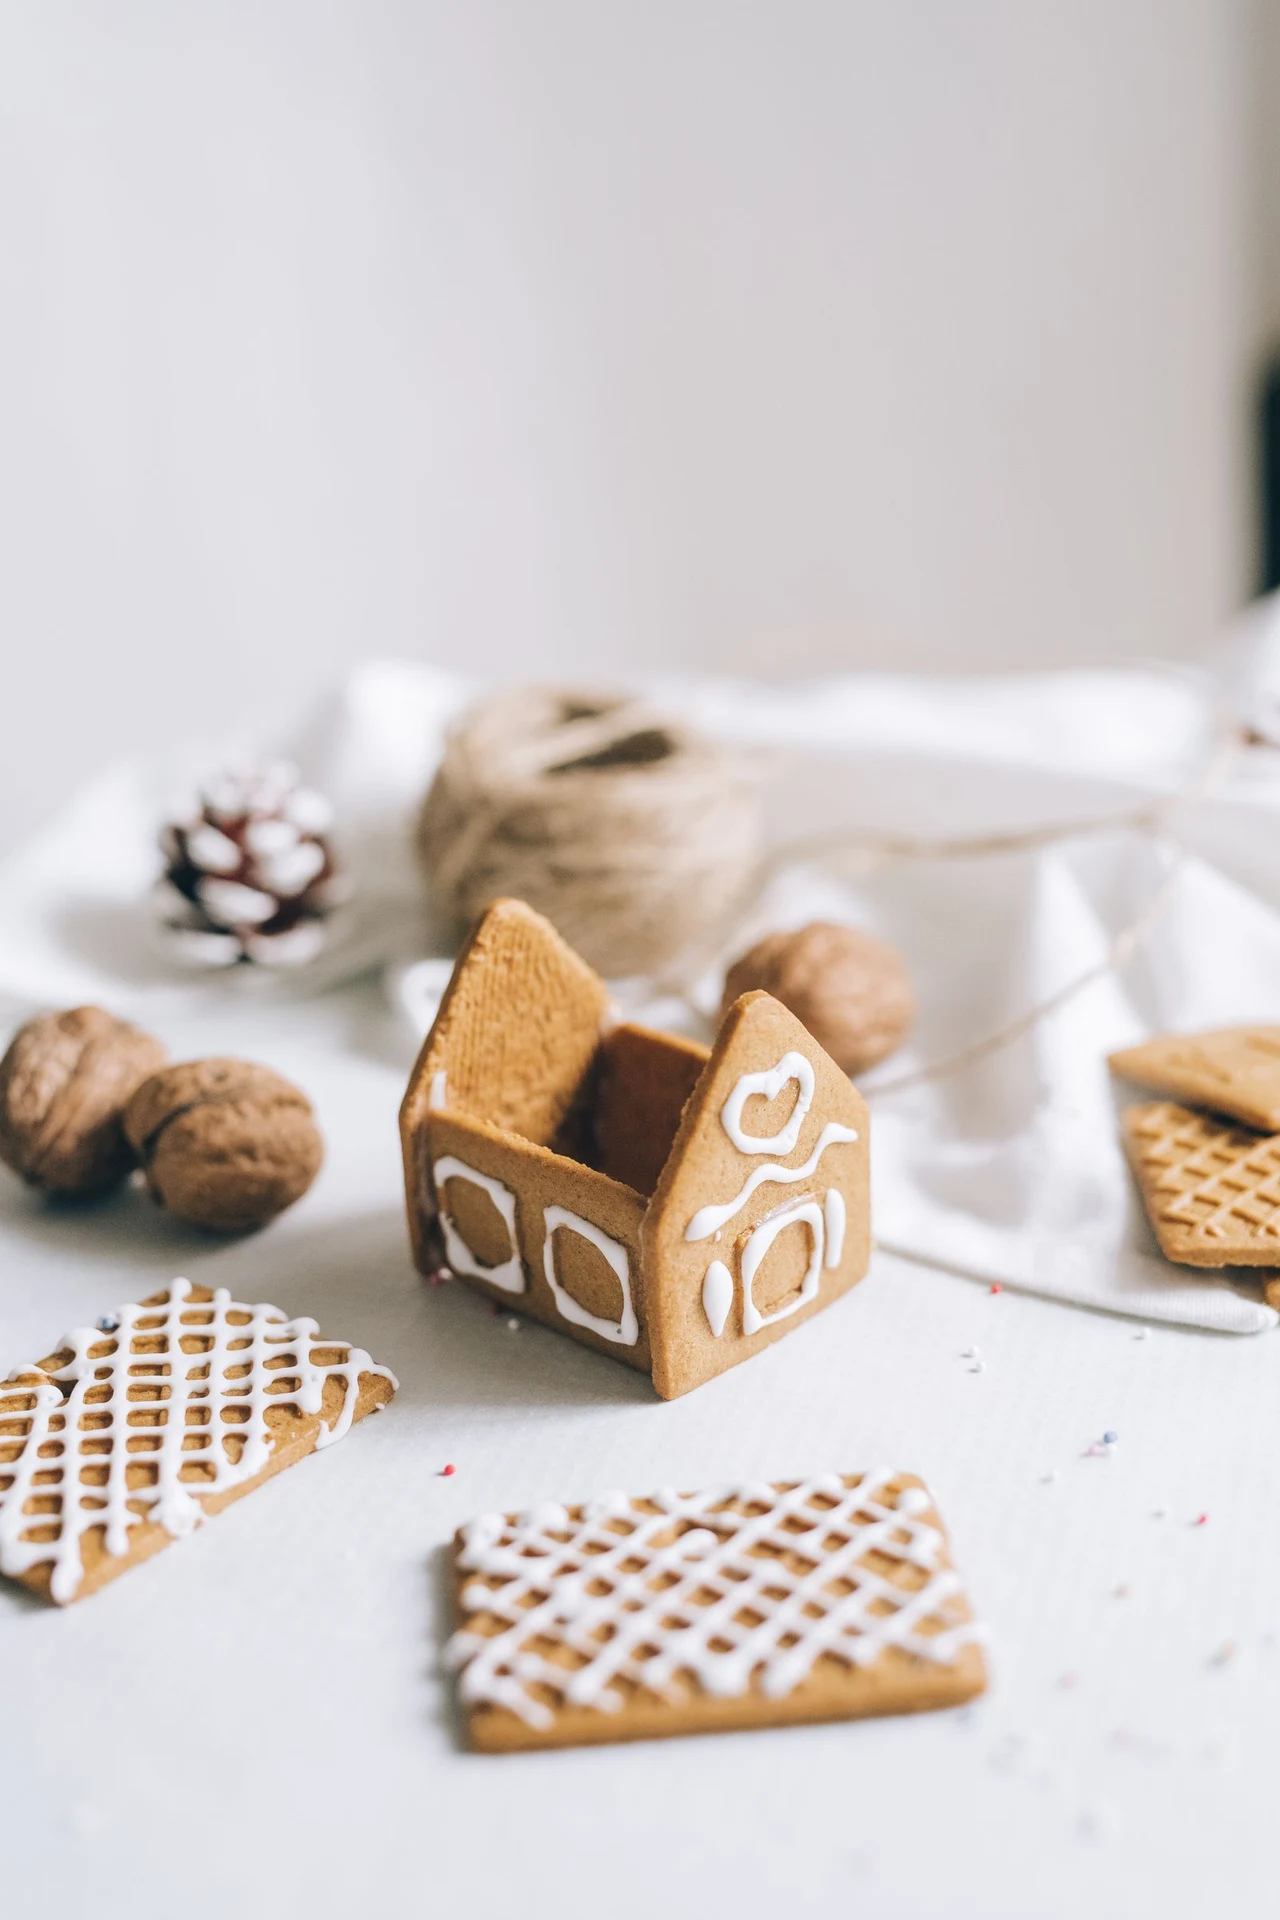
A mini gingerbread house at each place setting is the most charming thing you can put on a Christmas table: one tiny house per guest, iced in a different colour, sitting on the plate like a little gift. Guests take theirs home — if they can resist eating it first.
Build the minis from a single kit, or buy a mini-house set, and ice each one differently — one with a red roof, one with green, one with a candy-cane door. Tie a name tag to the chimney with ribbon, and the place setting is done.
Tip: Make the minis the day before, and store them in an airtight box overnight — icing that is still tacky will stick to everything it touches.
7. Display a Gingerbread House Under a Glass Cloche

A gingerbread house under a glass cloche looks like a museum piece — and the cloche does real work: it keeps the dust off, it keeps little fingers off, and it makes the house look precious. A mini house under a cloche is the prettiest ornament on the tree, too.
Set the house on a small plate or a wooden disc, lower the cloche over it, and put the whole thing on the mantel or the sideboard. The glass catches the light, and the house inside looks like it is glowing.
Tip: A cloche also keeps a gingerbread house fresh for longer — it slows the drying out, so the house stays display-worthy for weeks.
8. Give the Roof a Snowy Finish
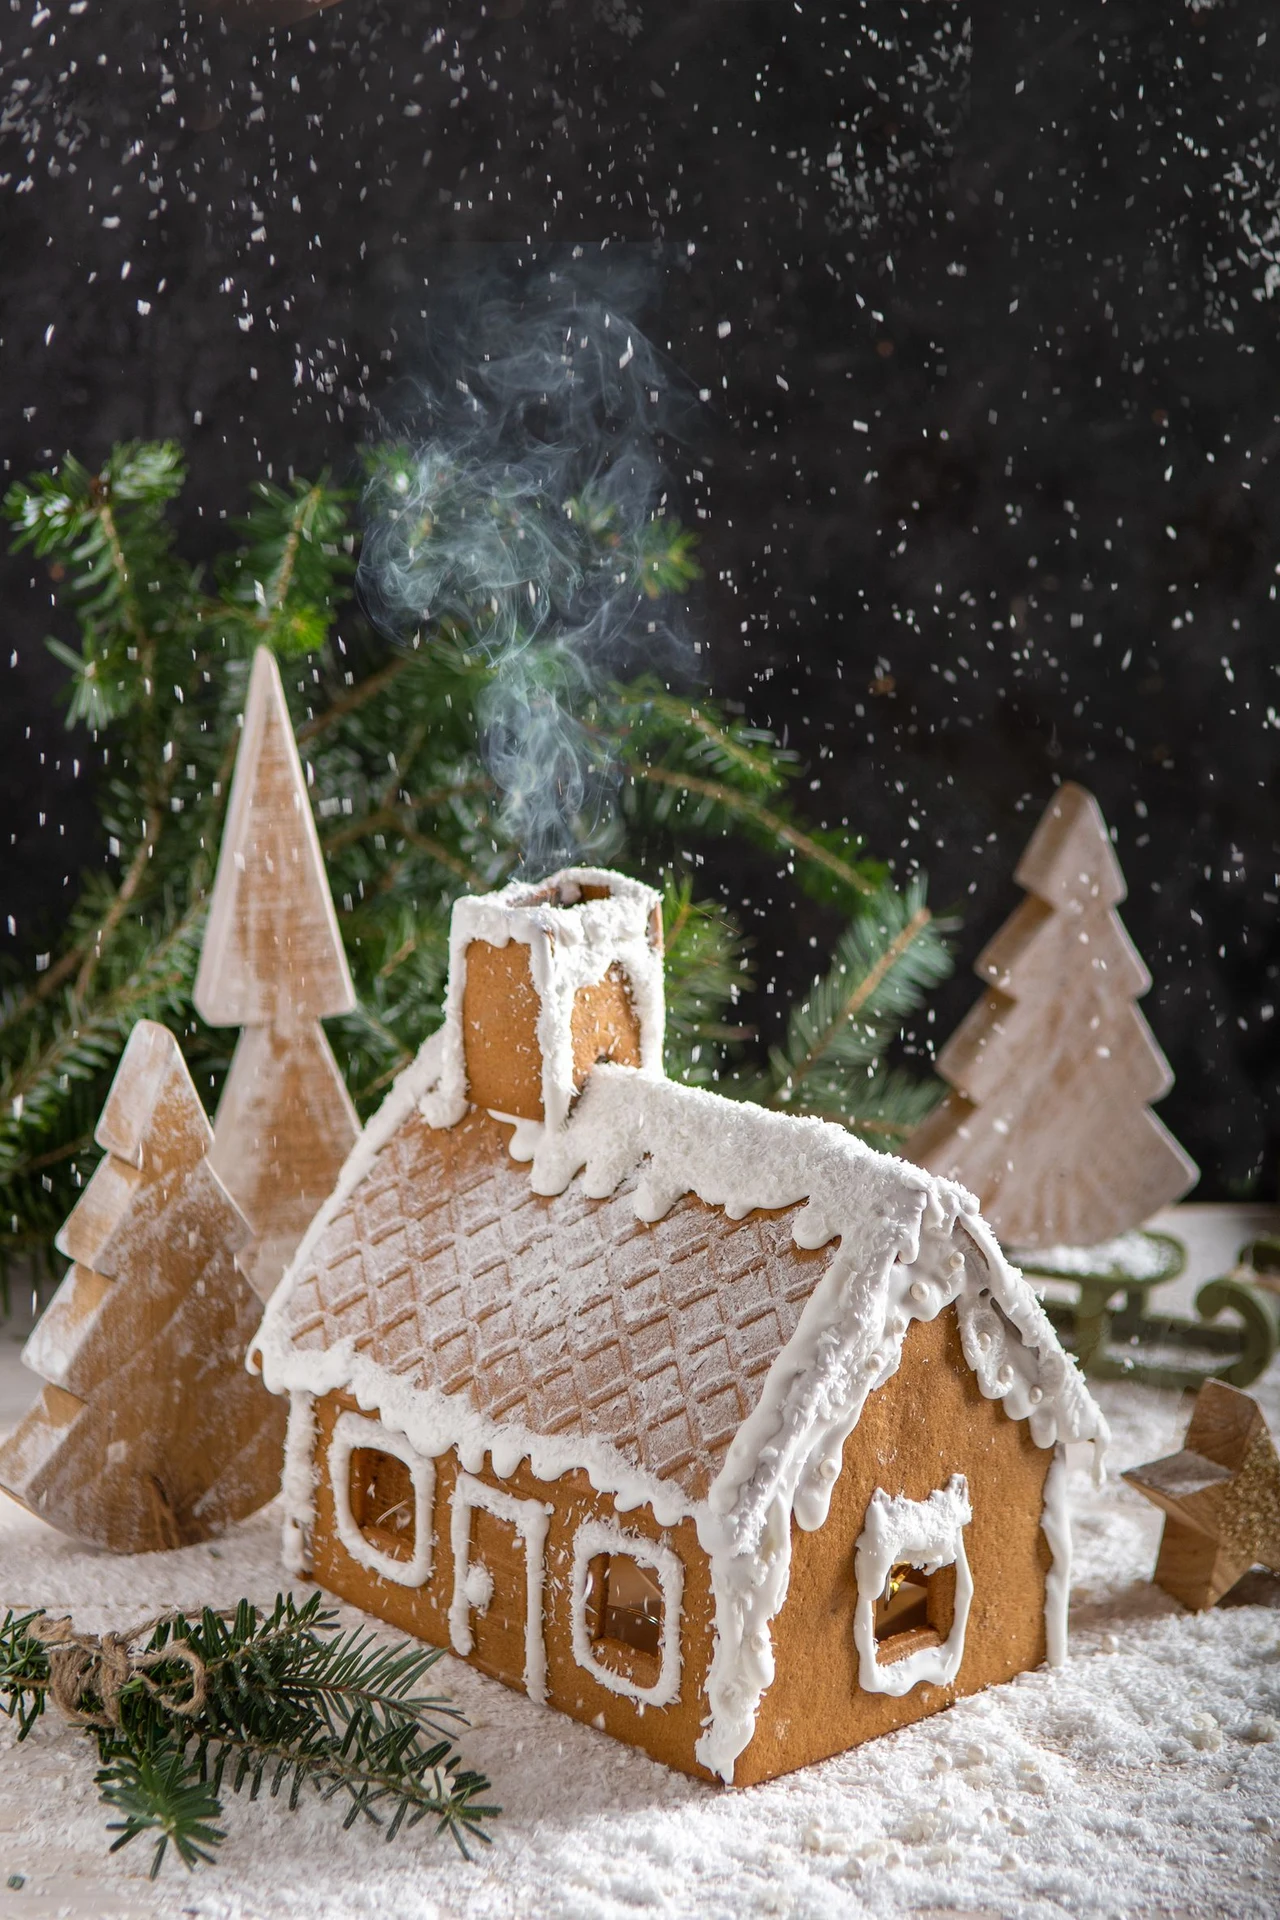
A snowy roof is the detail that makes a gingerbread house look finished: thick white icing piped along the roofline, a dusting of powdered sugar or shredded coconut over the top, and a few icing icicles dripping from the eaves. It is the winter part of the house.
Pipe the icing thickly and let it drip naturally — perfect icicles look fake, and a little unevenness looks like real snow. Scatter the sugar snow around the base too, so the house sits in its own little winter.
Tip: Shredded coconut makes the most realistic snow on a roof — it catches the light like fresh powder, and it does not melt into the icing the way sugar can.
9. Build a Winter Village Scene

A winter village is a gingerbread house with a world around it: candy-cane fences, gumdrop trees, a path of white icing, and a dusting of snow over everything. It is the scene that makes people stop and look closely.
Build the village on a large board, and start with the houses, then add the trees, then the fences, then the snow last. Work from the back to the front, so you are never reaching over a finished house.
Tip: A winter village photographs best from slightly above, so build it on a low table or a board on the floor — and take the photo before anyone eats the fence.
10. Make a Gingerbread House the Dessert Table Centrepiece
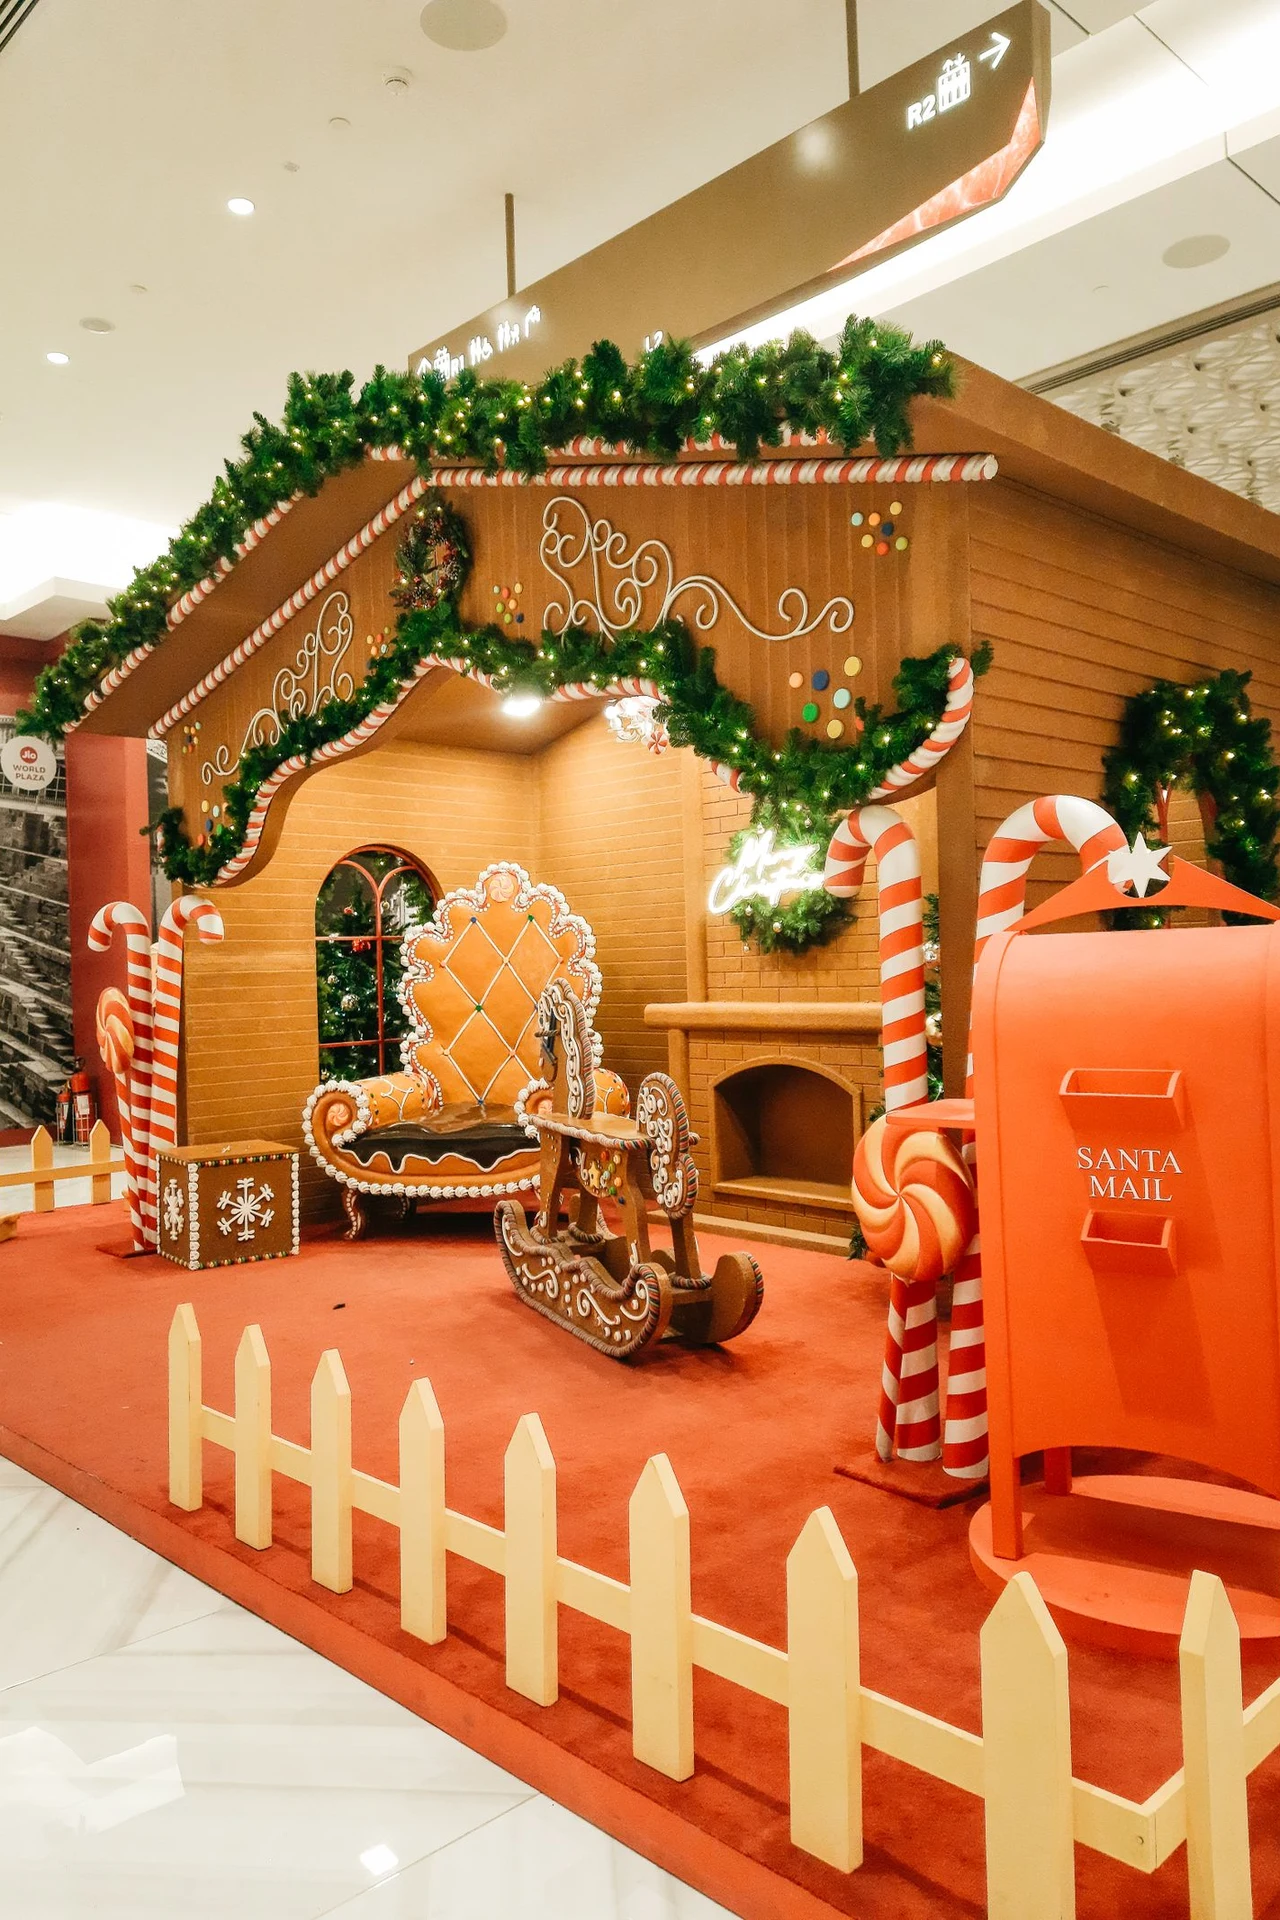
A big gingerbread house as the centrepiece of the dessert table is the showstopper: it towers over the cakes and the cookies, it draws every eye, and it tells guests that dessert is going to be special. Build it big, build it bold, and put it in the middle.
Set the house on a raised stand so it is taller than everything else on the table, and surround it with smaller sweets — cookies, cupcakes, a bowl of candy canes — so the table looks like the house’s own little town.
Tip: If the house is the centrepiece, do not let anyone eat it until dessert is over — put a little sign beside it, or the roof will be gone before the first course.
11. Hang Gingerbread House Ornaments on the Tree
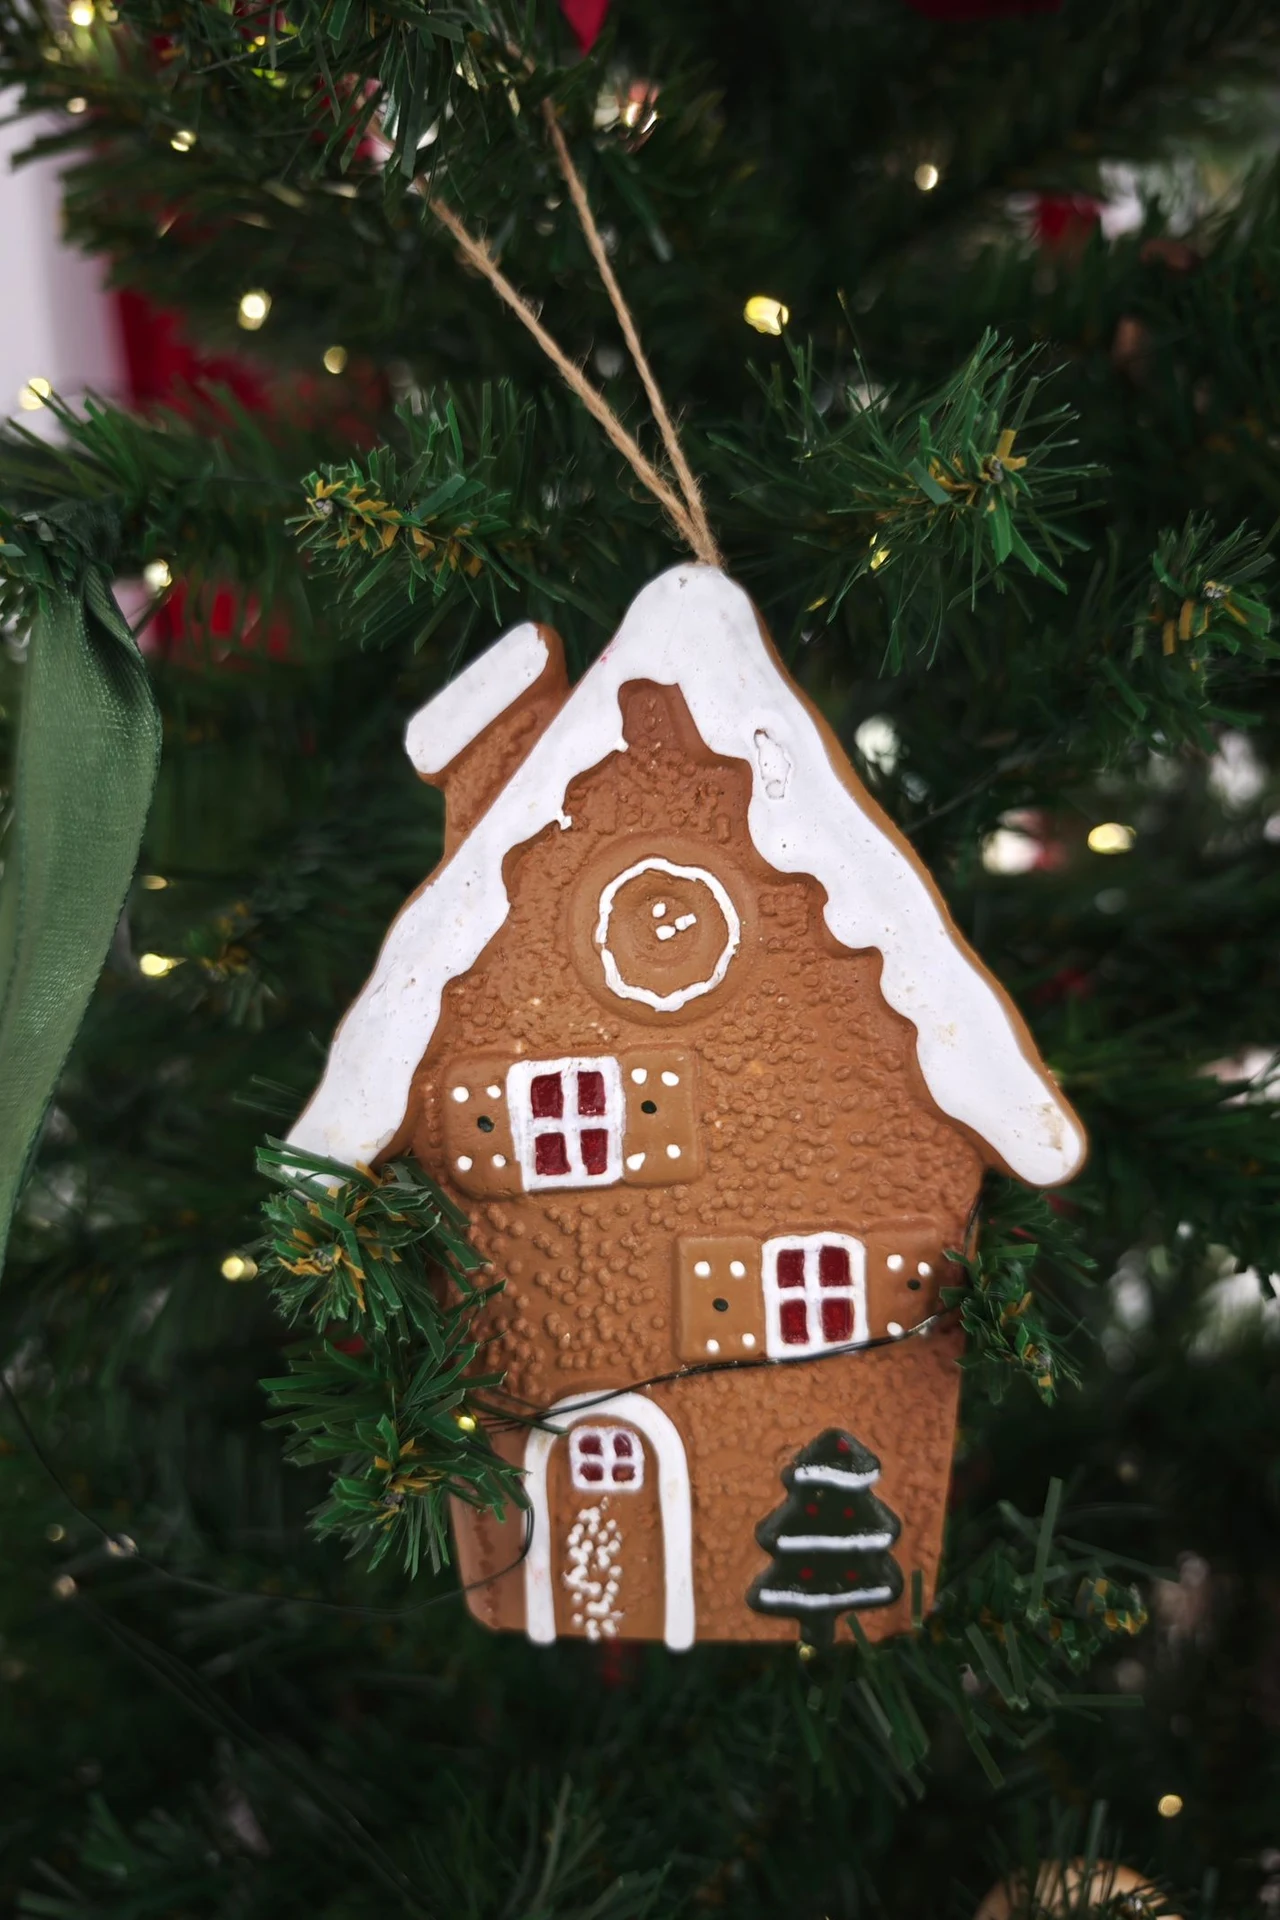
A gingerbread house ornament — a tiny iced house on a ribbon — is the sweetest thing on the tree. Hang three or five of them at different heights, and the tree will have a gingerbread theme running through it without a single extra decoration.
Make the ornaments from a mini-house kit, or buy them ready-made, and hang them near the front of the tree where the light catches the icing. They are light, so they will not drag the branches down.
Tip: Spray finished gingerbread ornaments lightly with clear food-safe lacquer, and they will last for years — otherwise they go soft in a damp room.
12. Frame the Door With a Candy-Cane Fence
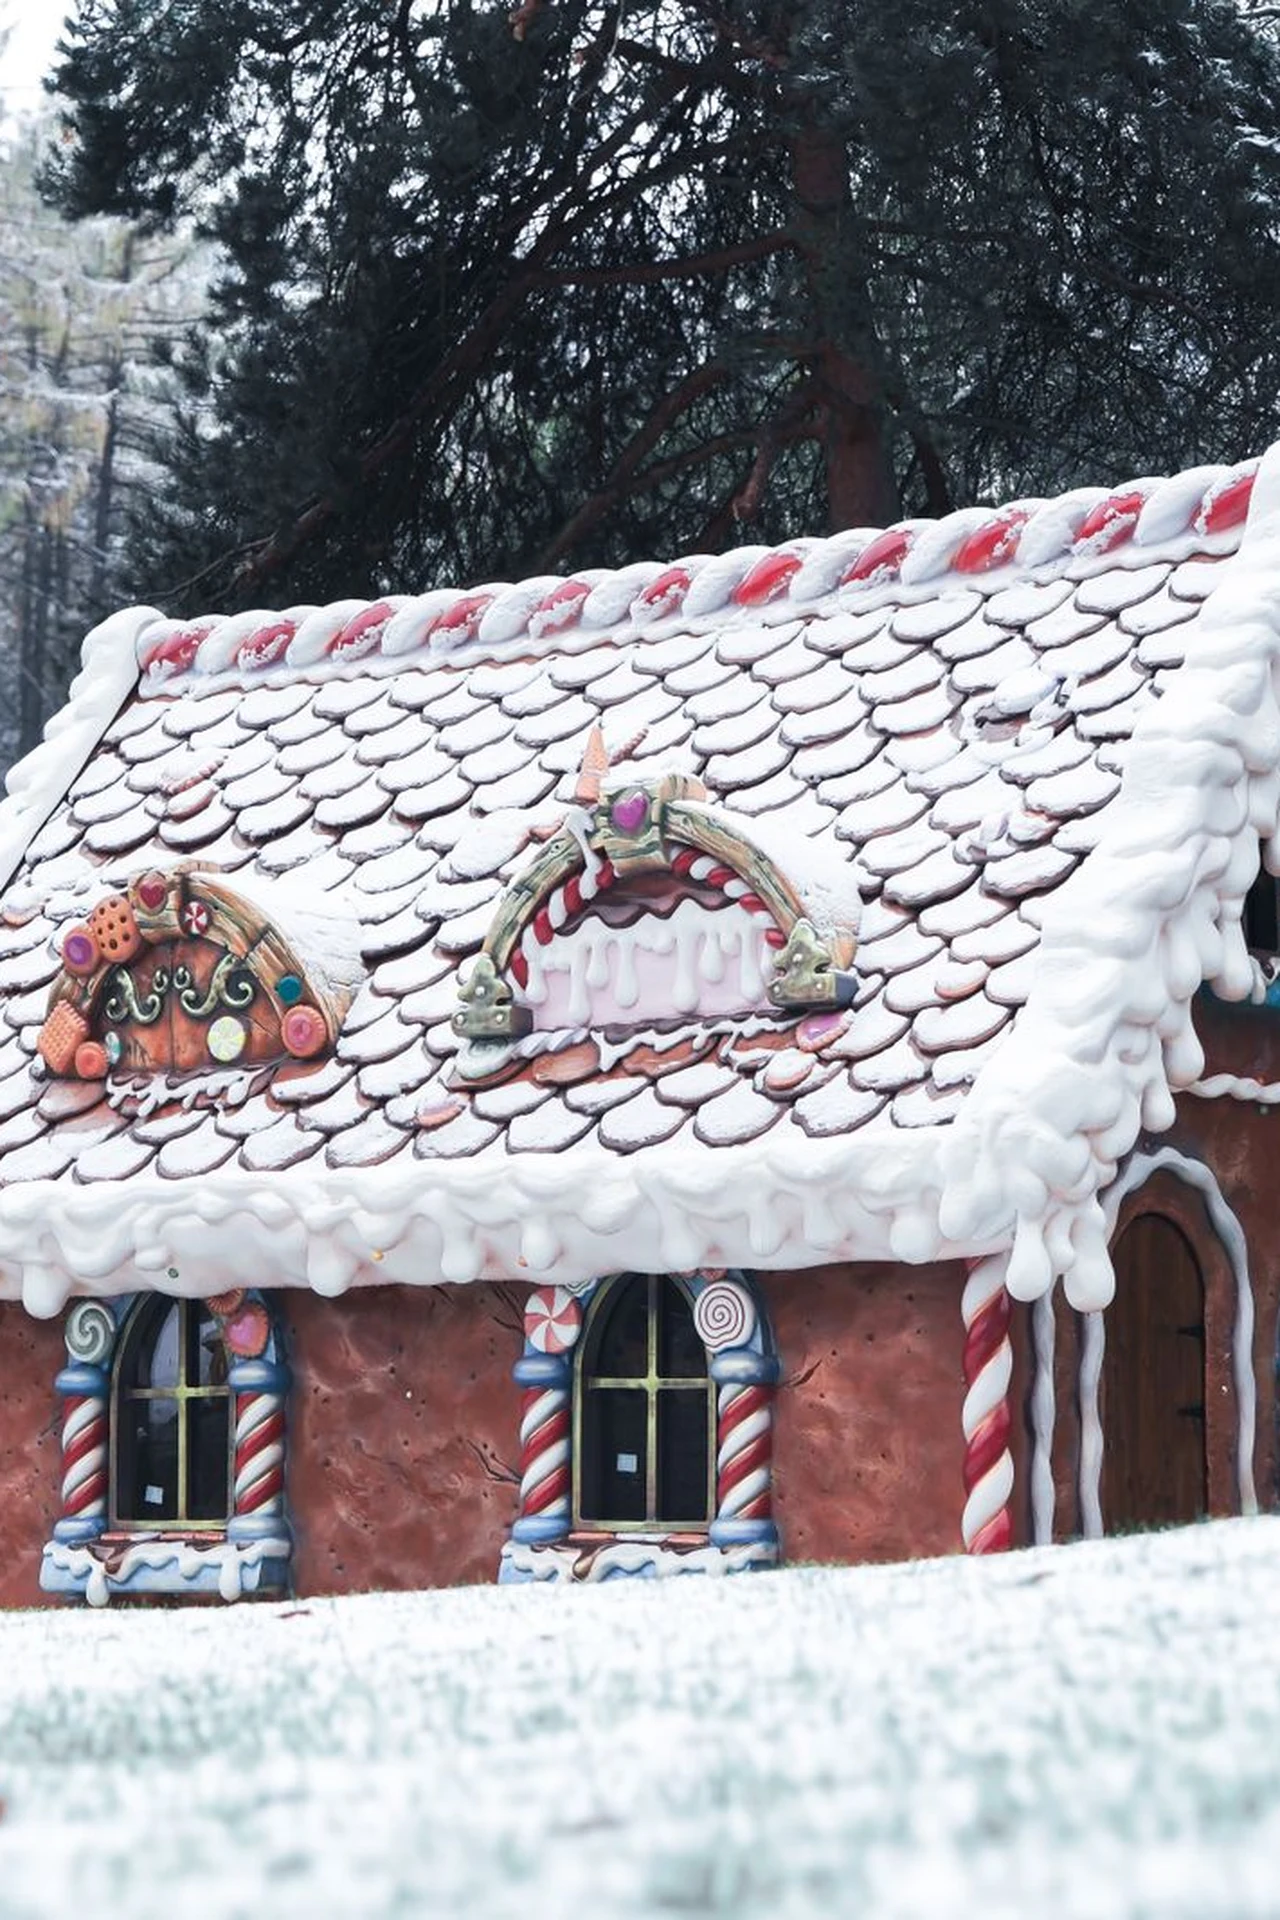
A candy-cane fence around a gingerbread house is the detail that makes it look like a real home: two candy canes crossed over the door, a little fence of striped sweets along the front, and a path of white icing leading up to it. It is the welcome mat of the gingerbread world.
Glue the candy canes on with royal icing, not melted sugar — royal icing sets hard and holds the weight. Stand the fence canes upright in a line of icing, like a real fence, and keep them evenly spaced.
Tip: Mini candy canes make a better fence than full-size ones — they are in proportion to the house, and they do not overwhelm the door.
13. Host a Gingerbread House Decorating Party
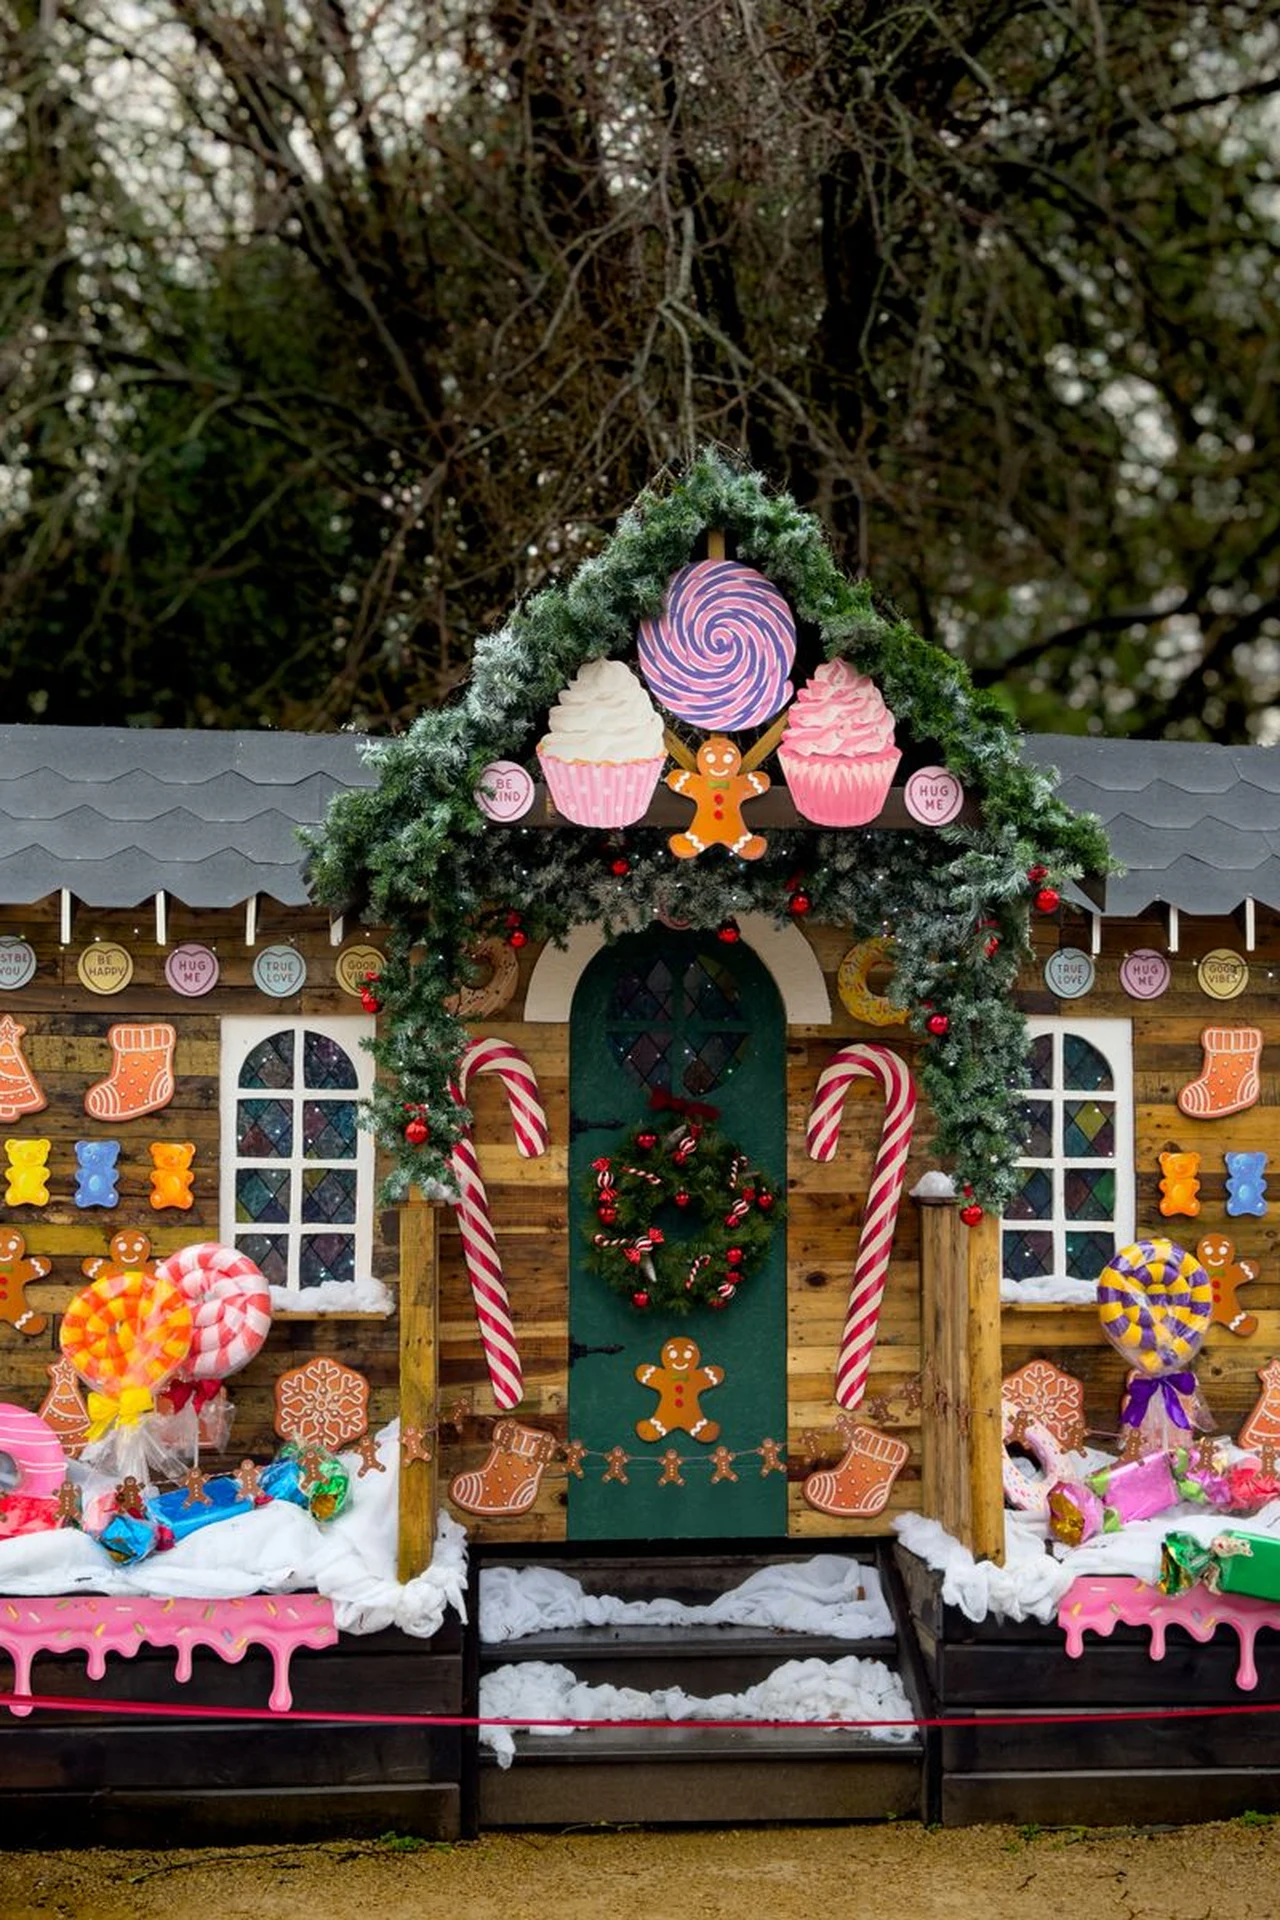
A gingerbread house decorating party is the December tradition that makes the best memories: one house per person, a table full of icing bags and sweets, and an hour of gloriously messy creativity. The houses do not need to be perfect — the mess is the point.
Set up one station per person with a pre-built house, an icing bag, and a small bowl of sweets each, so nobody is reaching across the table. Put newspaper down first, and have a prize for the most creative house — not the neatest one.
Tip: Pre-build the houses the day before the party, so the walls are set hard — a house that collapses mid-party is funny once, and heartbreaking after that.
14. Display a Gingerbread House on a Cake Stand

A gingerbread house on a cake stand is the display that makes a house look important: the stand lifts it up, gives it a stage, and turns a kitchen-table project into a centrepiece. A house on a tree-stump stand looks especially good — rustic and storybook at once.
Choose a stand slightly wider than the house, so there is room for a little snow and a few sweets around the base. A glass stand shows off the house from every angle; a wooden one suits a rustic room.
Tip: A cake stand with a dome lid doubles as a cloche — lift the dome, and the house is protected; take it off, and the house is the centrepiece.
15. Make the Windows Glow
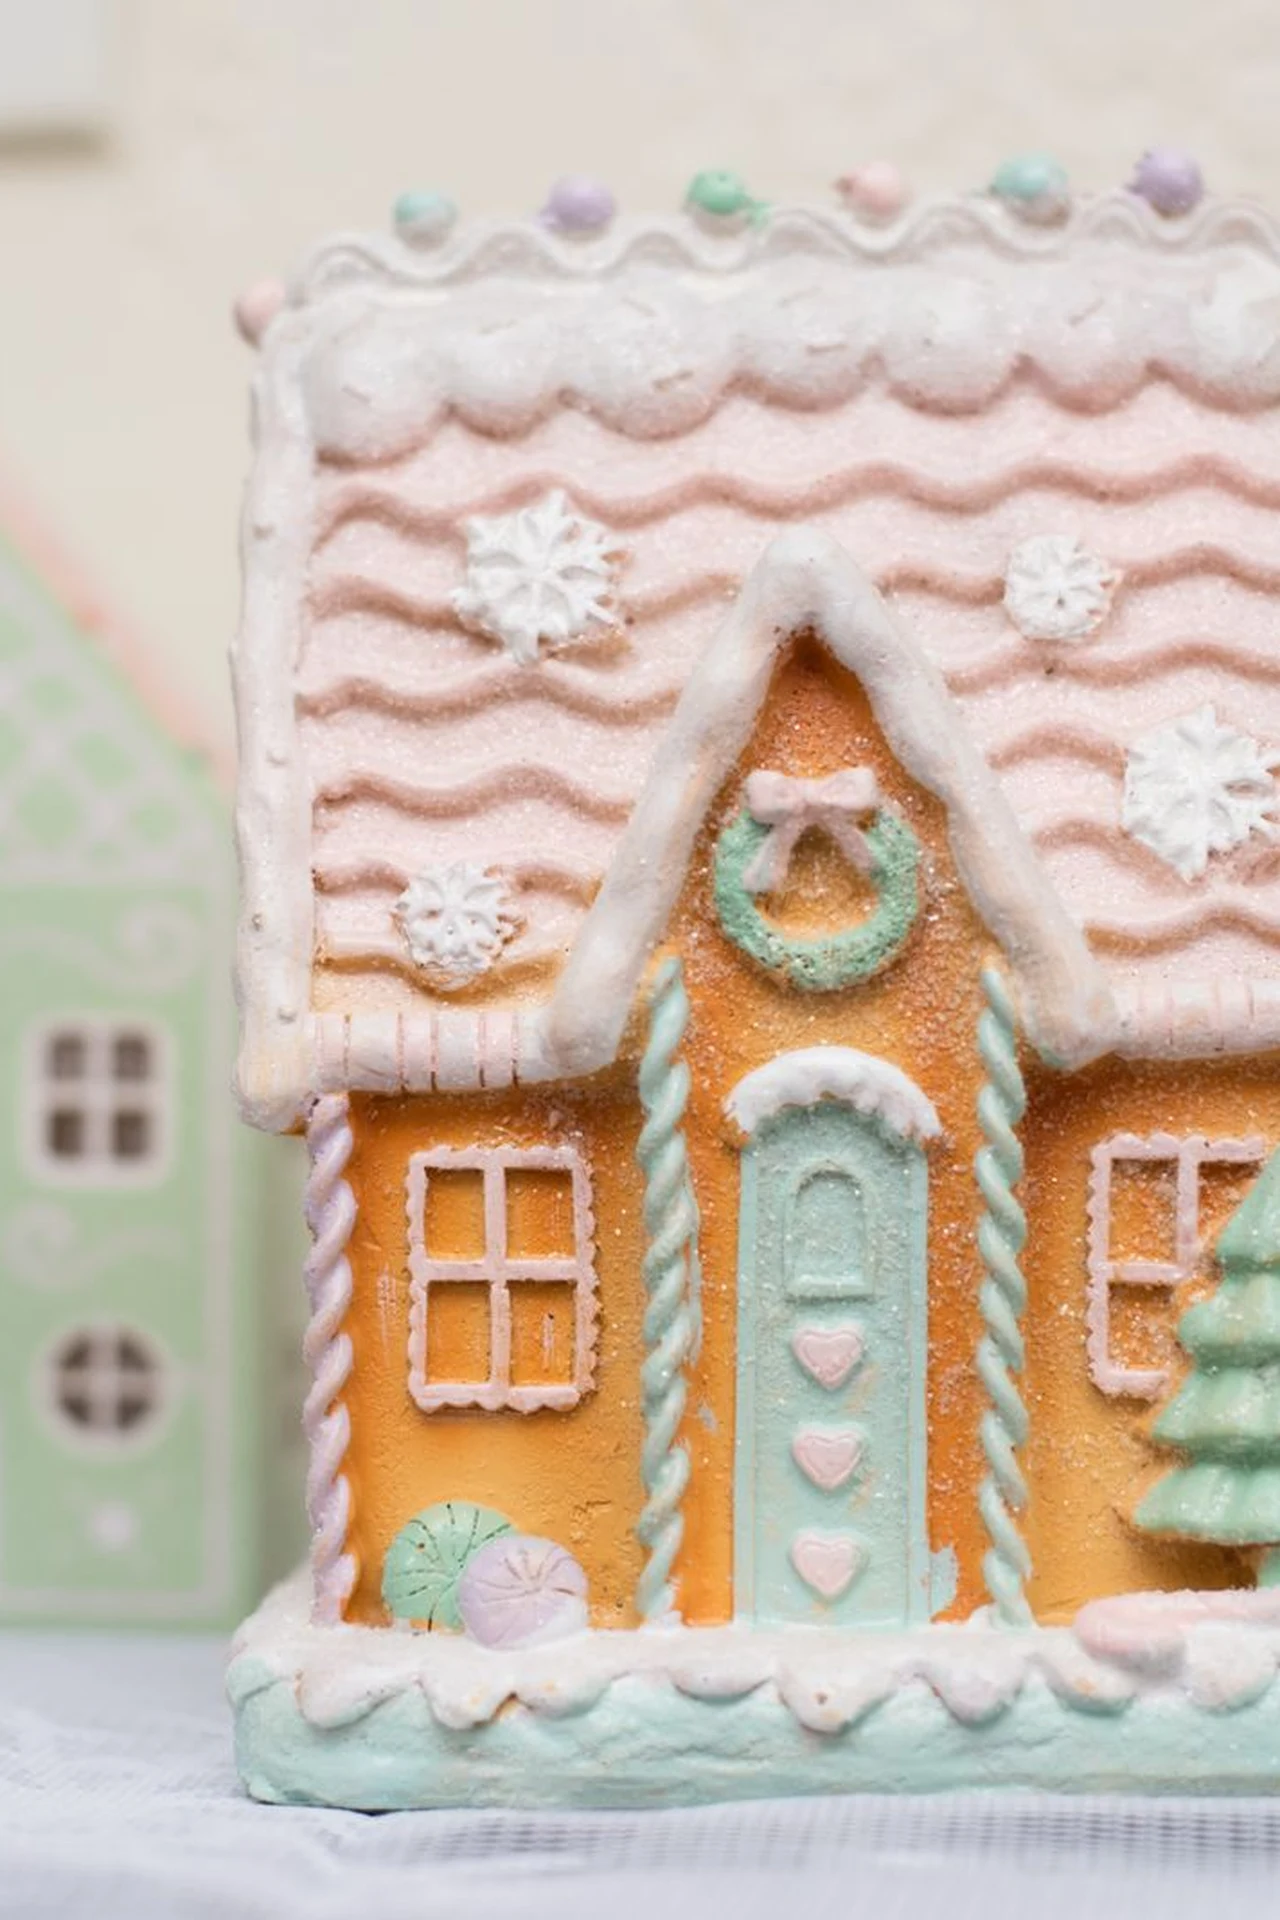
Glowing windows are the detail that makes a gingerbread house look alive: warm light behind the icing windows, a soft glow spilling onto the snow, and the whole house looking like somebody is home. It is the difference between a decoration and a little world.
Cut the windows out before you bake, or pipe them in thin icing so the light shines through, and put a single battery tea light inside the house. The glow should be warm and soft — white light looks cold, and coloured light looks like a disco.
Tip: A pastel gingerbread house with glowing windows photographs beautifully at dusk — take the photo just as the room goes dark, and the windows will do all the work.
Keep Reading
Love this look? Keep going with more ideas from Zoraventra:
Frequently Asked Questions
Do you need to bake a gingerbread house to decorate one?
No — a shop-bought kit has pre-baked walls and ready-made icing, so you go straight to decorating. Kits are the easiest way to start, and the finished house looks just as good as a baked one.
How long does a decorated gingerbread house last?
About three to four weeks on display in a dry room, longer under a cloche or a dome. Keep it away from steam and damp, and the icing will stay hard and the colours bright.
How do you keep a gingerbread house from collapsing?
Build it a day ahead and let the icing set completely hard before you add the roof and the decorations. Royal icing is the glue — use it thickly on every join, and support the walls with tins while it sets.
Can you use a gingerbread house as a centrepiece?
Yes — it is one of the best centrepieces there is. Set it on a board or a cake stand in the middle of the table, surround it with a little sugar snow and a few sweets, and keep it low enough that guests can still see each other over it.
Where should you display a gingerbread house?
On the mantel, the dining table, a kitchen shelf, or the sideboard — anywhere dry, out of direct heat, and where people will see it. Keep it away from the hob, the kettle, and sunny windows, which all soften icing.