15 Christmas Gift Wrapping Ideas (Paper, Bows & Beautiful Finishes)
A wrapped present is half the gift — the paper, the ribbon, the little sprig of greenery tucked under the bow is what makes someone slow down before they tear it open. A beautiful parcel says you thought about the present long before you bought it, and it makes the whole tree look finished.
These fifteen ideas cover every kind of wrapping, from plain kraft paper and twine to velvet bows, plaid, fabric wraps and a matching set under the tree. None of them needs expensive paper or special tools — a roll of kraft, a pair of scissors and a ribbon you already own will carry most of them.
If you are wrapping the whole pile at once, start with our printable Christmas gift tags and our oversized Christmas bows — and our Christmas tree decorating ideas will show you where the parcels go when they are done.
1. Start With Kraft Paper and Twine
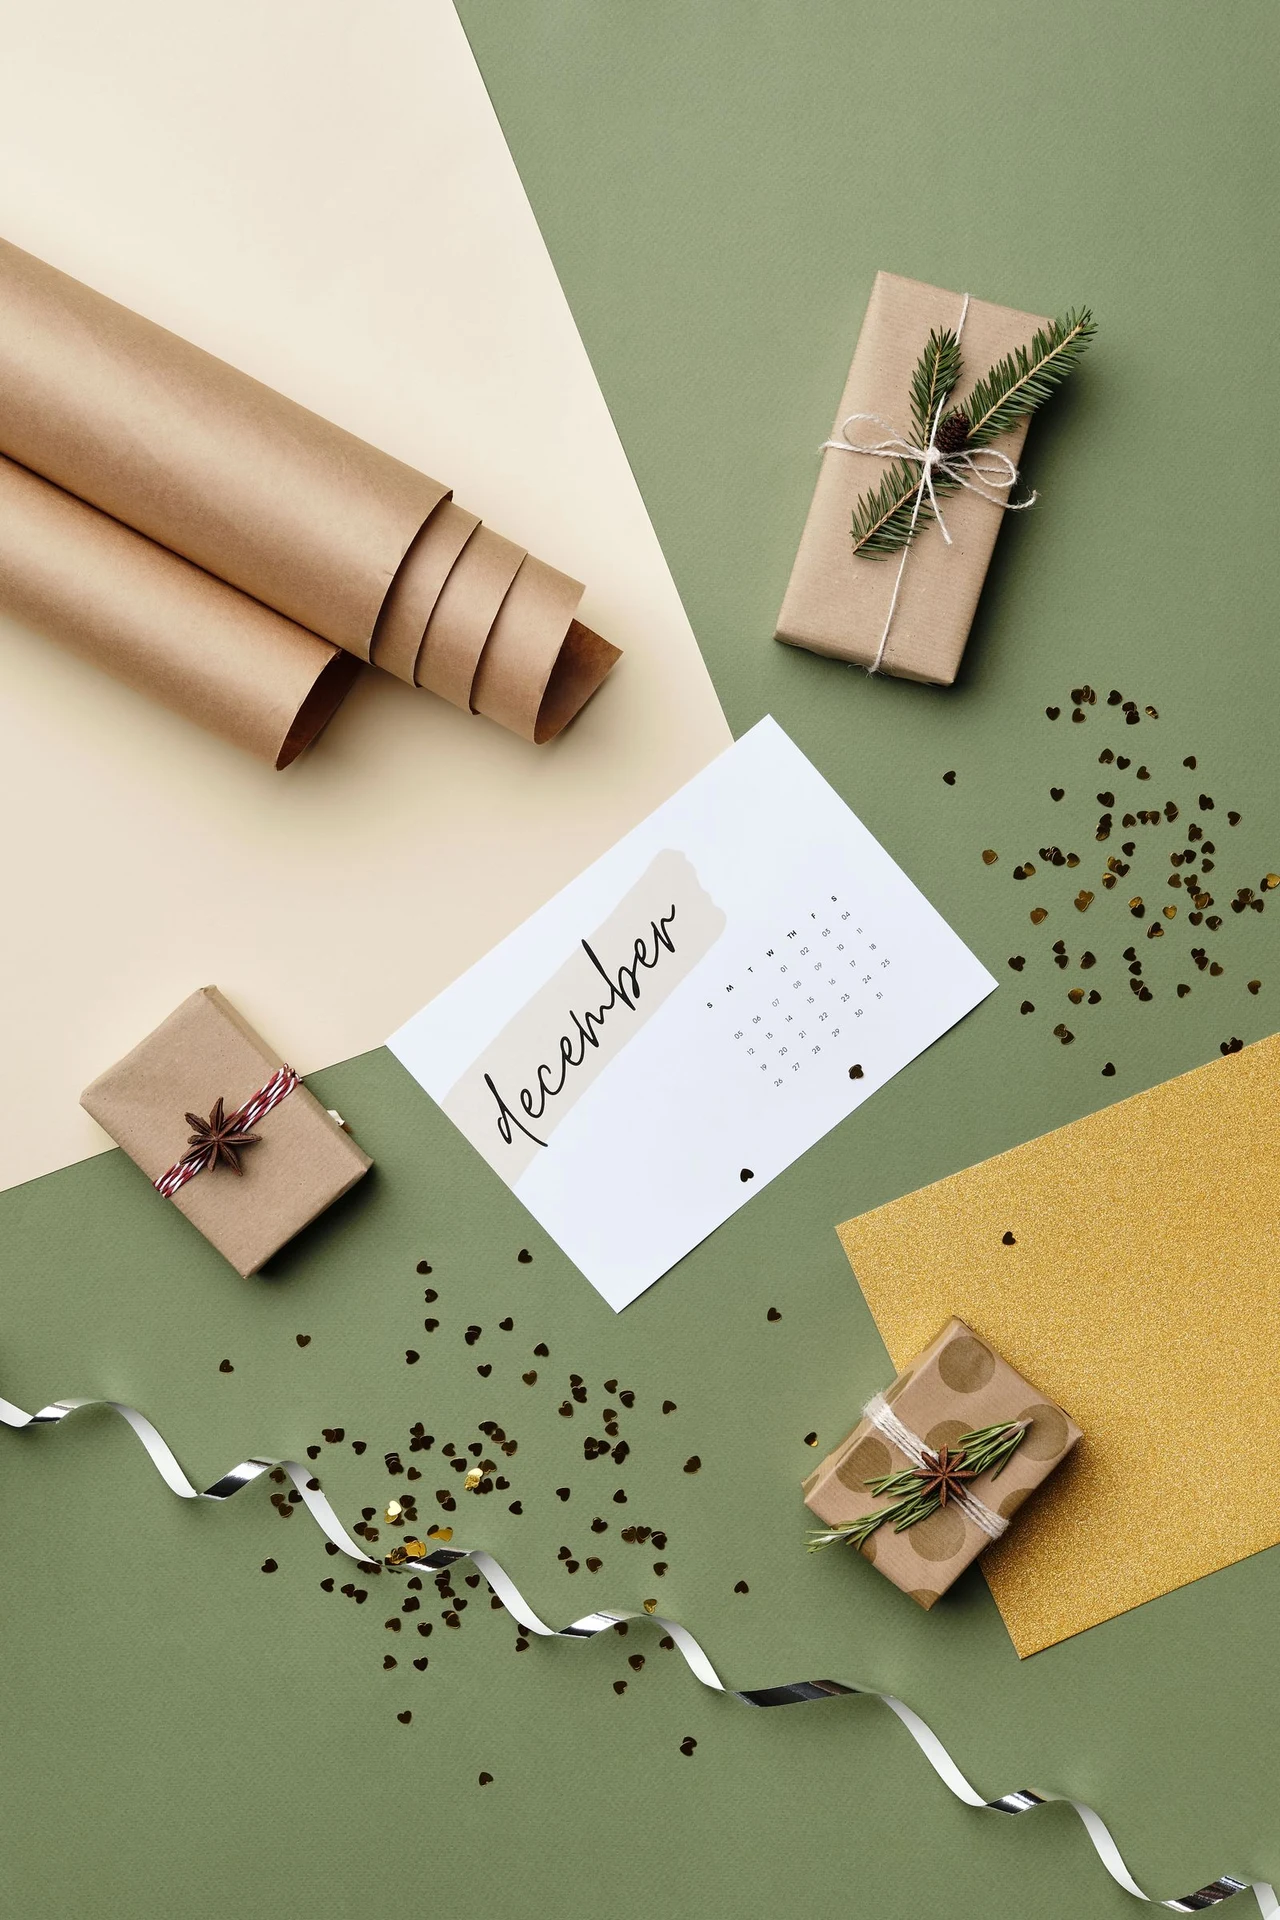
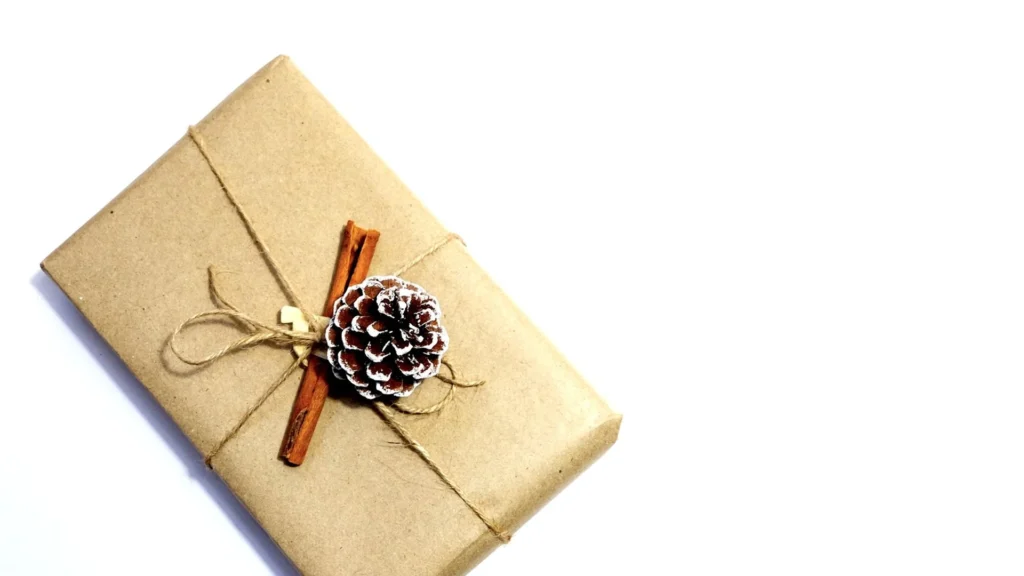
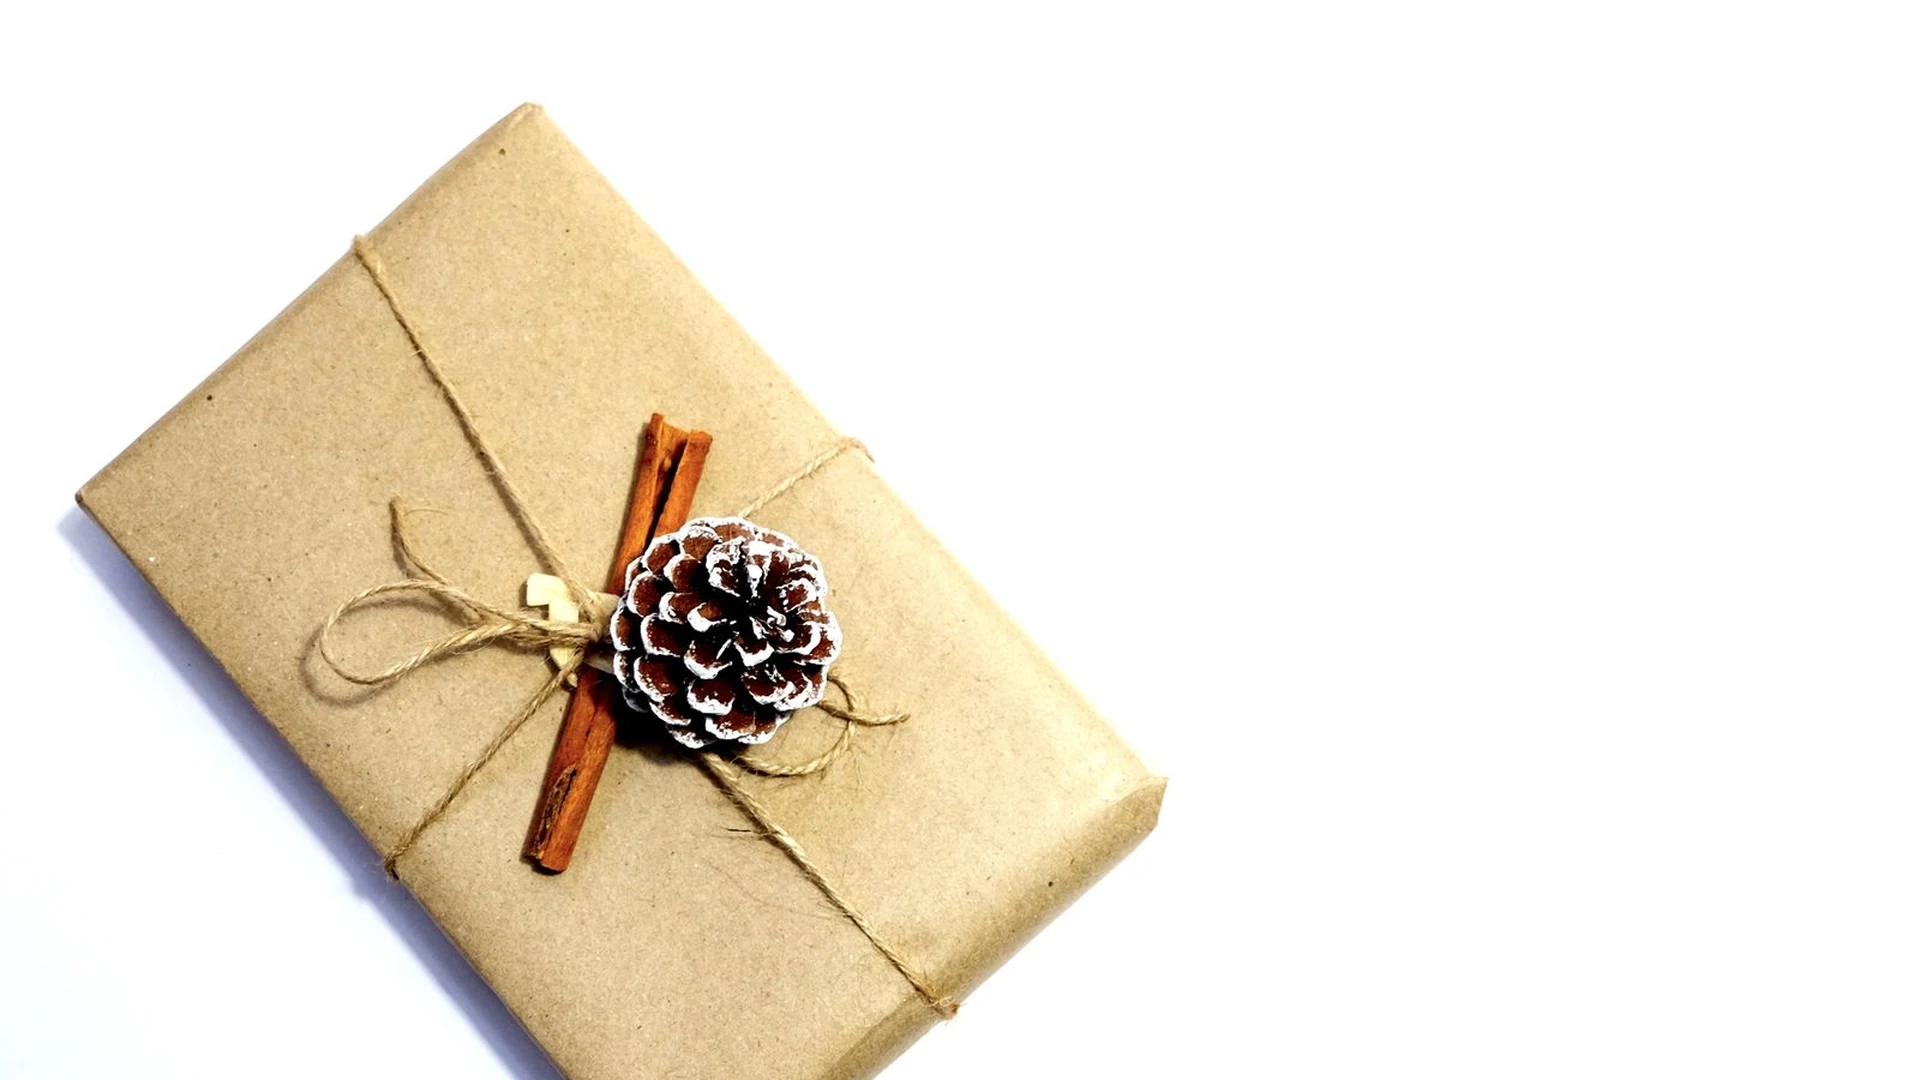
Brown kraft paper and a double wrap of twine is the simplest wrapping there is, and the one that goes with absolutely everything. It suits every present, every tree and every room — and it costs almost nothing, which leaves the budget for the present inside.
Wrap the paper tightly and crease the corners sharply; kraft shows every wrinkle, so take your time with the folds. Tie the twine twice around the box and finish with a simple bow, then tuck a small sprig of pine or a dried orange slice under the knot.
Tip: Buy kraft paper in a wide roll rather than sheets — a roll wraps odd shapes without joins, and it lasts the whole season.
2. Tuck In Fresh Greenery
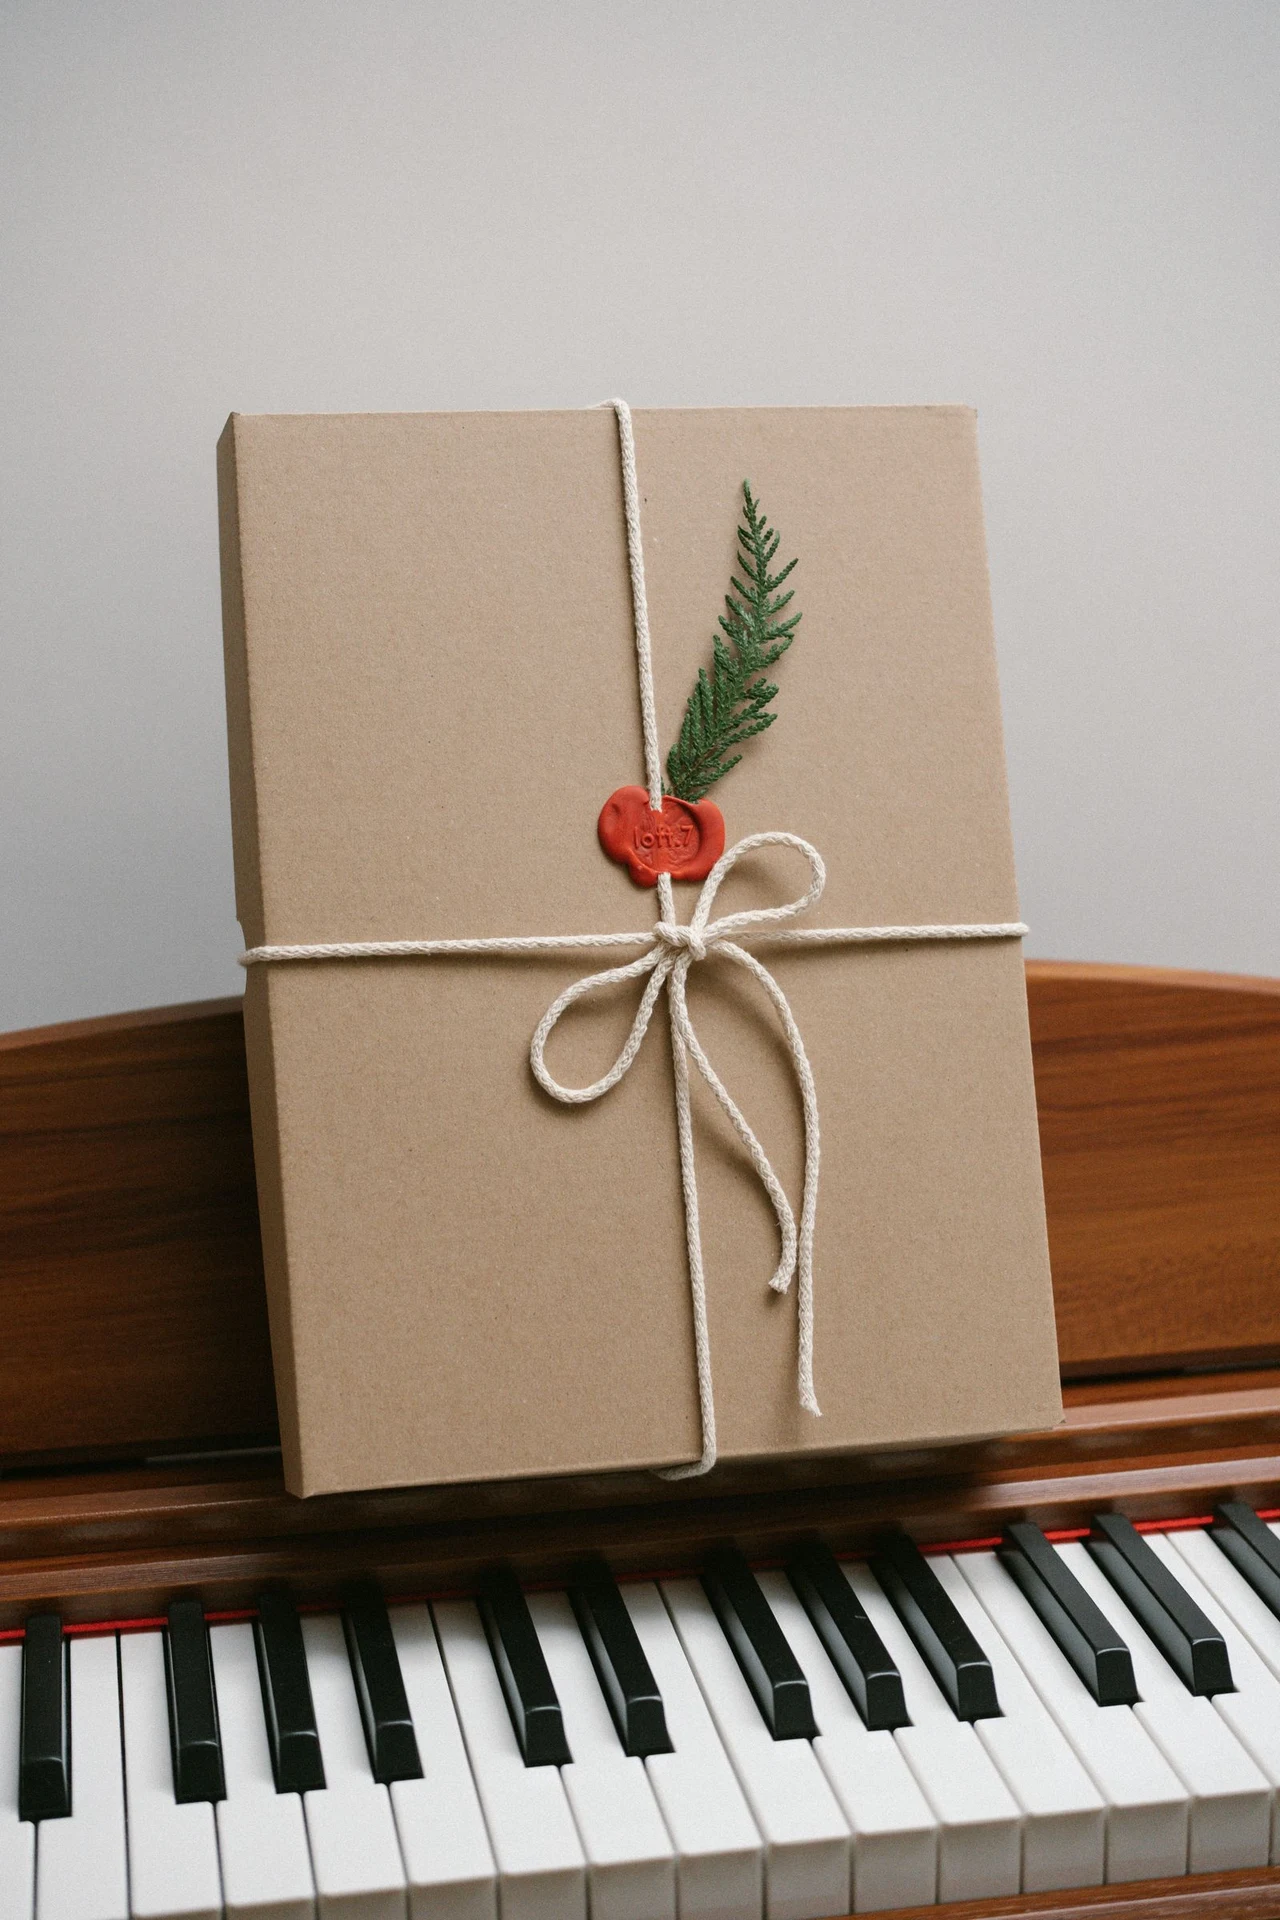
A sprig of fresh greenery under the ribbon turns a plain parcel into something that smells like Christmas before it is even opened. Pine, eucalyptus, rosemary and holly all work, and a little goes a long way — one sprig per parcel is enough.
Cut the greenery the morning you wrap, so it stays fresh, and slide it under the bow rather than taping it flat — the sprig should stand up a little, like a tiny bouquet. Rosemary is the hardiest choice; it holds its shape for days and smells wonderful.
Tip: Keep a small jug of water by the wrapping table and stand the cut sprigs in it while you work, so nothing wilts before it is tied on.
3. Tie Oversized Velvet Bows

An oversized bow is the fastest way to make a parcel look expensive: one big bow, no other decoration, and the present underneath could be anything. Burgundy, forest green and deep navy velvet all read as luxury, especially against plain paper.
Cut the ribbon long — a bow that looks generous needs at least twice the width of the box in ribbon, plus the tails. Loop the bow twice for fullness, and pinch the centre tight before tying it off so the loops hold their shape.
Tip: Velvet ribbon frays less than satin, so you can cut the tails on a diagonal and they will stay neat all the way to Christmas morning.
4. Go Classic With Red and Gold

Red and gold paper is the wrapping equivalent of a favourite Christmas jumper: warm, familiar, and instantly festive. It needs almost nothing else — a plain cream ribbon and a simple tag are enough, because the red and gold do all the work.
Match the red and gold to the tree rather than to the present: red and gold parcels look best under a tree with red or gold ornaments, and a little lost under a silver one. If your tree is neutral, use red and gold on just one or two parcels as the accent.
Tip: Buy red and gold paper with a small repeat rather than a huge one — a small pattern wraps neatly around corners without breaking awkwardly.
5. Keep It Black and White
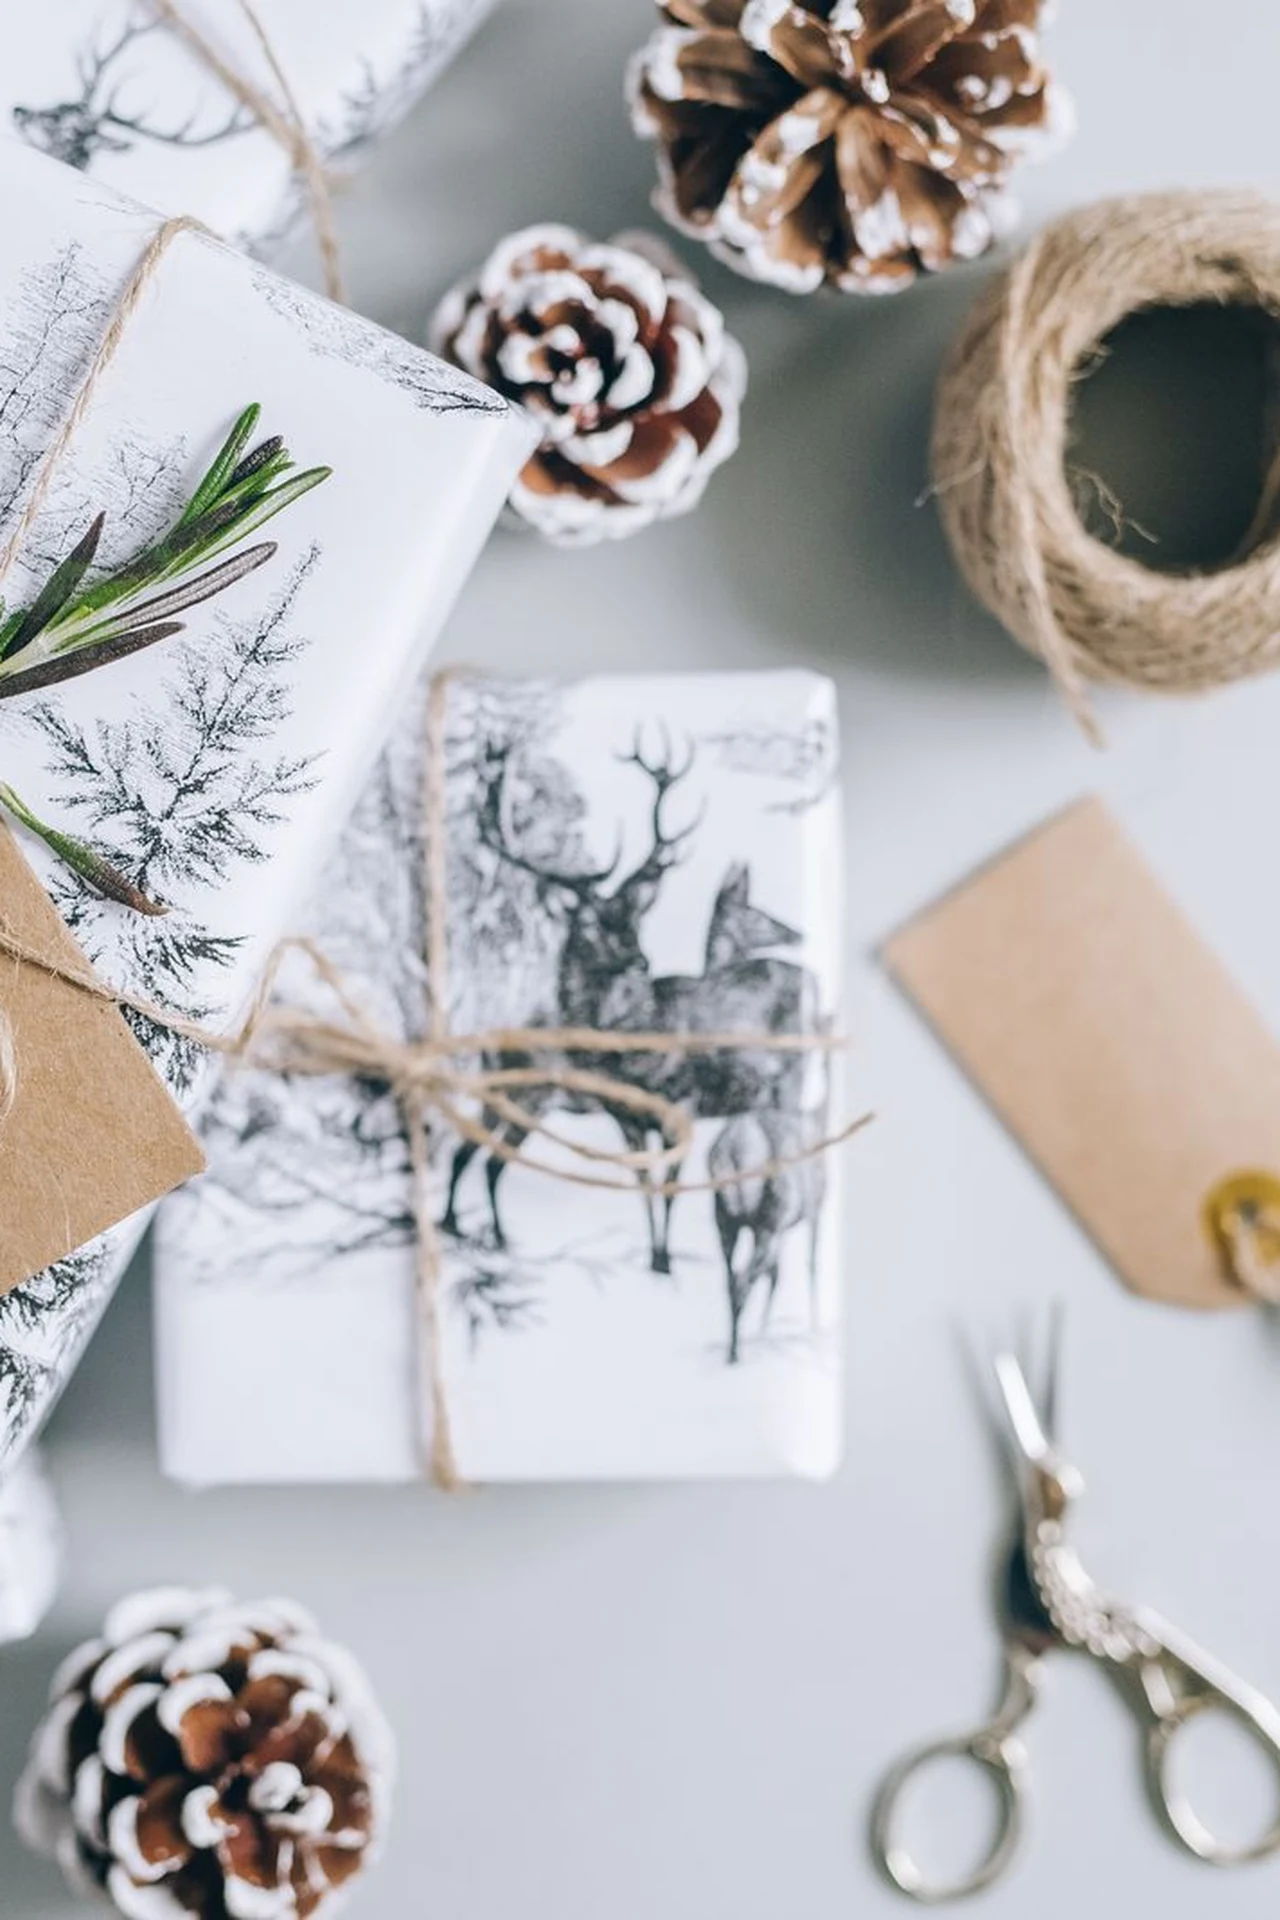
Black and white wrapping is the sharpest look in the set: white paper printed with black trees, stars and snowflakes, a black ribbon, and nothing else. It suits a modern tree, a minimalist room, and anyone who finds red and green a little much by the third week of December.
The trick is contrast — pure white paper, not cream, and a ribbon wide enough to read as a deliberate stripe. A black wax seal or a black-and-white striped ribbon adds the finishing touch without adding colour.
Tip: Black and white parcels photograph beautifully, so use this look on the presents that will sit under the tree longest — they will look good in every photo.
6. Wrap in Fabric, Furoshiki Style
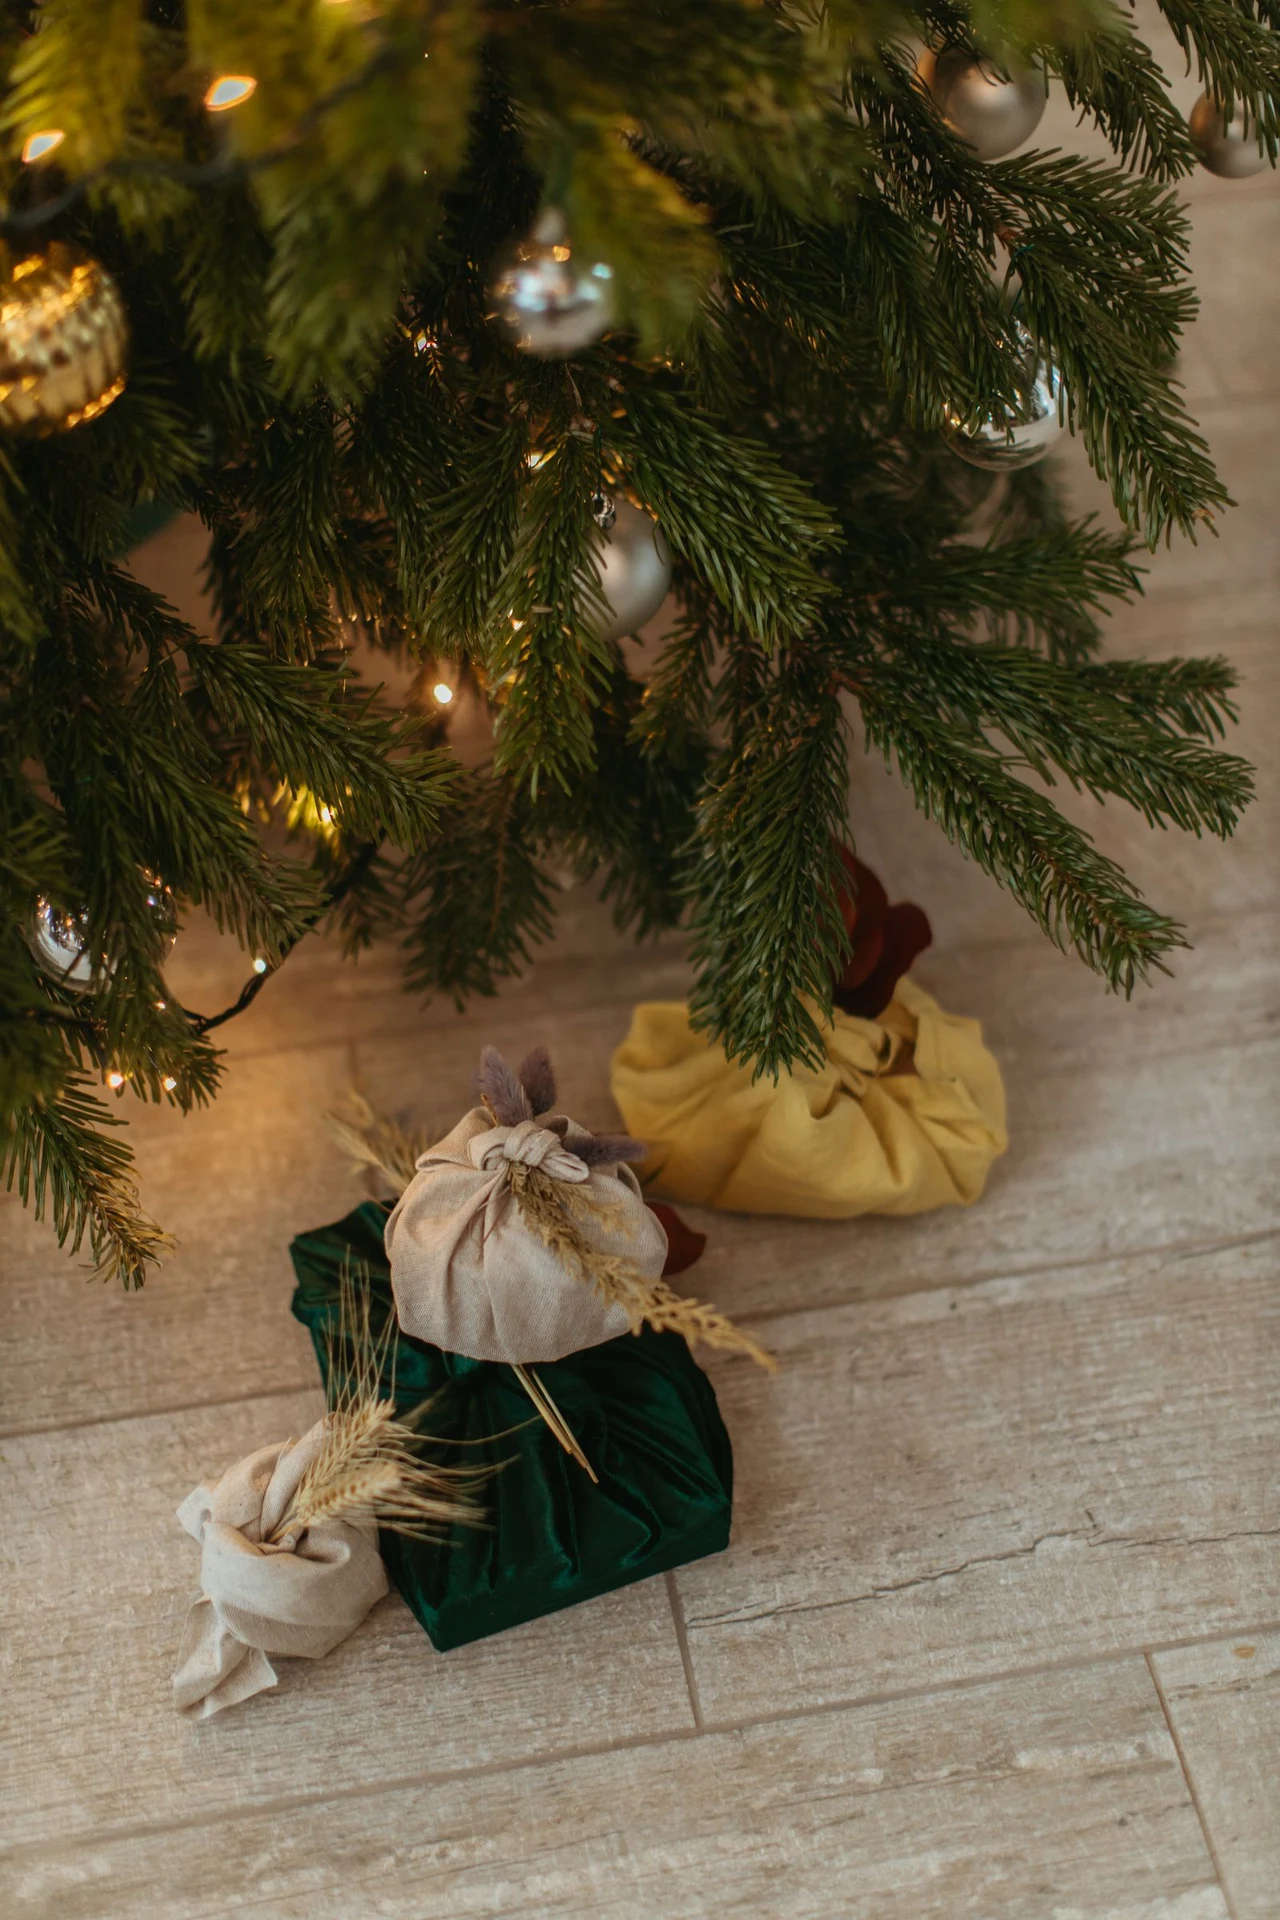
Furoshiki is the Japanese art of wrapping gifts in cloth, and it is the most reusable wrapping there is: a square of fabric, a few clever folds, and the wrap itself becomes part of the gift. Tea towels, scarves and linen napkins all work.
Use a square at least twice the width of the gift, lay the gift diagonally in the centre, and bring opposite corners together over the top. Tie the two remaining corners in a knot, and tuck a sprig of greenery into the knot to finish it.
Tip: Choose fabric with a pattern the recipient will like on its own — a pretty tea towel or a soft scarf — because the wrap is a second present.
7. Stamp or Print Your Own Kraft Paper
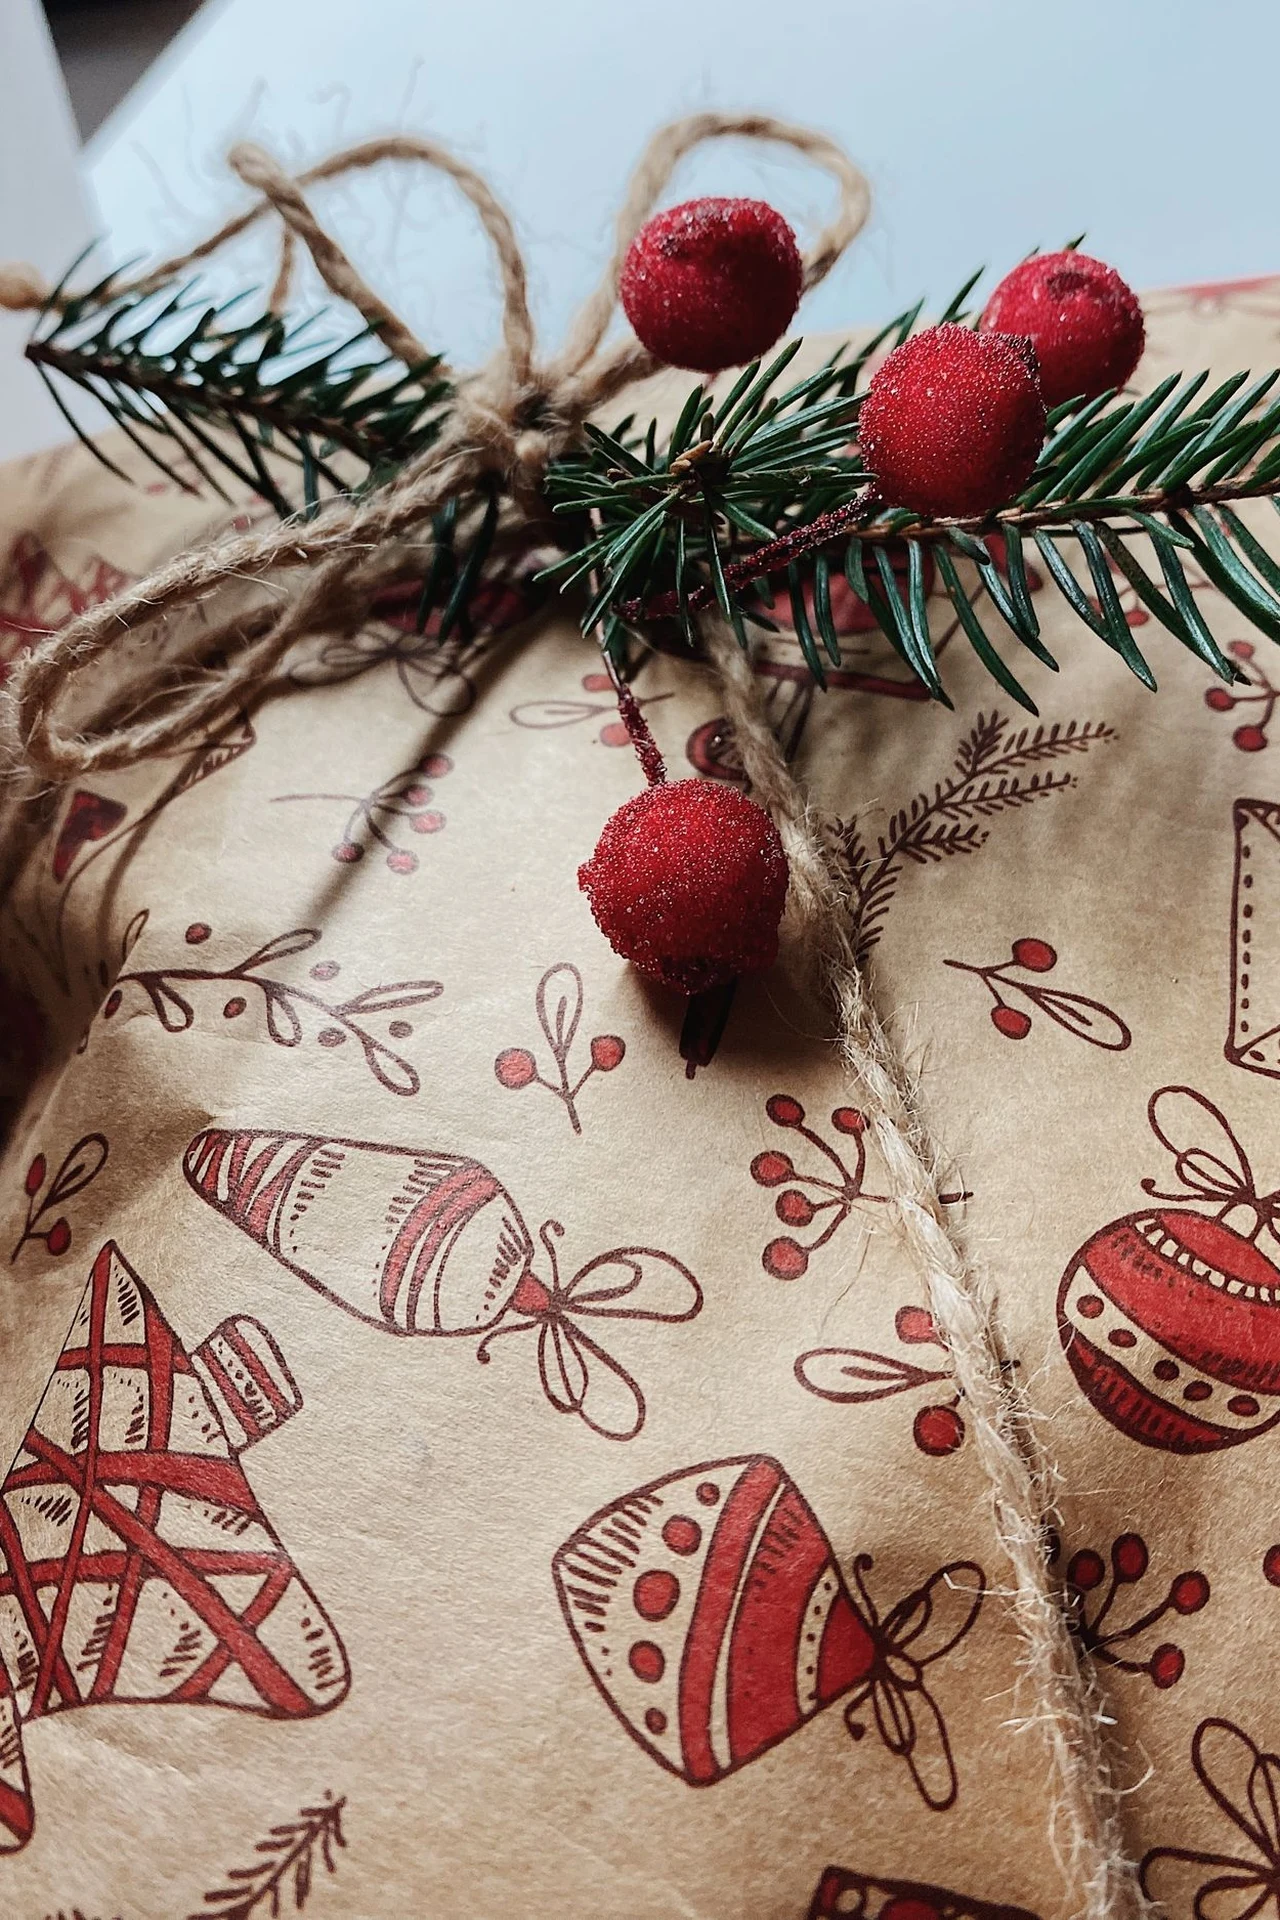
A potato stamp, a rubber stamp, or a printed pattern turns plain kraft paper into custom wrapping paper in one evening: snowflakes, stars, little trees, repeated in a neat grid across the roll. It is the cheapest custom paper there is, and children love helping.
Stamp on the flat roll before you cut it, working in rows from one end to the other, and let each row dry before you start the next — wet ink smudges the moment the paper rolls. White or gold ink shows best on kraft; black ink disappears into it.
Tip: Keep the stamp simple — one shape, one colour, evenly spaced — and the paper looks designed rather than decorated.
8. Use a Gift Bag When Time Is Short
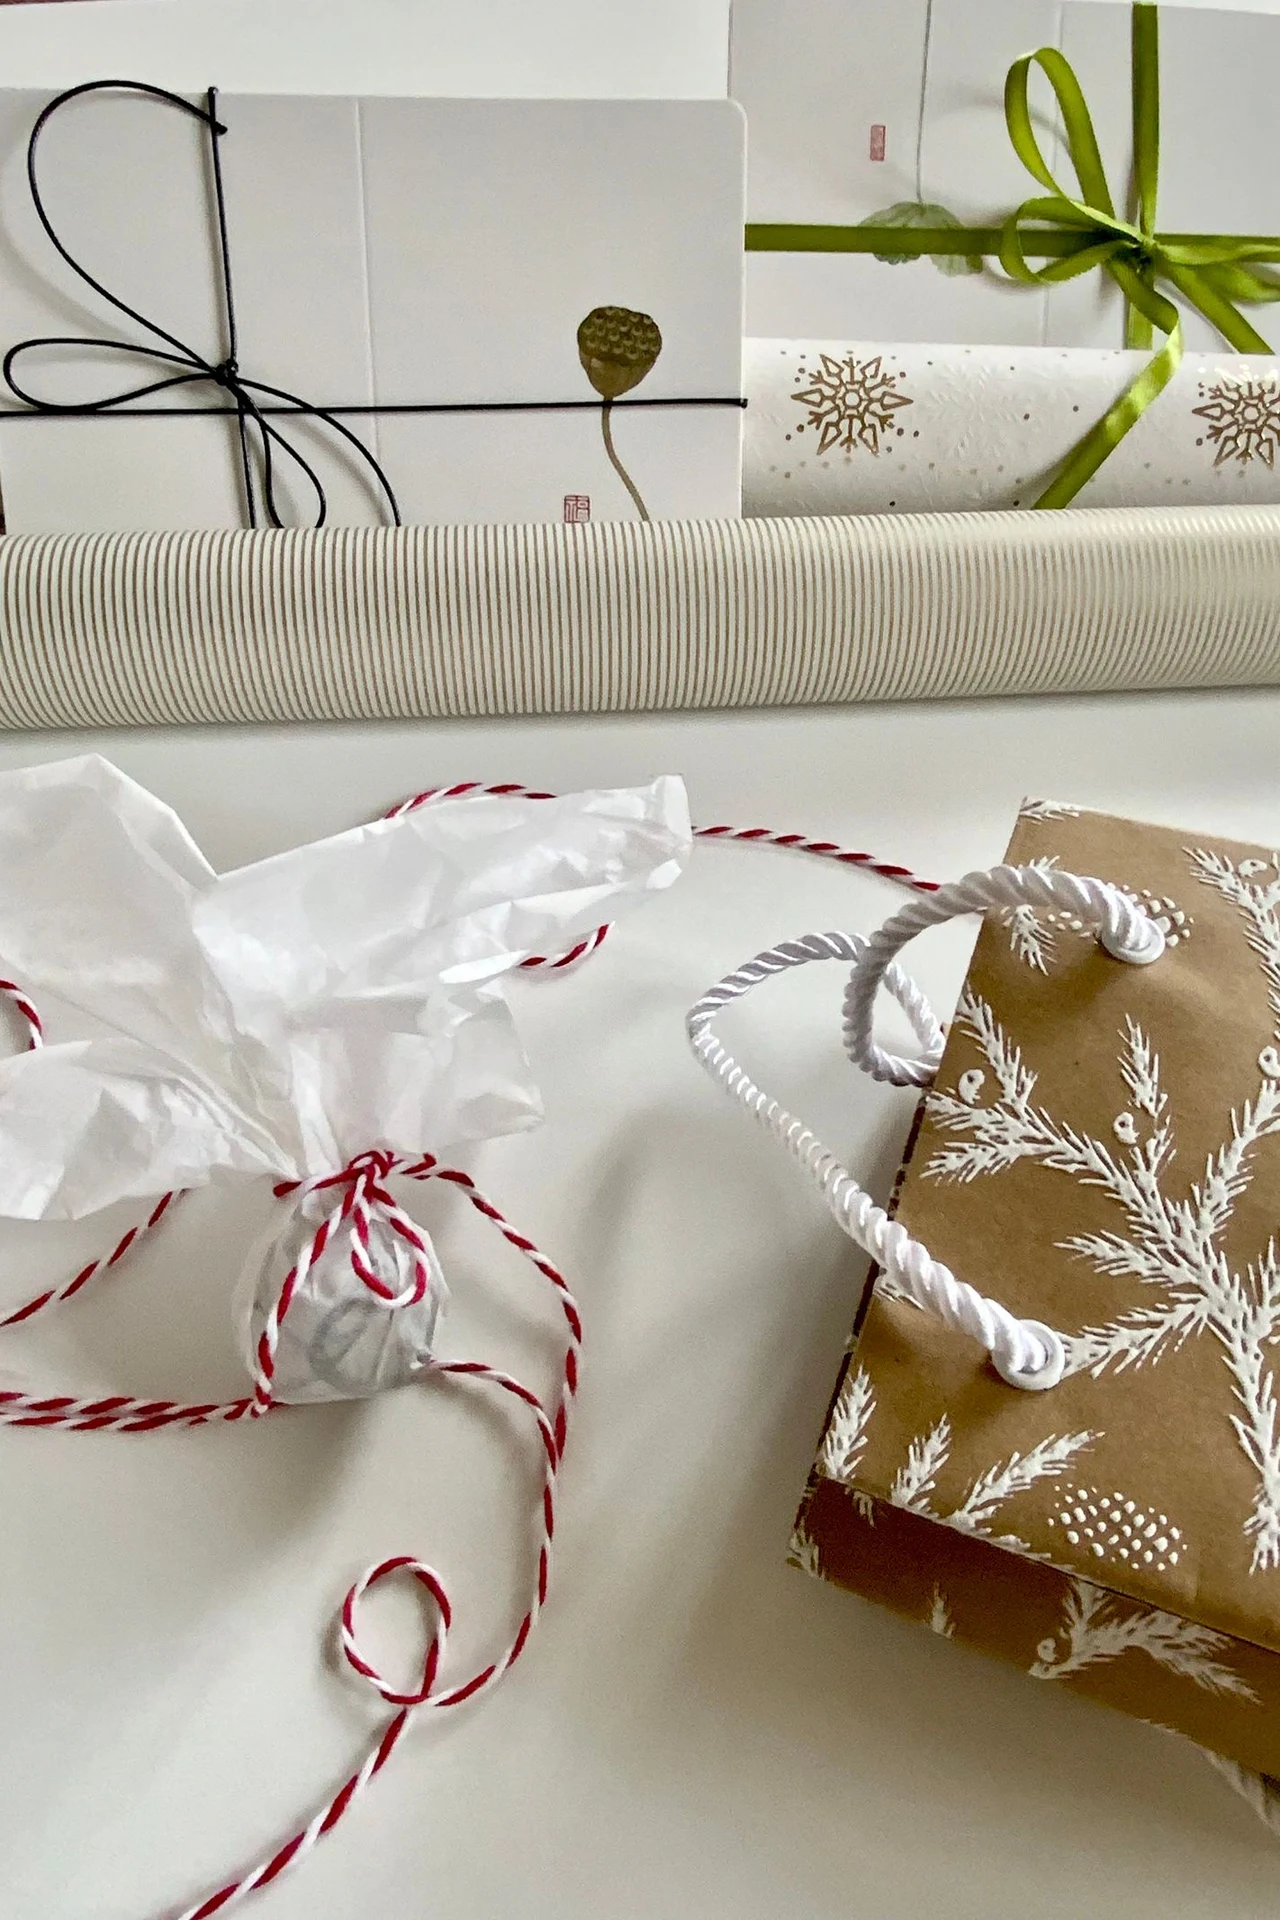
A gift bag is the wrapping for the night before Christmas: a pretty bag, a sheet of tissue paper, and the present is wrapped in under a minute. It suits awkward shapes best — a bottle, a soft toy, a present that refuses to sit square — and it looks deliberate, not rushed.
Choose a bag a little bigger than the present, so the tissue sits proud of the top rather than squashed flat, and match the tissue to the bag — white tissue in a gold bag, red tissue in a kraft bag. A length of twine or ribbon around the handles finishes it.
Tip: Keep a small stack of plain gift bags and tissue in different sizes by the wrapping table, and the last-minute present is never a panic.
9. Go Traditional With Red and Green
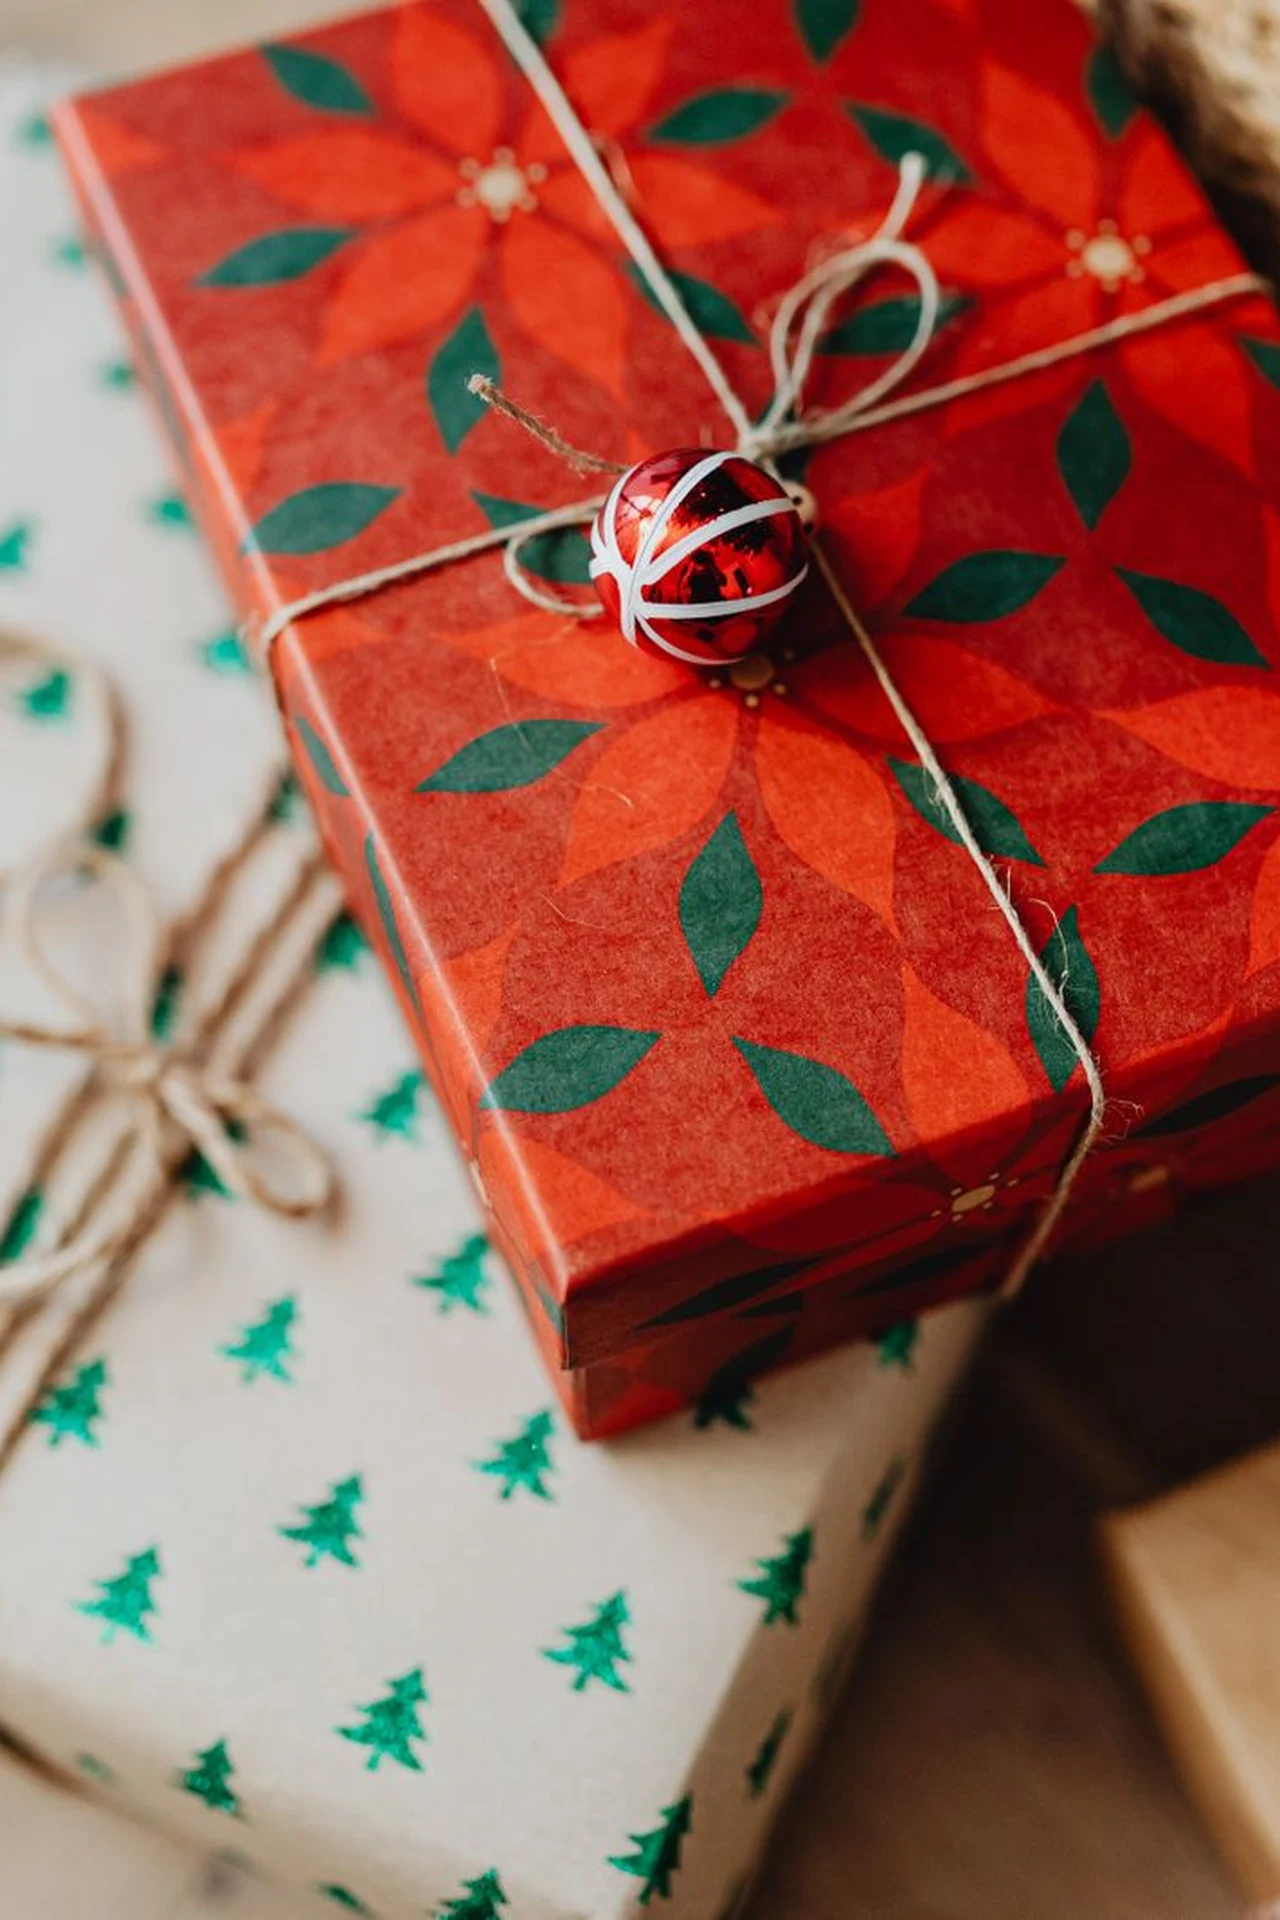
Red and green paper is the most traditional wrapping there is: red parcels, green parcels, and the two colours mixed under the tree like holly. It needs almost nothing else — a plain gold ribbon on the red parcels, a plain red ribbon on the green ones, and the tree does the rest.
Use the two colours in roughly equal measure, so neither one dominates — a tree full of red parcels with one green one looks like a mistake, while a balanced mix looks planned. A sprig of greenery on a red parcel, or a red berry on a green one, ties the two together.
Tip: Buy the red and the green paper from the same range, so the shades match — a bright red with a dark green looks wrong, while two colours from one collection always sit well together.
10. Wrap in Sheet Music
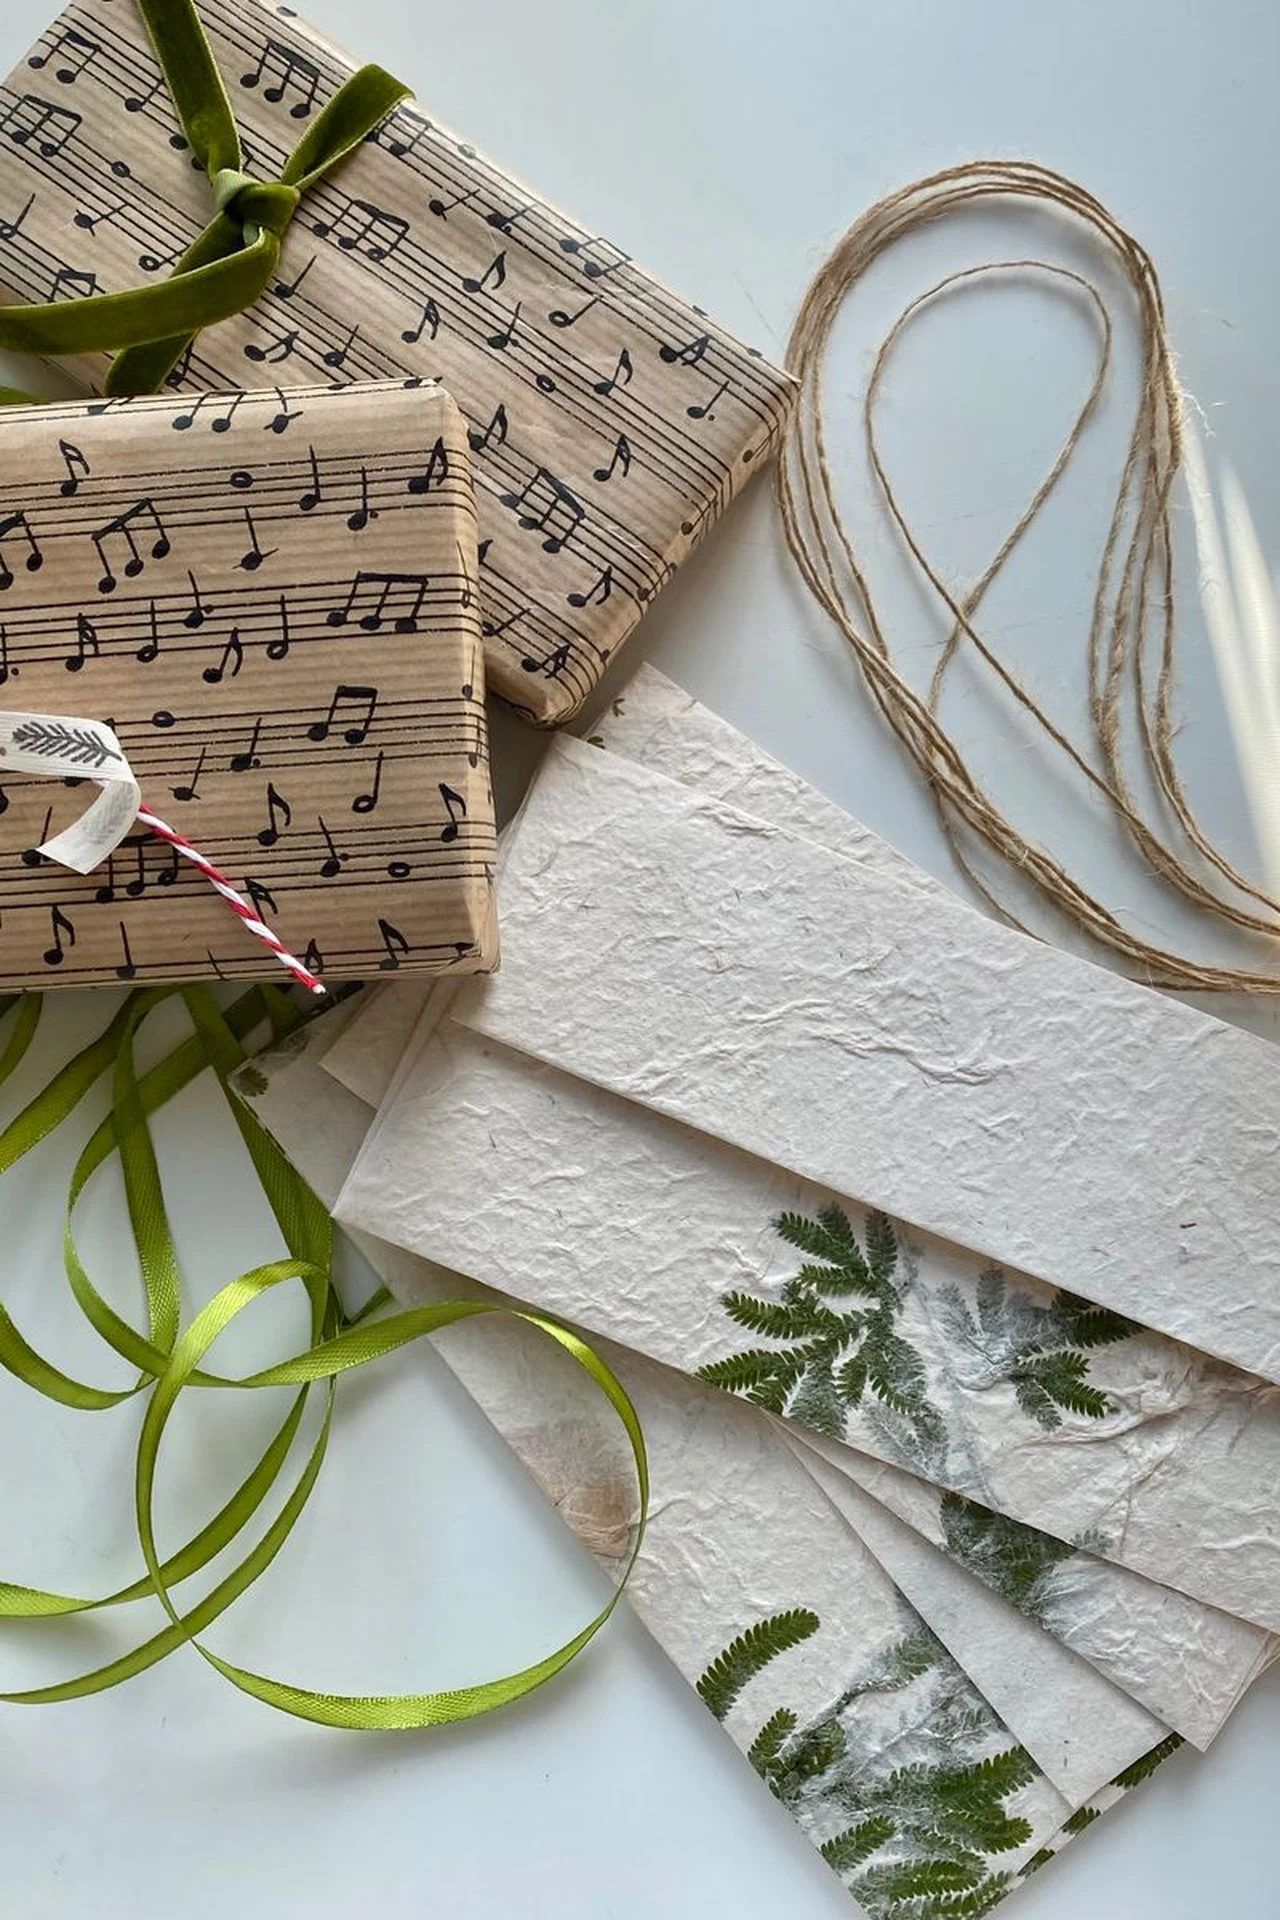
Old sheet music makes the most romantic wrapping paper: cream pages, black notes, a little history in every fold. It suits a vintage tree, a musical recipient, and anyone who loves the look of old paper — and it costs nothing if you already have the books.
Use pages with a large, clear print rather than dense small notes, and wrap with the music facing out — the notes are the decoration. A plain red ribbon is the classic pairing; gold ribbon works too, but black ribbon disappears into the print.
Tip: Photocopy the pages rather than cutting up a real book, unless the book is already falling apart — and then the wrapping is a rescue, not a loss.
11. Finish With One Beautiful Tag

A parcel is not finished until the tag is tied on, and one beautiful tag beats a pile of small ones: a single printed tag, tied with twine, with the name written in your best handwriting. The tag is the last thing the recipient reads before opening, so make it count.
Print a set of tags to match your paper — our free printable Christmas gift tags come in ten designs, from kraft and twine to red plaid and a little red truck — and keep them in a tin by the wrapping table so you never hunt for one.
Tip: Write the name on the tag before you tie it on, not after — a tag written in place is always neater, and you will never smudge wet ink on the ribbon.
12. Layer Your Ribbons
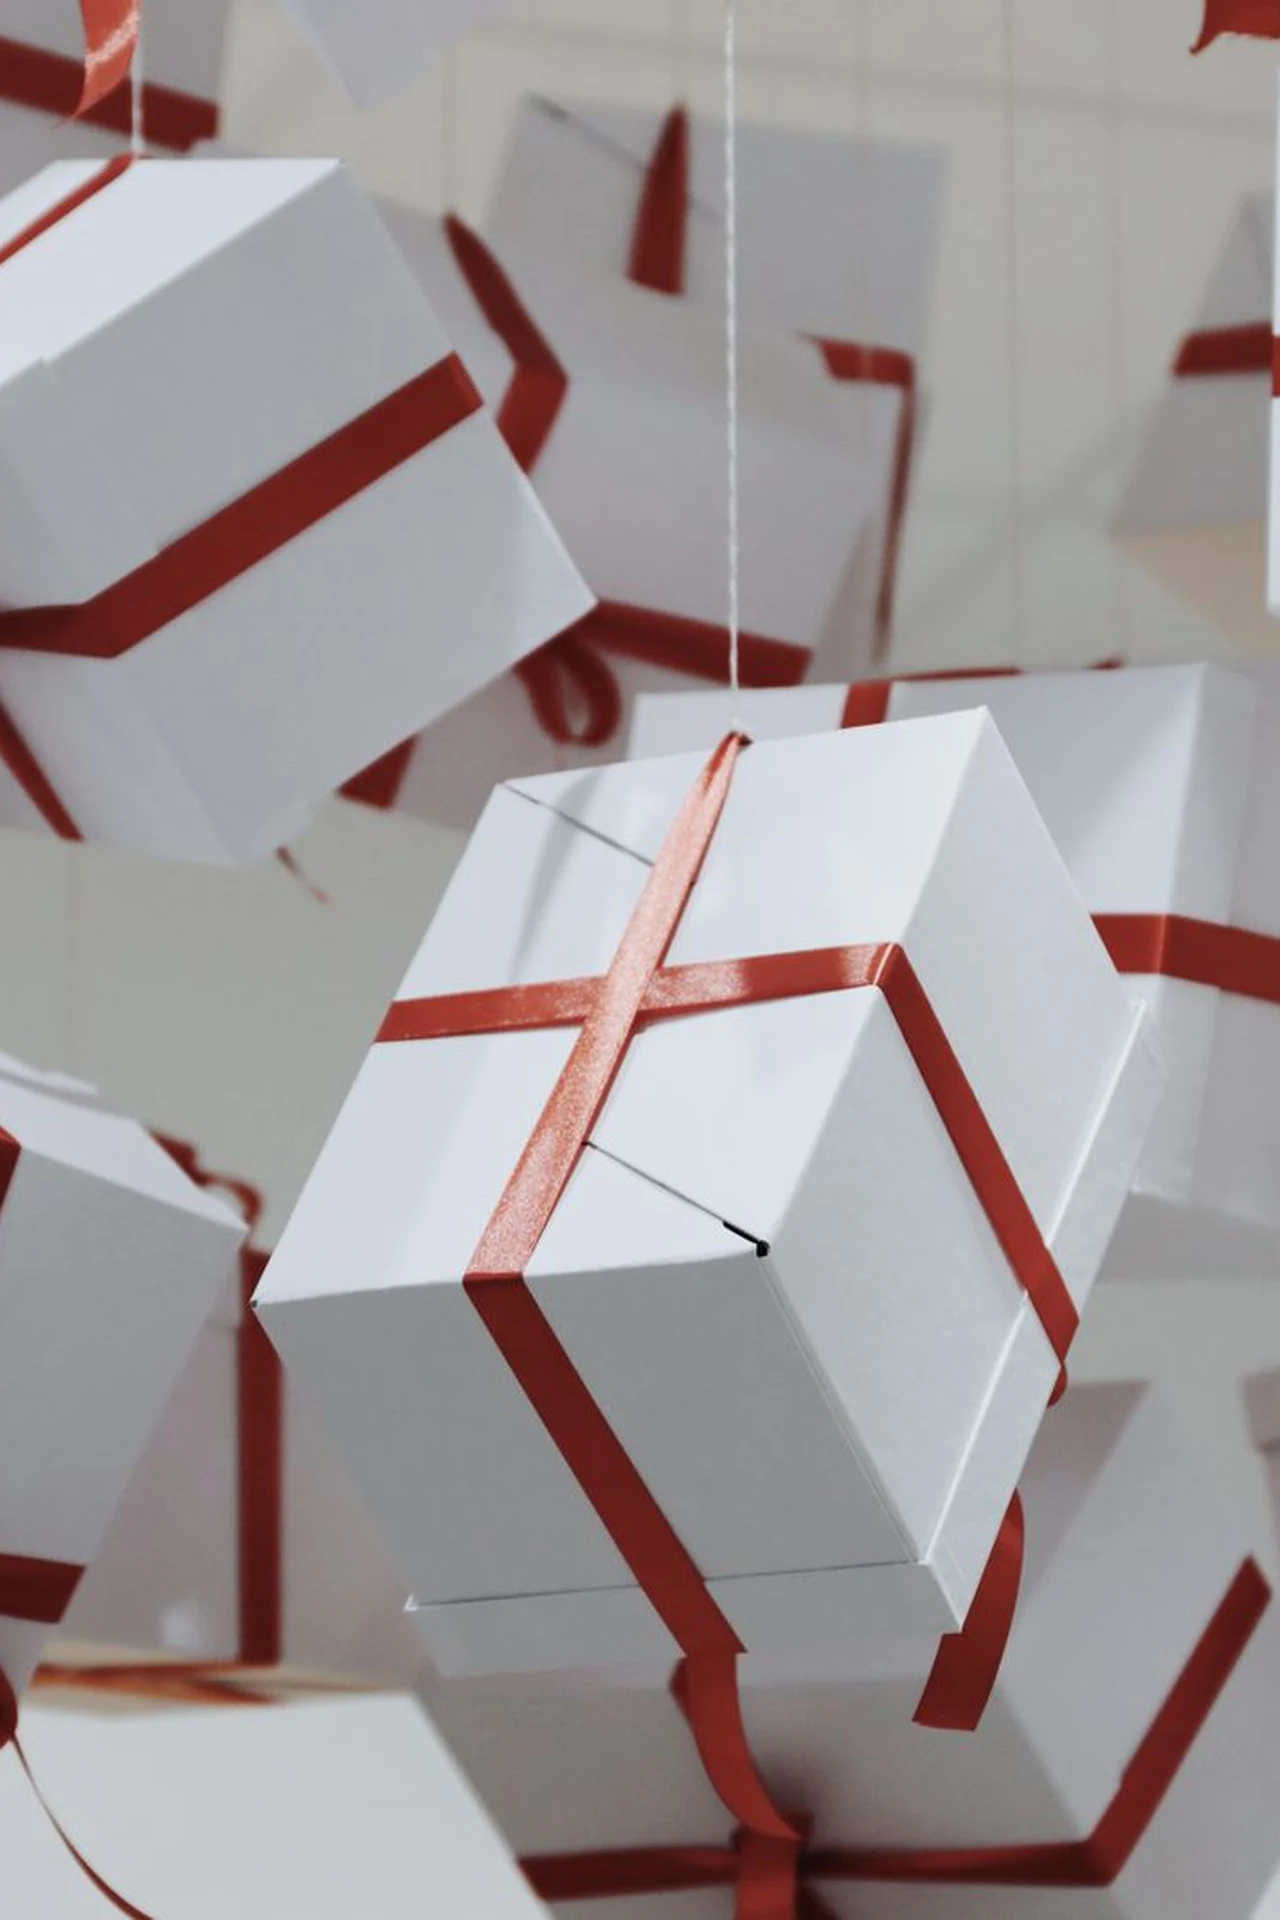
Two ribbons are better than one: a wide ribbon underneath, a narrow ribbon on top, tied together in one bow. The layering adds depth and colour without any extra decoration, and it uses up the short ends of ribbon rolls that are too small for a whole parcel.
Choose ribbons that contrast — wide red velvet under narrow gold satin, or wide cream grosgrain under thin green velvet — and tie them as one, so the bow shows both. Keep the tails the same length, or the narrower ribbon looks like a mistake.
Tip: Layering is the best use for ribbon scraps: a short piece of a beautiful ribbon, layered over a plain one, looks deliberate rather than leftover.
13. Use Boxes With Lids and Toppers

A gift box with a lid is the easiest parcel to wrap beautifully: the box does the shaping, and all you need is paper, ribbon and a topper. A pinecone, a bauble, a sprig of greenery or a small ornament tied on top finishes it in seconds.
Wrap the lid and the base separately, so the box still opens — wrapping them together seals the present shut, and the recipient has to tear the paper to get in. A ribbon around the whole box holds lid and base together without glue.
Tip: Keep a few plain boxes in different sizes by the wrapping table, and an awkward present becomes a neat parcel in minutes.
14. Hang Bells and Candy Canes
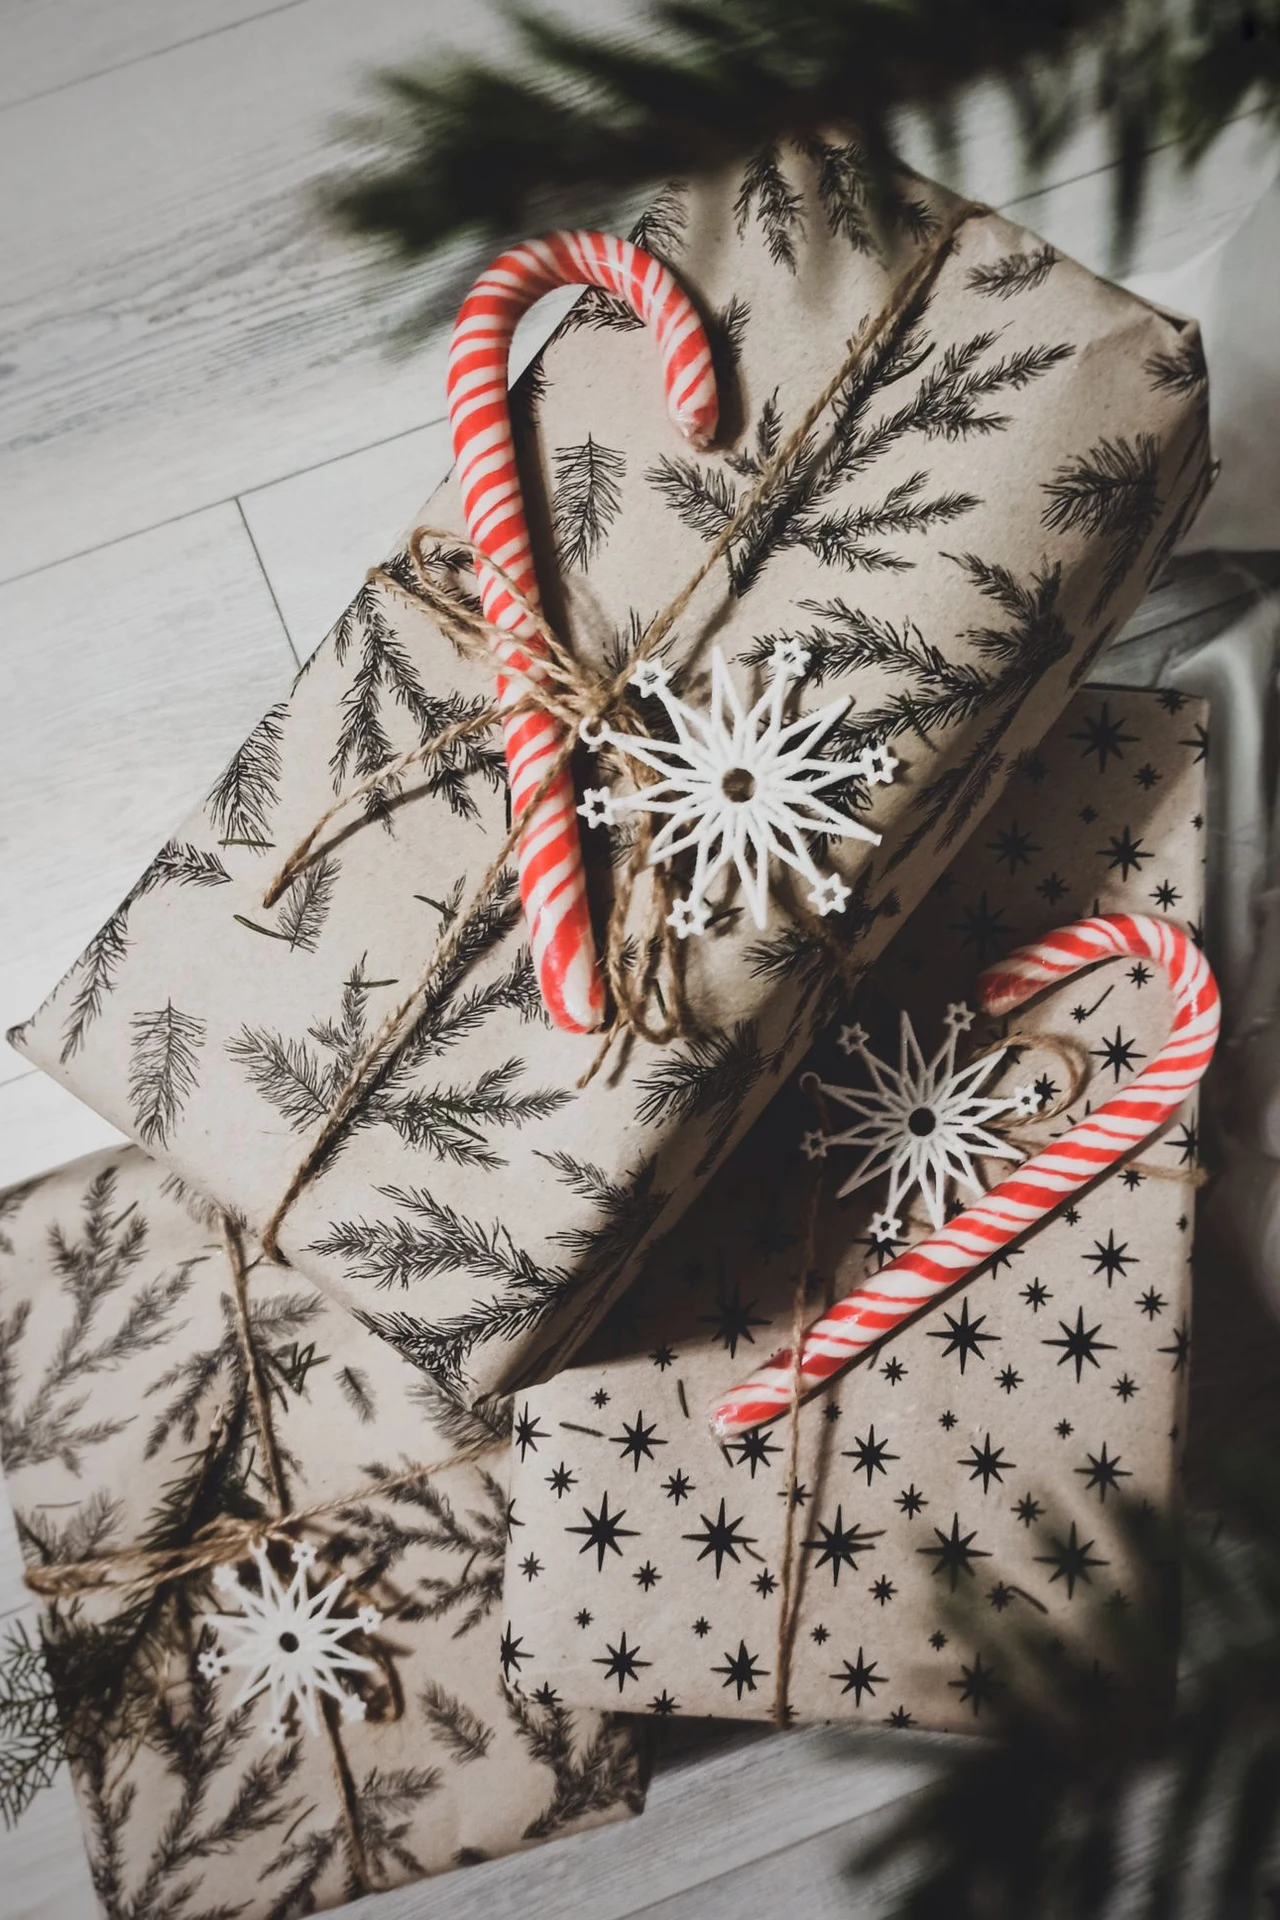
Little bells and candy canes tied to the ribbon make a parcel that jingles and smells of peppermint: the sound when the present is picked up, the red-and-white stripe against the paper, and the excuse to hang one more decoration on the tree.
Tie the bells on with a short length of twine through the ribbon knot, so they hang free and ring when the parcel moves. Two small bells are enough; a whole cluster tangles and drowns the bow.
Tip: Candy canes make good parcel decorations too, but tie them on the day the present is given — a candy cane left on a warm parcel goes sticky.
15. Make a Matching Set for the Tree

A matching set of parcels under the tree — same paper, same ribbon, different sizes — is the most photogenic wrapping there is. It turns the presents into part of the decoration, and the tree looks dressed even before the lights go on.
Pick one paper and one ribbon for the whole set, and vary only the tags: a different tag design per person, or a different coloured tag per family member. The set looks unified, and everyone can still find their own presents.
Tip: Wrap the biggest presents first, so the set has a shape — a big box at the back, smaller ones in front — and the tree looks layered rather than crowded.
Keep Reading
Love this look? Keep going with more ideas from Zoraventra:
Frequently Asked Questions
What is the easiest Christmas gift wrapping idea?
Kraft paper and twine is the easiest — one roll of kraft, one ball of twine, and every present looks good. Add a sprig of greenery if you have it, and the parcel is finished.
How do you wrap a gift so it looks expensive?
Use one beautiful element and leave the rest plain: an oversized velvet bow on plain paper, or a single sprig of greenery on kraft. Expensive-looking wrapping is mostly about restraint, not about spending more.
What can I use instead of wrapping paper?
Fabric wraps, old sheet music, brown paper bags, newspaper, or a tea towel tied furoshiki-style all work. The wrap should suit the present — fabric for something soft, kraft for something heavy.
How do I keep ribbon bows from going flat?
Cut the ribbon long, loop the bow twice, and pinch the centre tight before tying it off. Velvet and grosgrain hold their shape better than satin, which slips.
Can I wrap presents early in December?
Yes — wrap them as you buy them, and store them somewhere cool and dry. Keep the tags off until the last week, so you can still move presents between piles without confusion.