15 DIY Christmas Ornament Ideas (Baubles, Felt & Handmade Charm)
A handmade ornament is the one you reach for first every year: the felt star your child made, the clay snowflake with a name on it, the wooden reindeer painted in an afternoon. Shop-bought ornaments fill a tree; handmade ones tell you which tree it is.
These fifteen ideas cover every kind of handmade ornament, from felt and paper stars to wooden reindeer, ceramic baubles, plush ornaments and beaded baubles. Most of them need nothing more than scraps, a pair of scissors and an hour — and every one of them is a little different from the last, which is the whole point.
If you are making the whole tree by hand, start with our easy DIY holiday wreaths and our Christmas tree decorating ideas — and our small Christmas tree decorating ideas are perfect for a tabletop tree full of handmade ornaments.
1. Sew Felt Ornaments
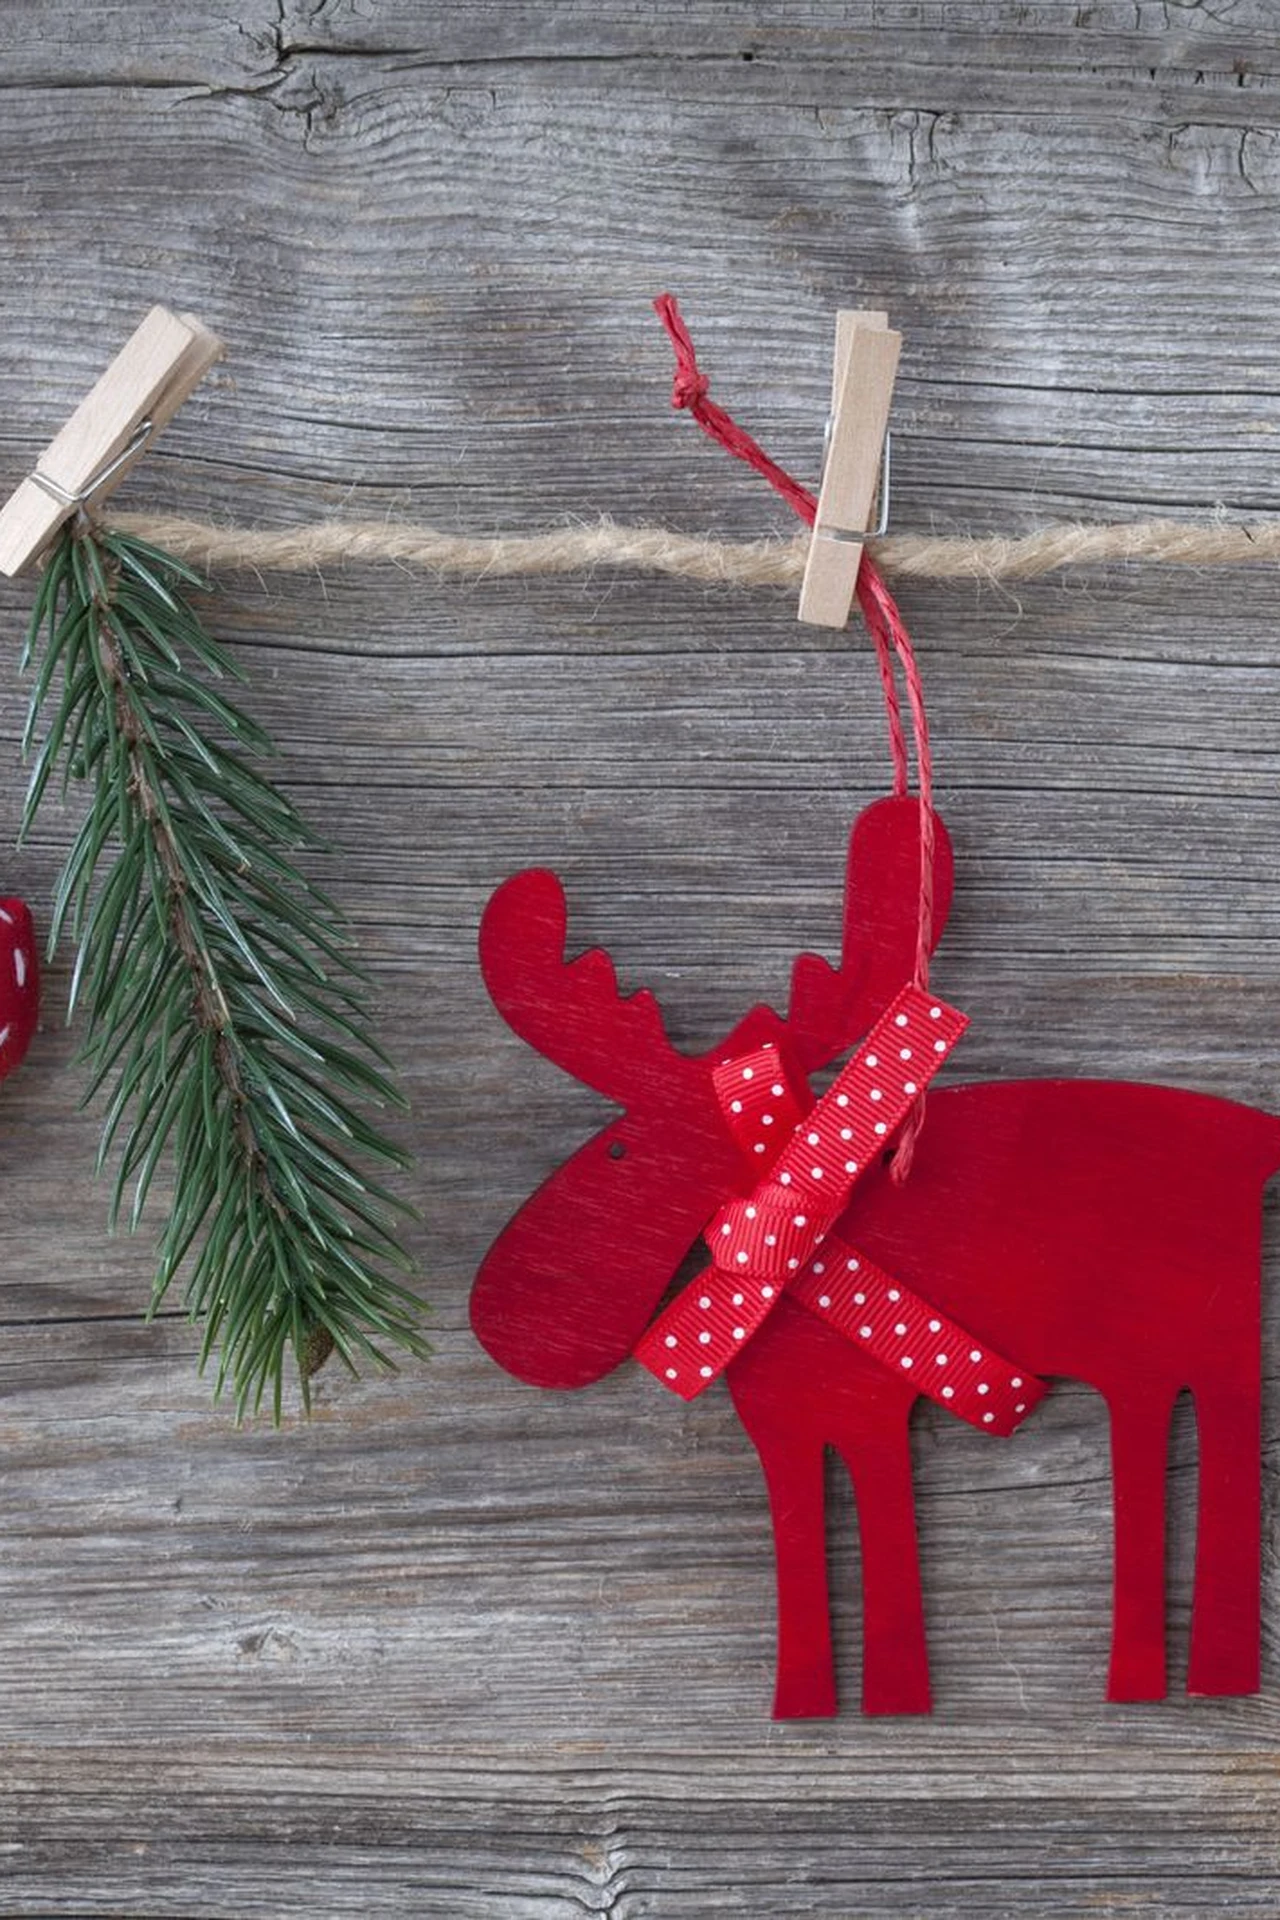
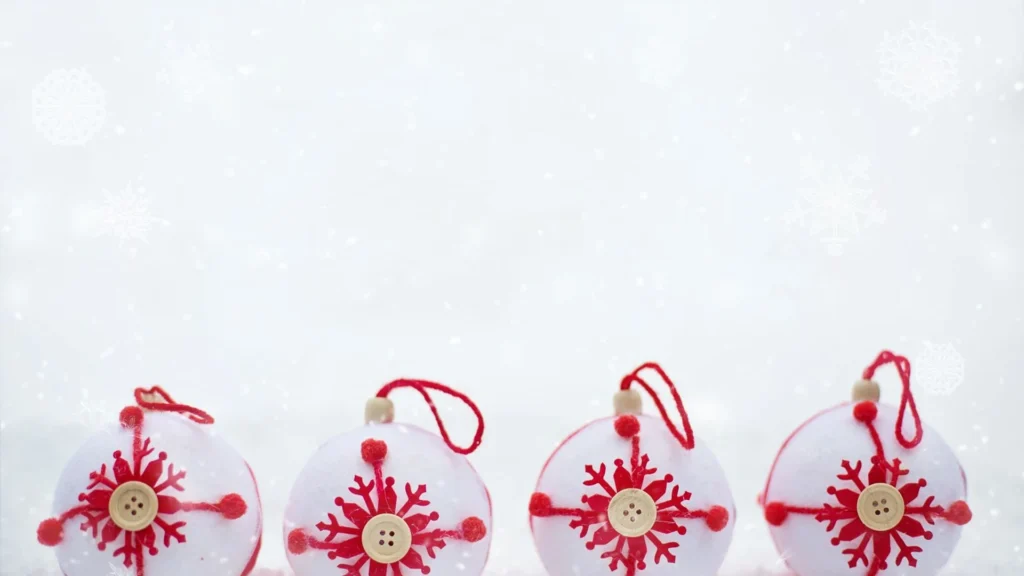
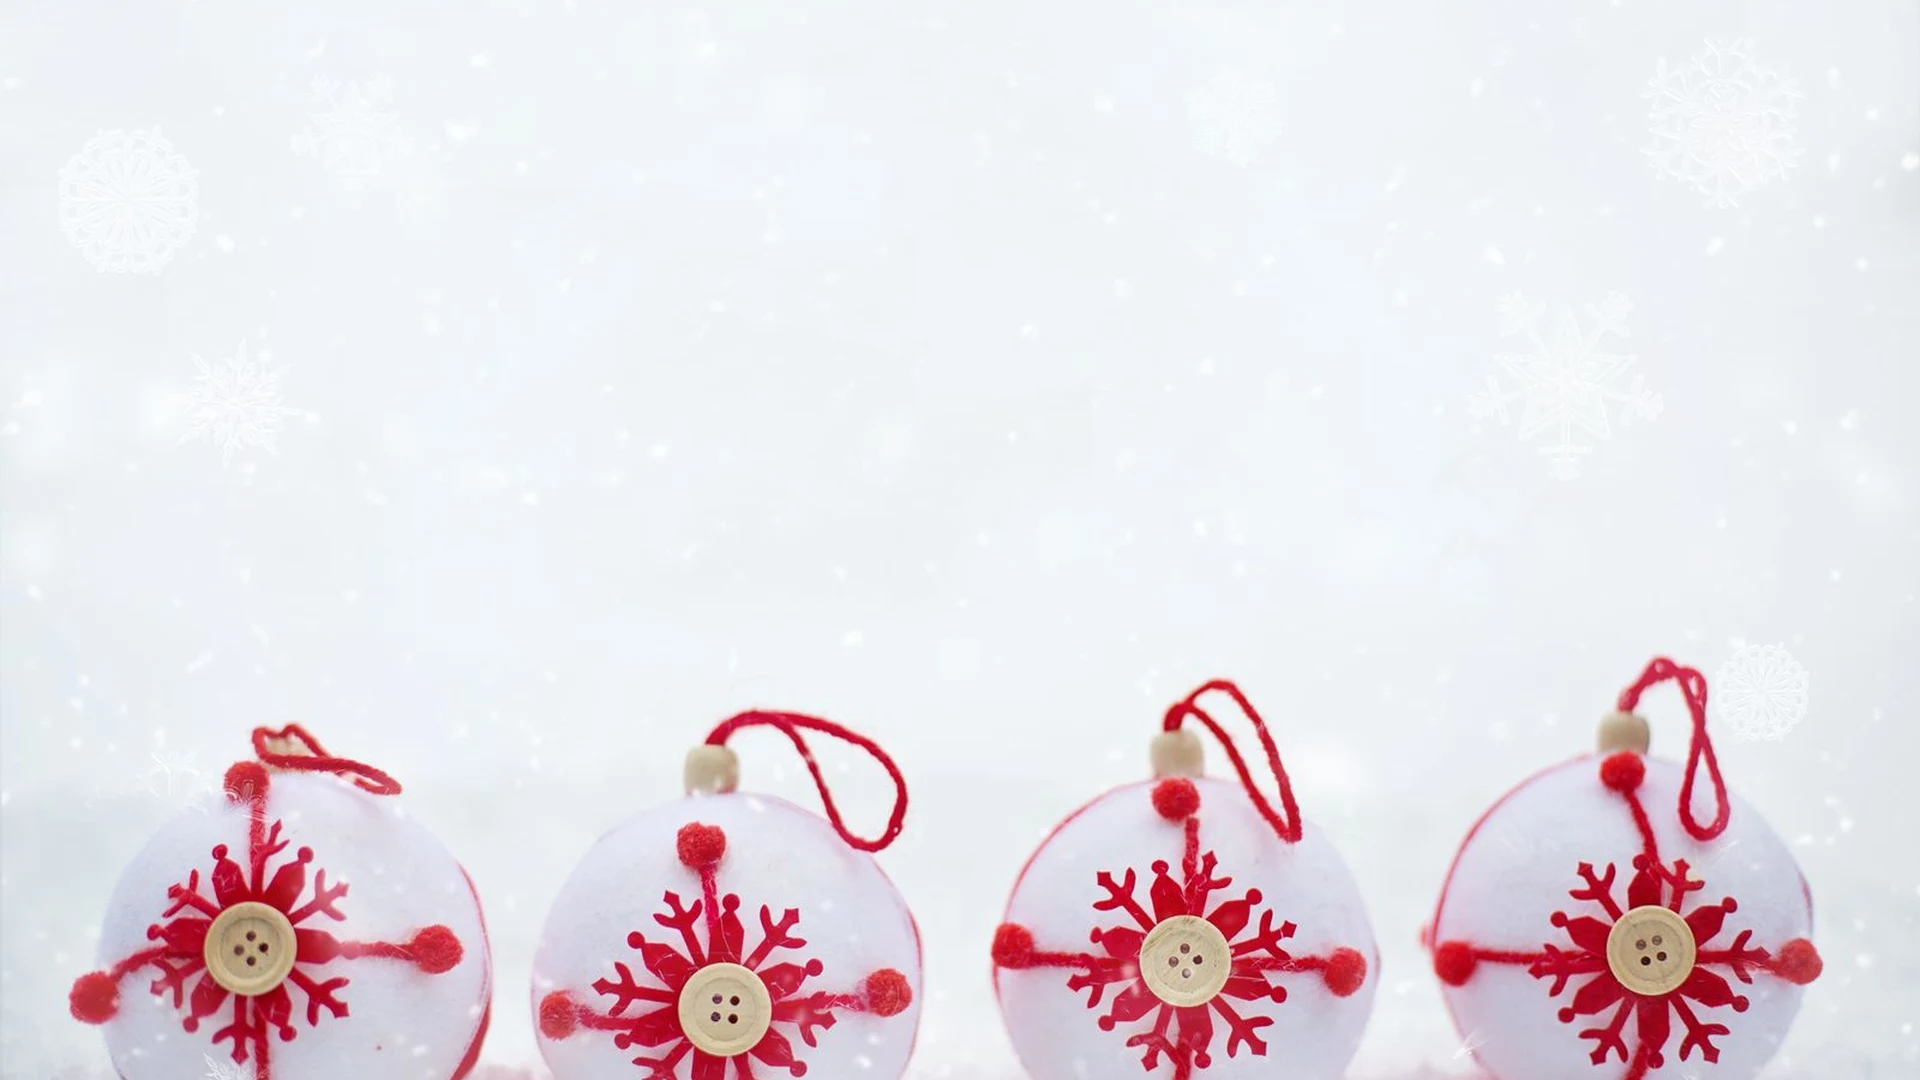
Felt ornaments are the softest ornaments on the tree: little stars, trees and hearts cut from coloured felt, stitched around the edge with a running stitch and stuffed with a pinch of wadding. They are light, they do not break, and they look better every year.
Cut two identical shapes, stitch them together with the right sides out, and leave a small gap to push the stuffing in before you close it. A blanket stitch around the edge looks neater than a running stitch, and it is no harder to learn.
Tip: Use wool felt rather than craft felt if you can — wool felt holds its shape, does not pill, and the colours stay bright for years.
2. Hang Wooden Reindeer Ornaments
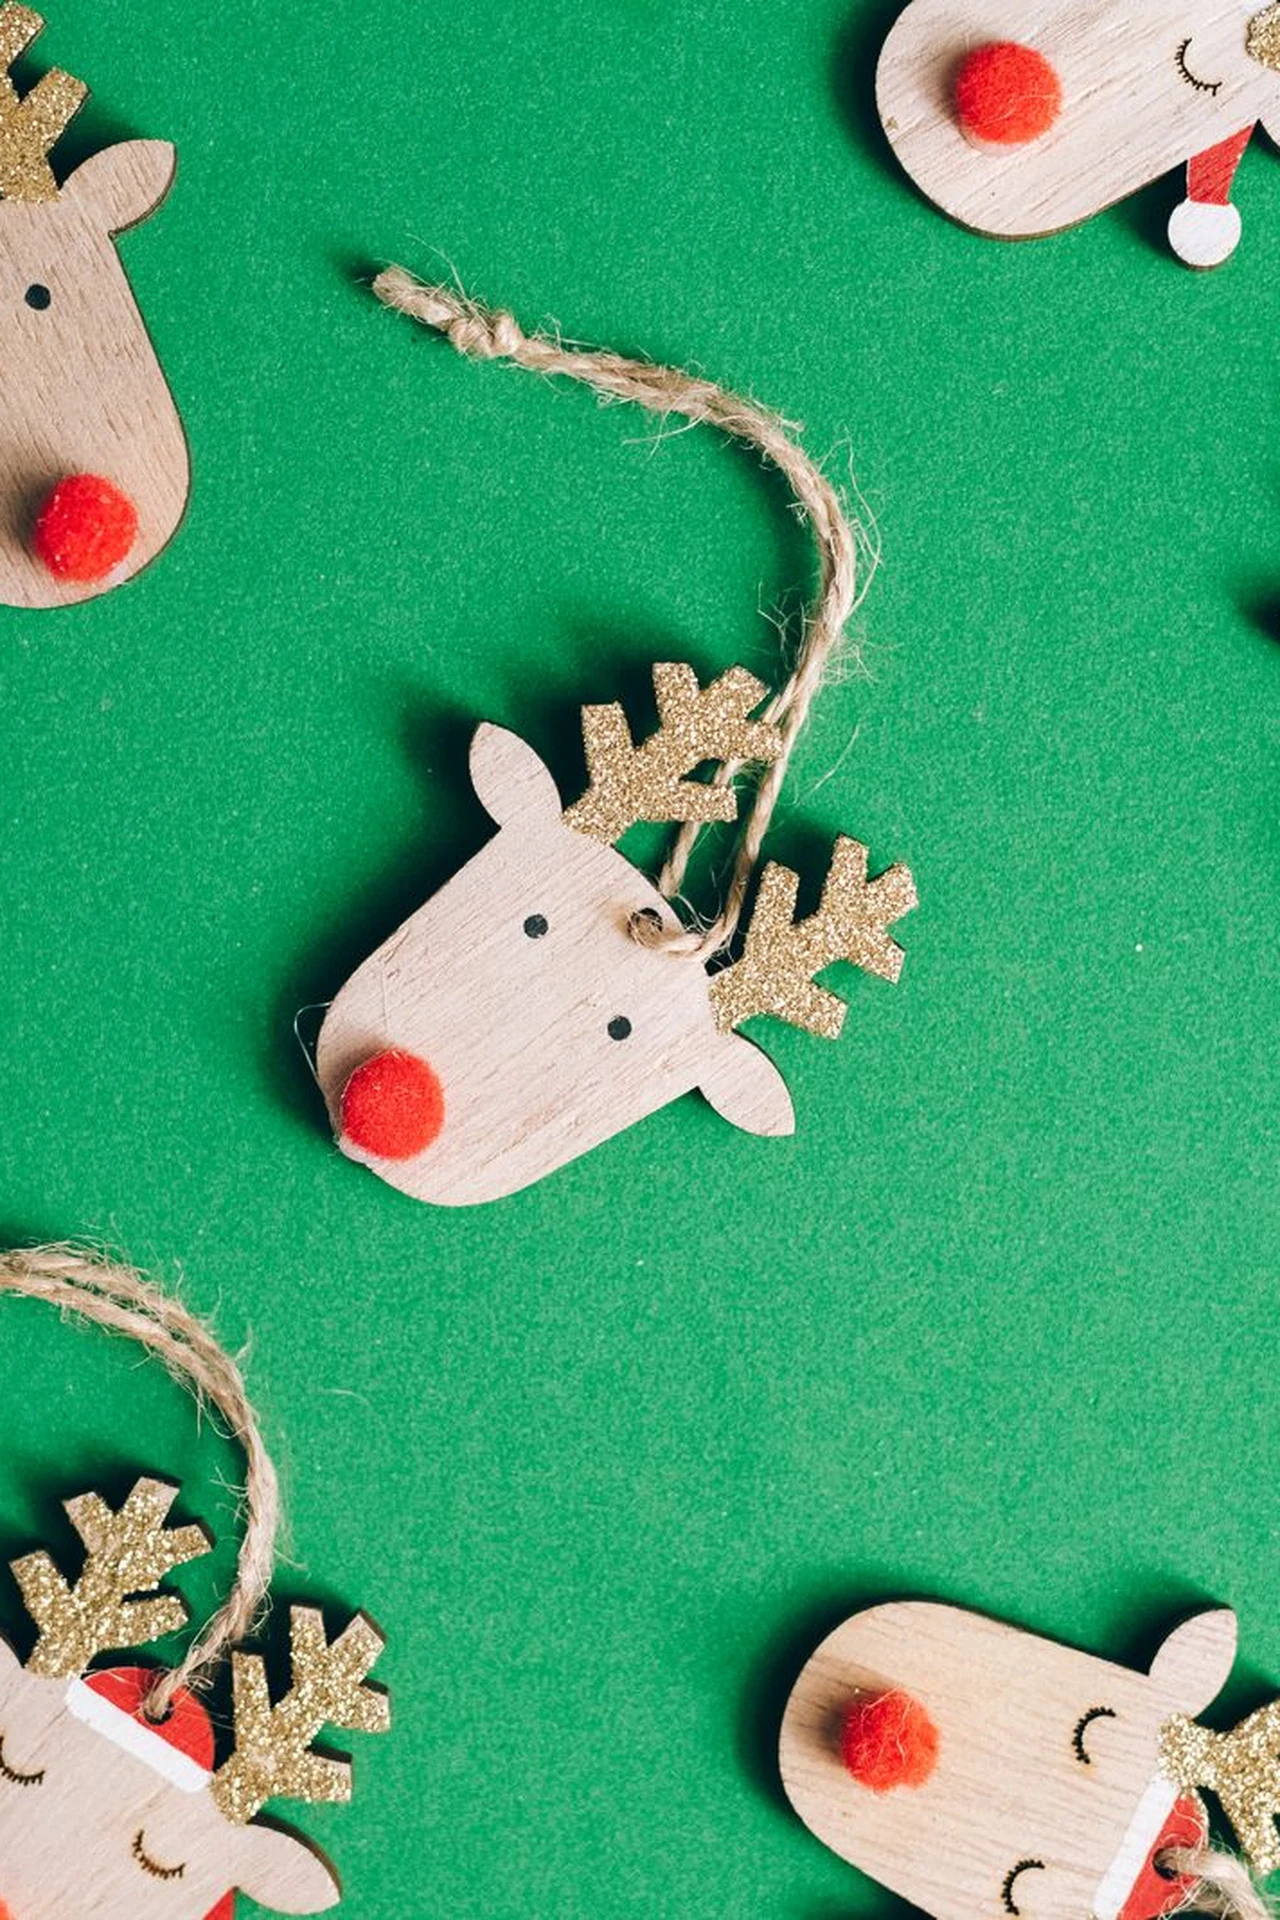
Wooden reindeer ornaments are the rustic ornaments: flat wooden reindeer, painted or left natural, hung on the tree with twine. They suit a natural tree better than anything glittery — wood on wood, with a ribbon to hang them by.
Hang the reindeer at eye level, where their faces show, and mix them with plain baubles rather than other figures — a tree full of wooden animals looks busy, while a few reindeer among the baubles looks charming.
Tip: Buy wooden ornaments in a set of three or five, and hang them in a loose triangle on the tree — odd numbers always look better than even ones.
3. Fold Paper Stars
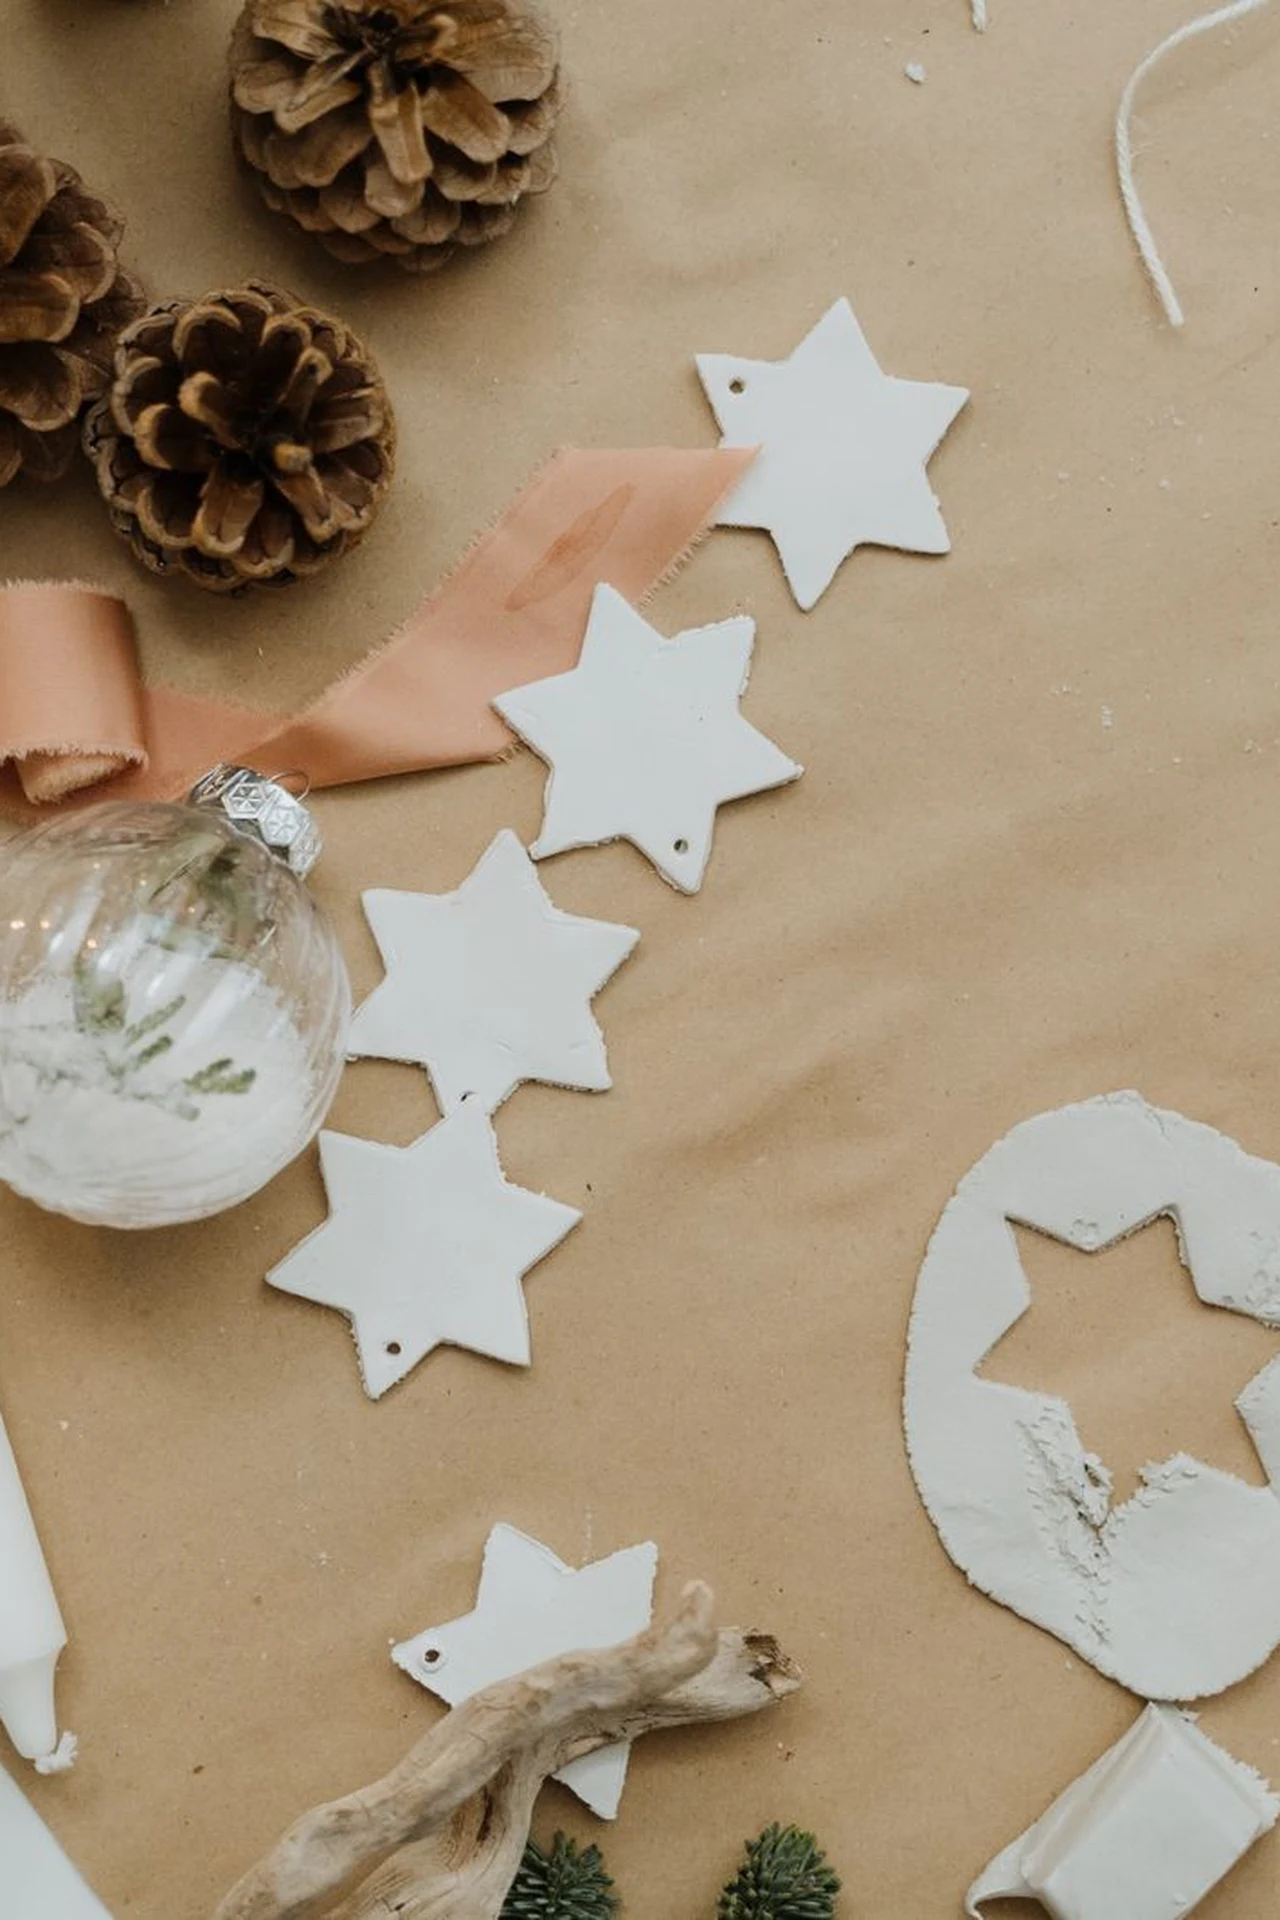
A folded paper star is the lightest ornament on the tree: a square of paper, a few folds, and a three-dimensional star that catches the light. They are the ornaments children make at school, and the ones adults keep making because they look so good.
Use paper that holds a crease — thin card or heavy wrapping paper, not tissue — and fold slowly, creasing each fold with a fingernail or a ruler. A star made from sheet music or an old book page looks twice as good as one from plain paper.
Tip: Make the stars in one colour family — all white, all gold, all red — and they read as a set rather than a jumble, however many you hang.
4. Hang Ceramic Star Baubles
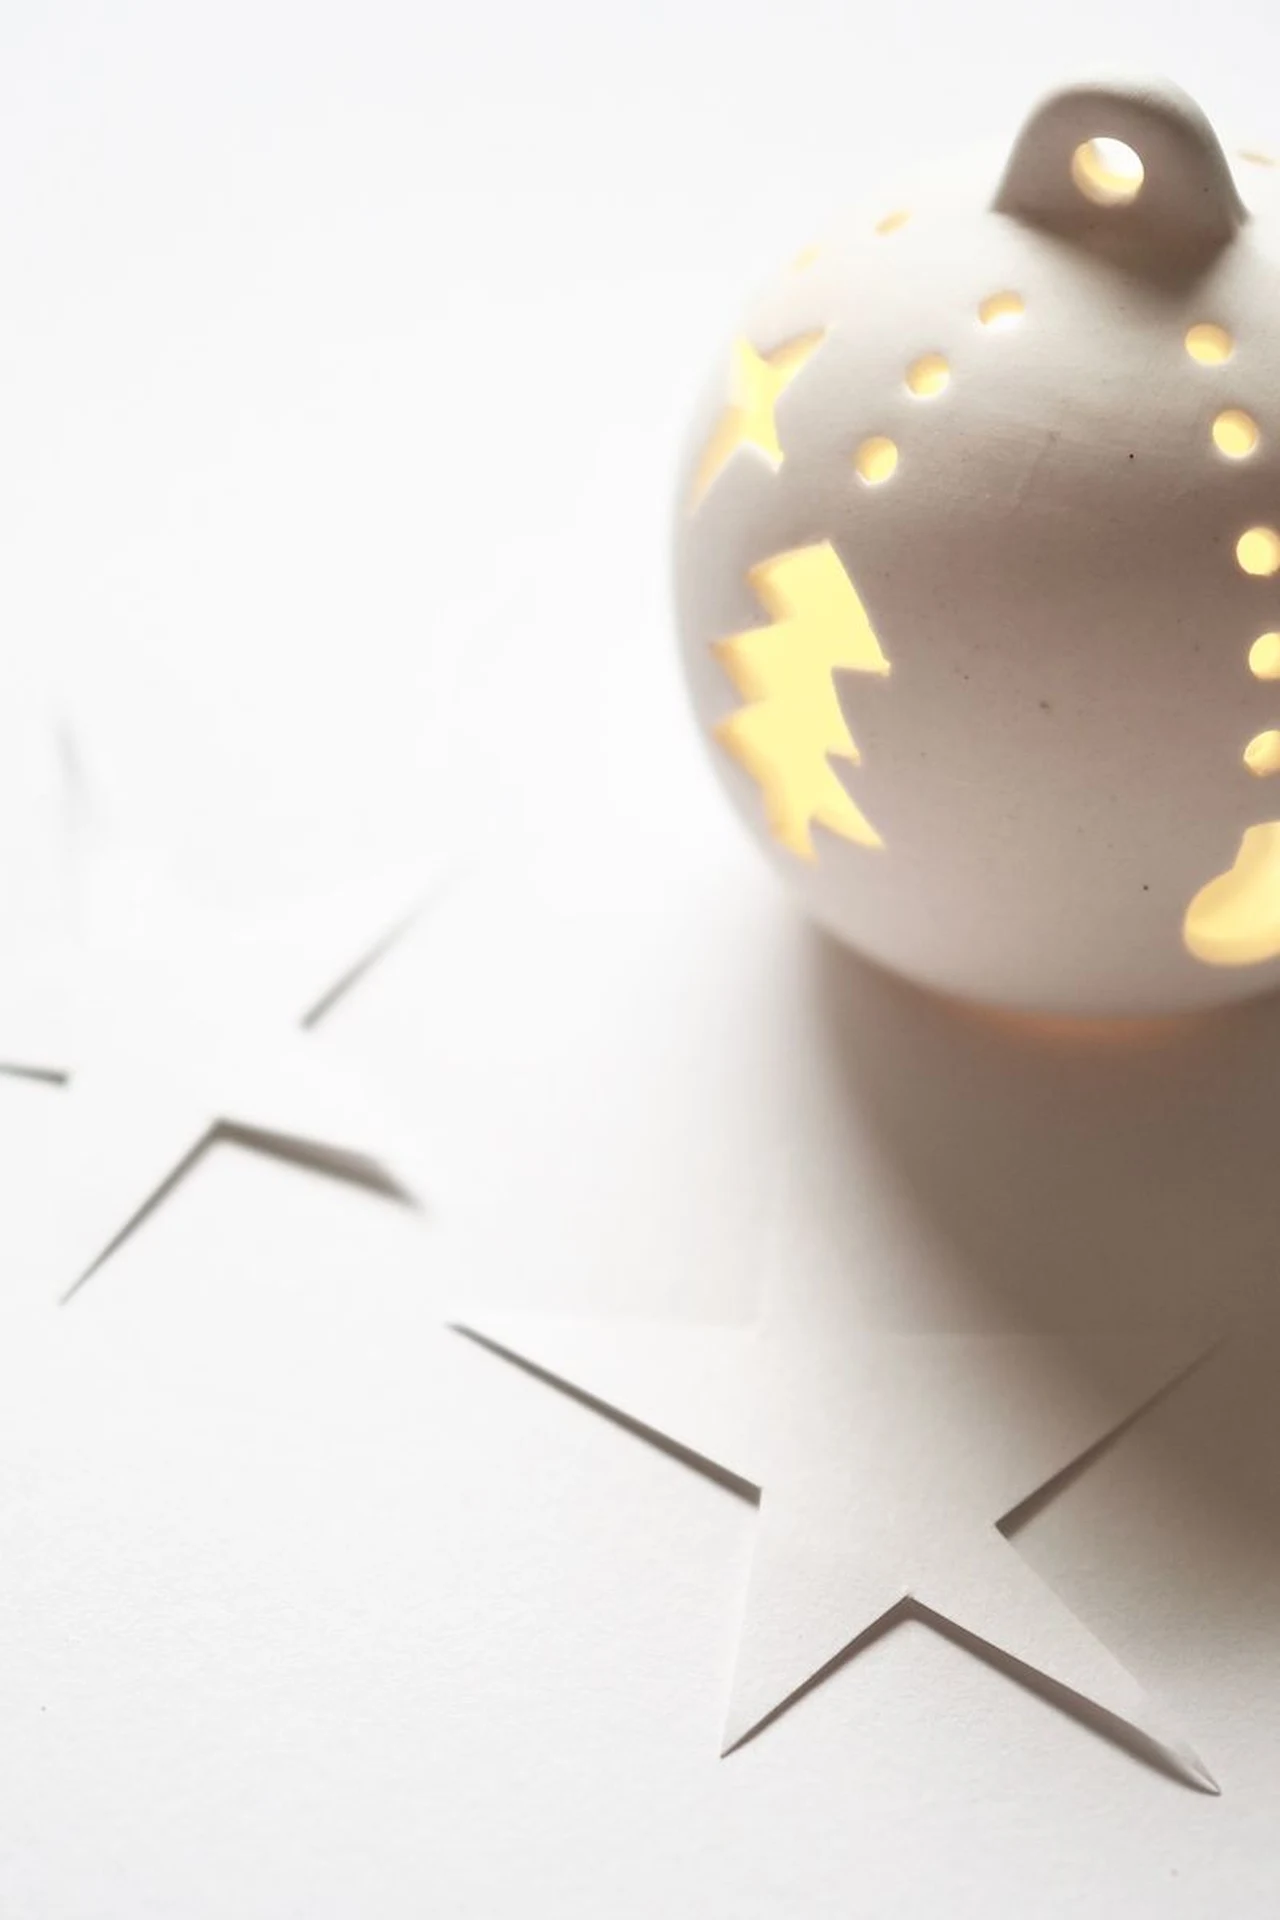
A ceramic bauble with star cutouts is the prettiest bauble on the tree: white ceramic, little stars cut into it, and the tree lights shining through the holes. It glows from within, like a tiny lantern, and it needs nothing else around it.
Hang ceramic baubles where the tree lights are thickest, so the light shines through the cutouts — a ceramic bauble on a dark branch looks plain, while one among the lights looks magical. Keep them away from the lowest branches, where they get knocked.
Tip: Ceramic baubles are heavier than plastic ones, so hang them on strong branches near the trunk, not on the thin tips that bend under the weight.
5. Hang a Plush Ornament
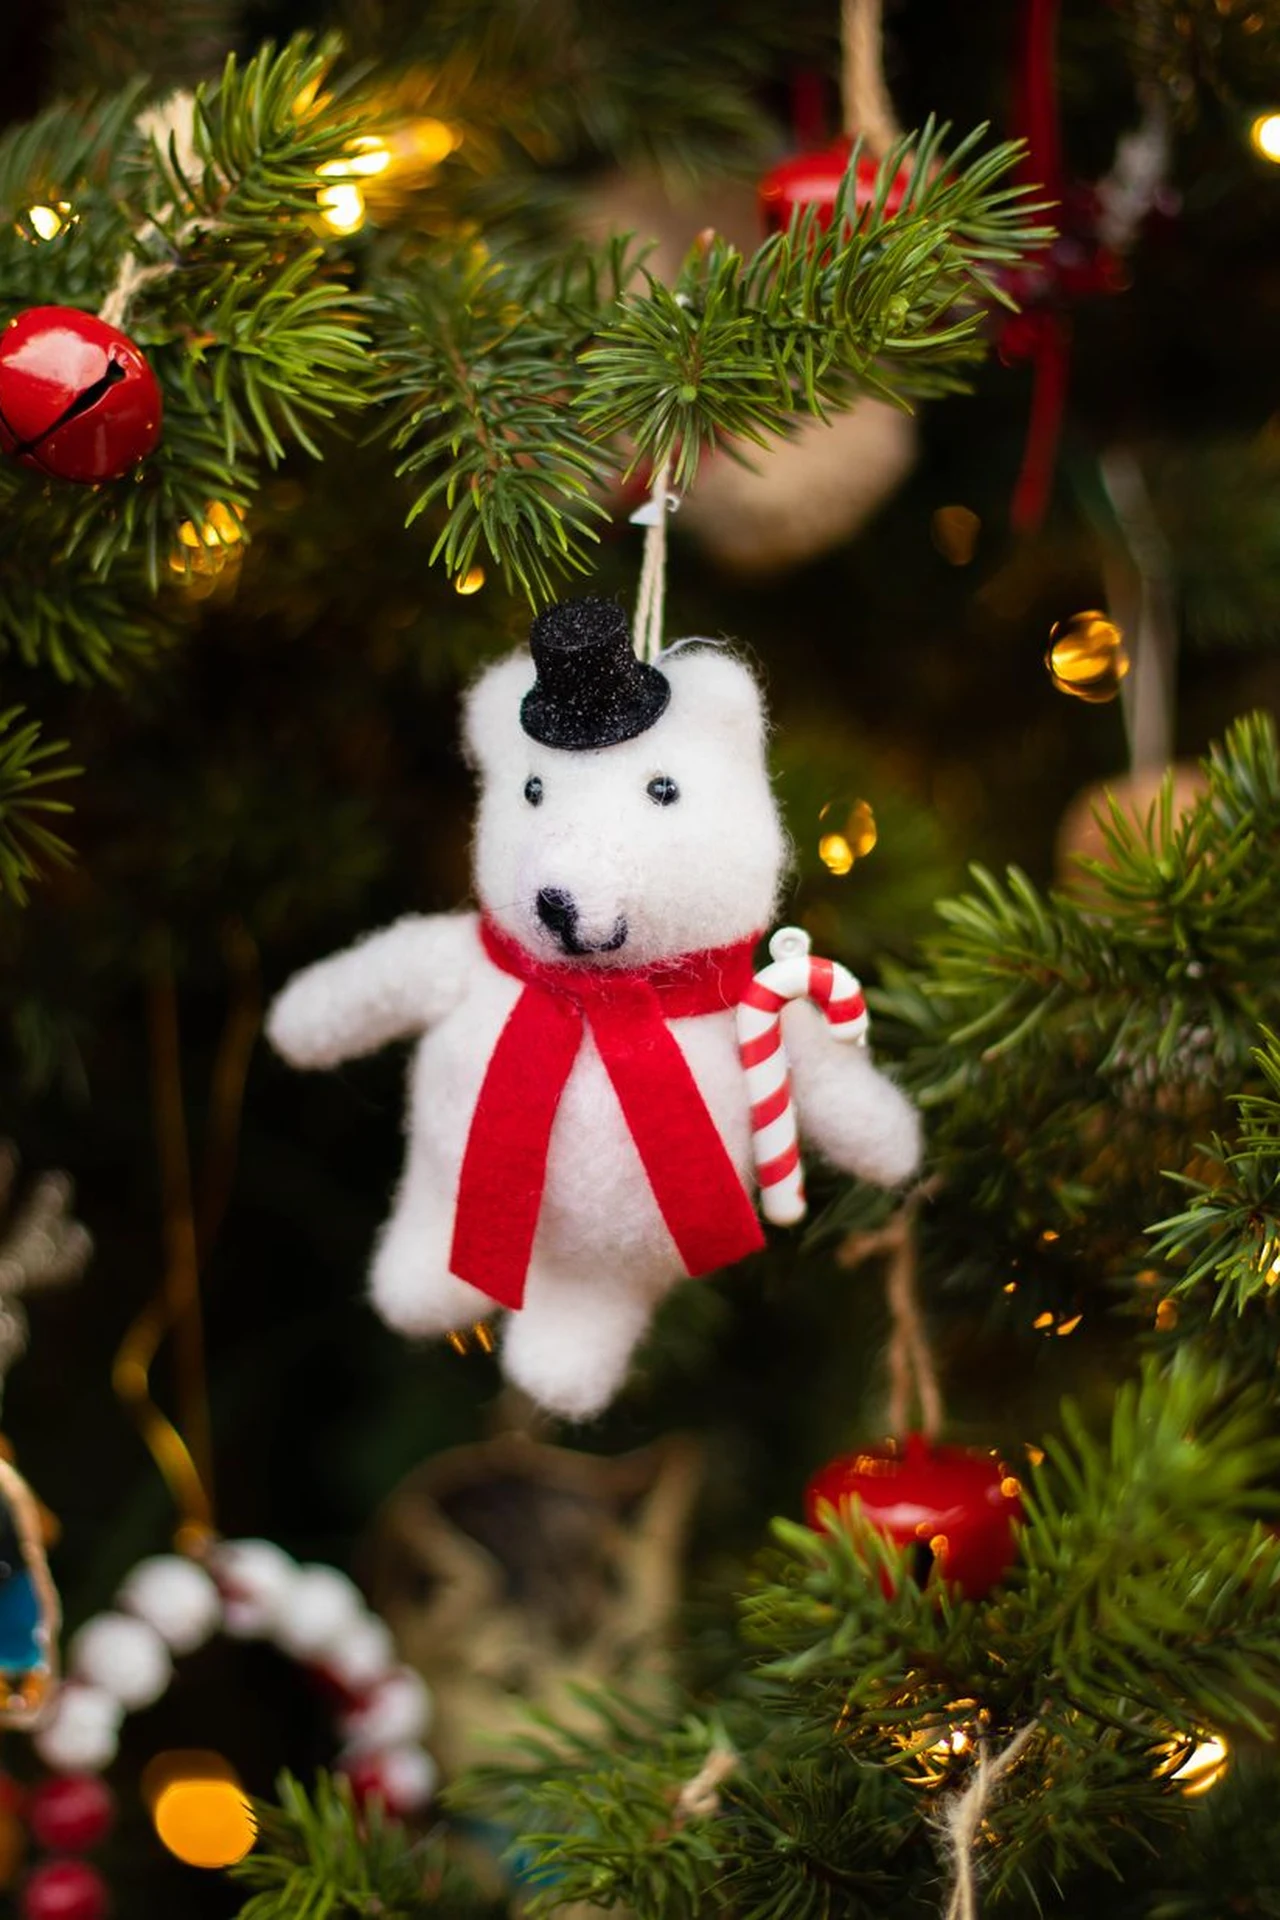
A plush ornament is the softest ornament on the tree: a little teddy bear, a snowman, a reindeer, made from soft fabric and hung with a ribbon. It is the ornament children reach for, and the one that never breaks when it falls.
Hang plush ornaments low on the tree, where children can see and touch them — a plush ornament at the top of the tree is wasted, while one at child height becomes a favourite. Keep them away from candles, real or battery, so the fabric stays safe.
Tip: Plush ornaments collect dust over the year, so give them a shake outside before you hang them — a dusty ornament looks tired, and a shaken one looks new.
6. String Beaded Crystal Ornaments
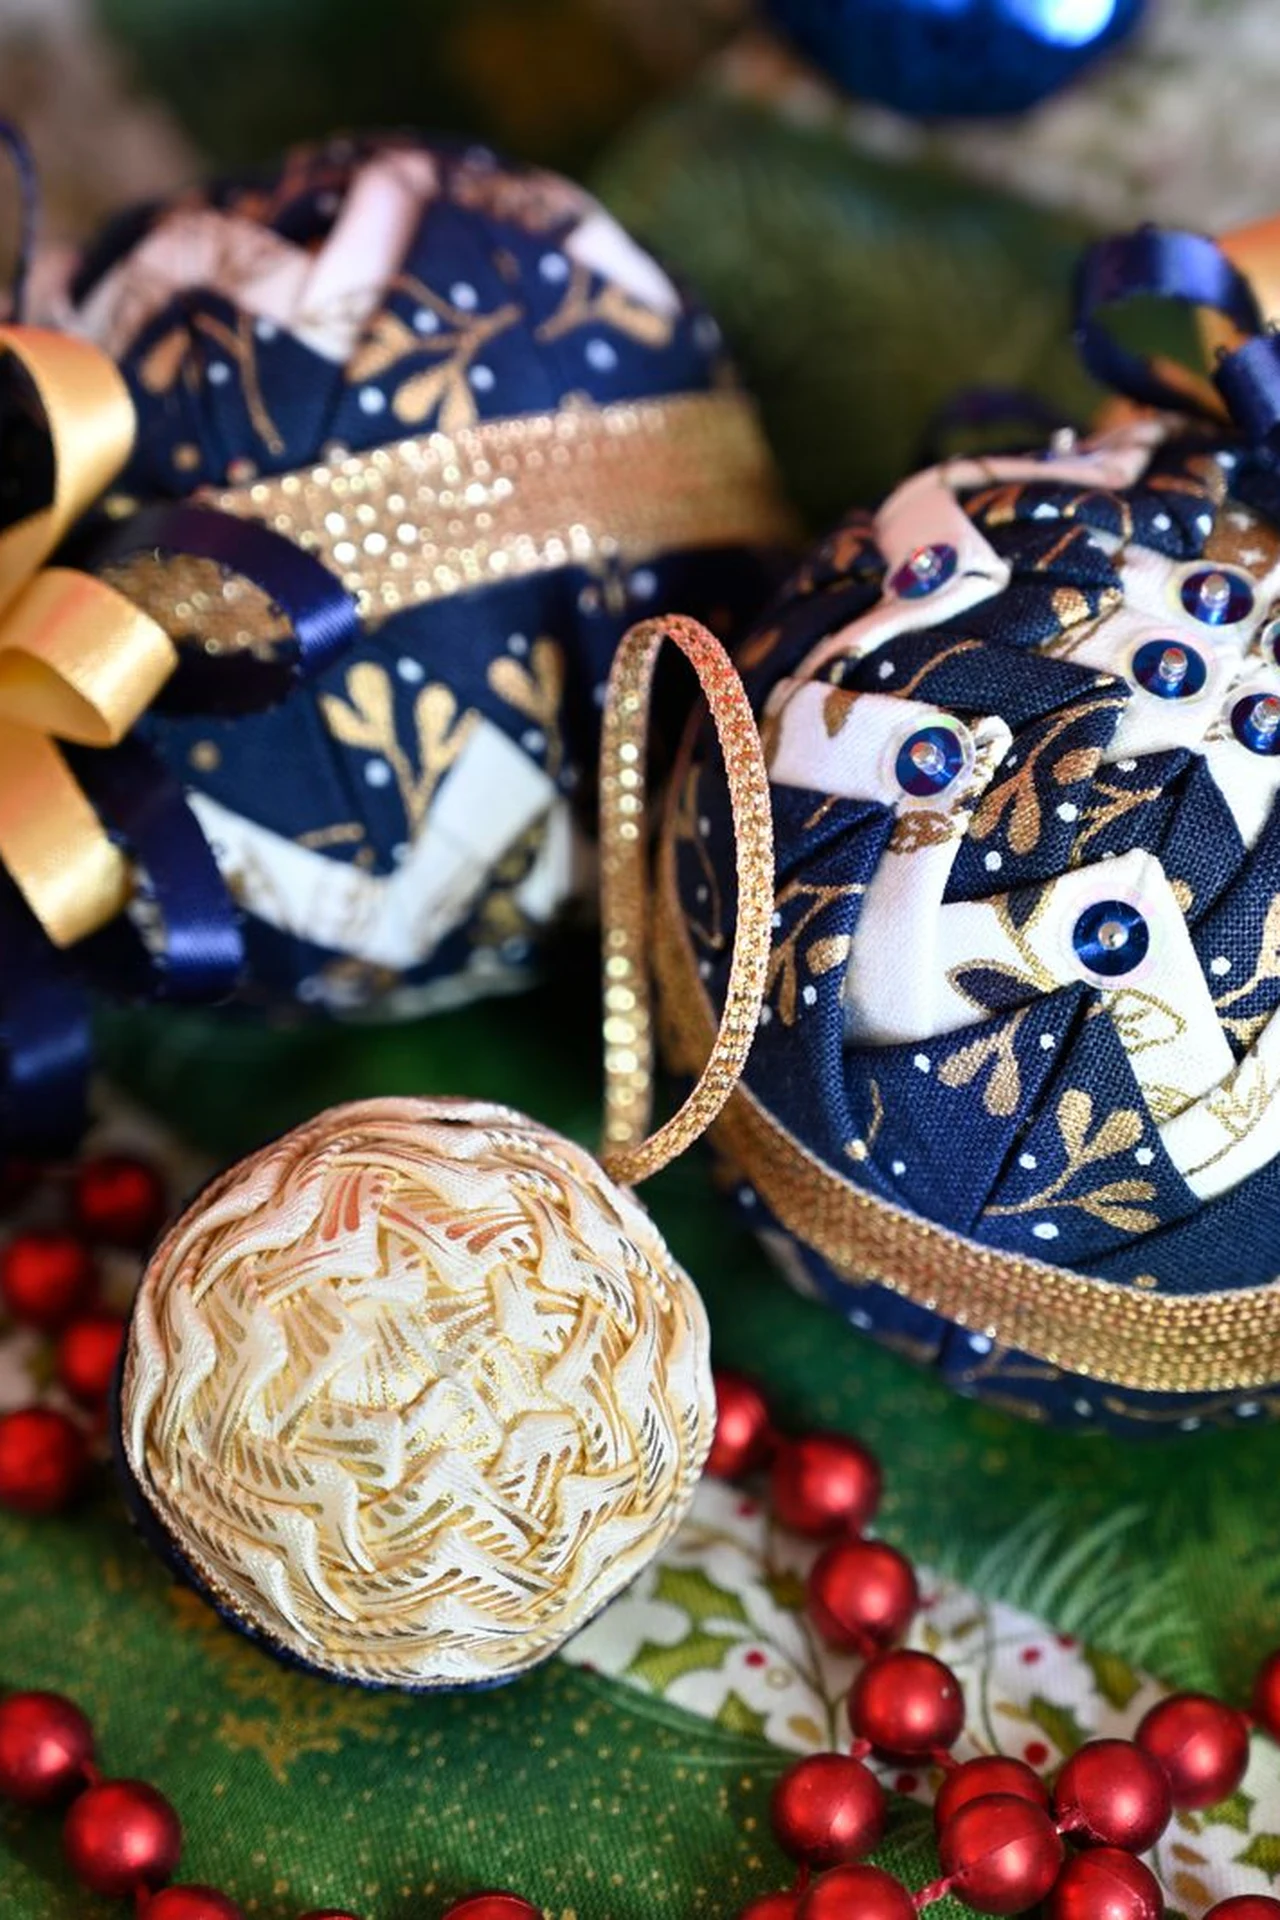
Beaded baubles are the sparkliest ornaments in the set: blue and gold baubles with bead strands and bows, catching the tree lights and throwing little glints across the room. They look expensive, and they cost almost nothing.
Hang beaded baubles where the tree lights are thickest, so the beads catch the light — a beaded bauble on a dark branch looks plain, while one among the lights sparkles. Mix them with plain baubles, so the beaded ones stand out rather than competing with each other.
Tip: Keep the beaded ornaments small and light — a heavy beaded ornament pulls a branch down, and a light one dances in the draught from the door.
7. Hang Paper Honeycomb Baubles
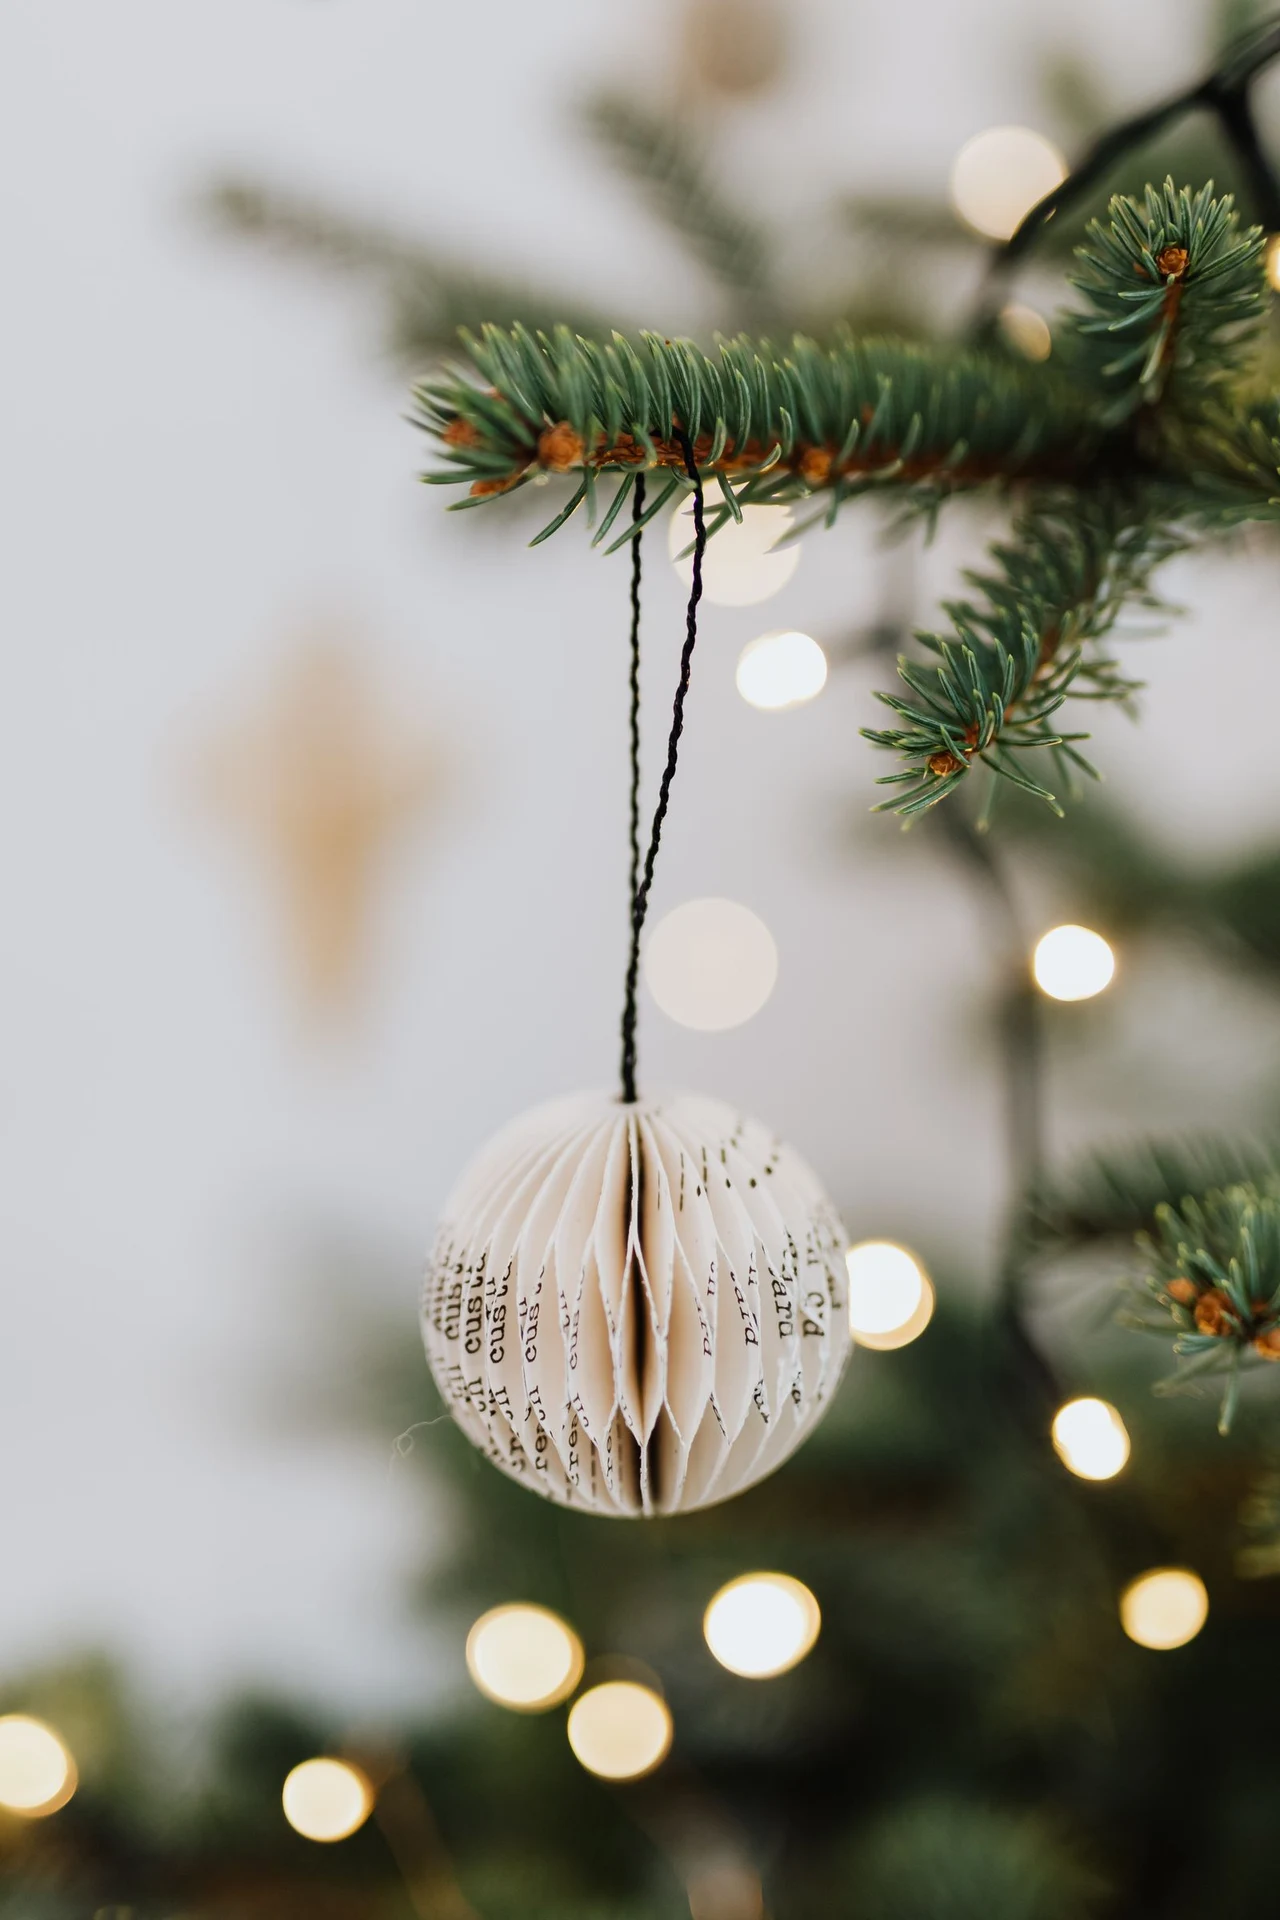
A paper honeycomb bauble is a ball of folded paper that opens into a three-dimensional shape: a honeycomb sphere, a diamond, a little lantern, hung on the tree with a thread. It is the lightest ornament on the tree, and one of the prettiest.
Hang honeycomb baubles where they can move a little — near a door, or by a window — because they turn gently in the draught, and a turning bauble catches the light from every angle. Keep them dry, and they will last for years.
Tip: Honeycomb baubles fold flat for storage, which is why they are the easiest ornaments to keep — fold them down in January, and they take up no space at all.
8. Hang Clear Glass Baubles
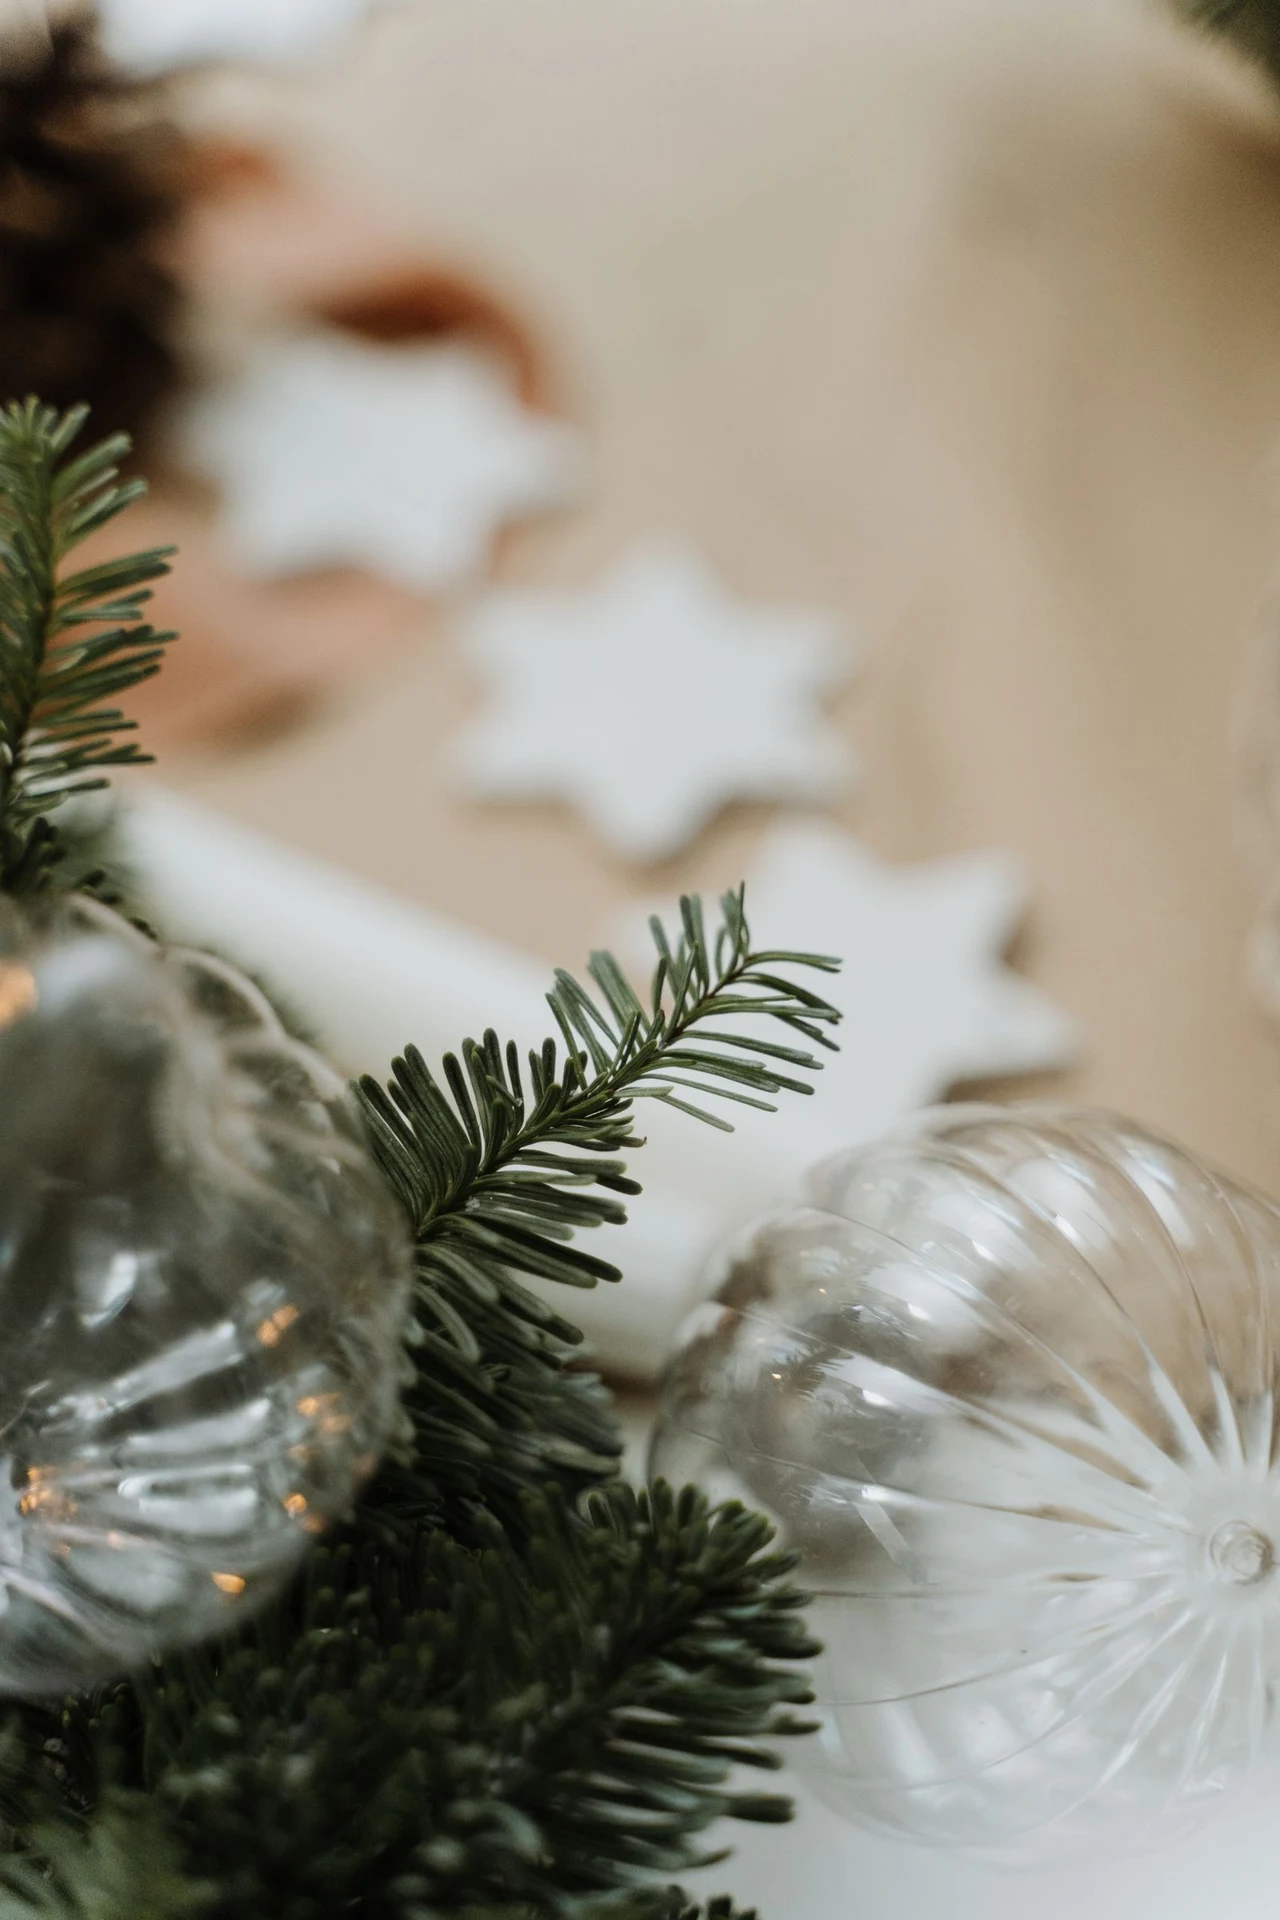
A clear glass bauble is the simplest bauble on the tree: plain glass, nothing inside, catching the tree lights and the colours of the ornaments around it. It is the bauble that makes the rest of the tree look better, by reflecting it.
Hang clear baubles among coloured ones, so they pick up the colours around them — a clear bauble on its own looks empty, while one among red and gold baubles glows with their light. Keep them away from the lowest branches, where they get knocked.
Tip: Clear baubles show fingerprints, so handle them by the cap rather than the glass — a smudged bauble looks dull, and a clean one sparkles.
9. Hang Pinecone Ornaments
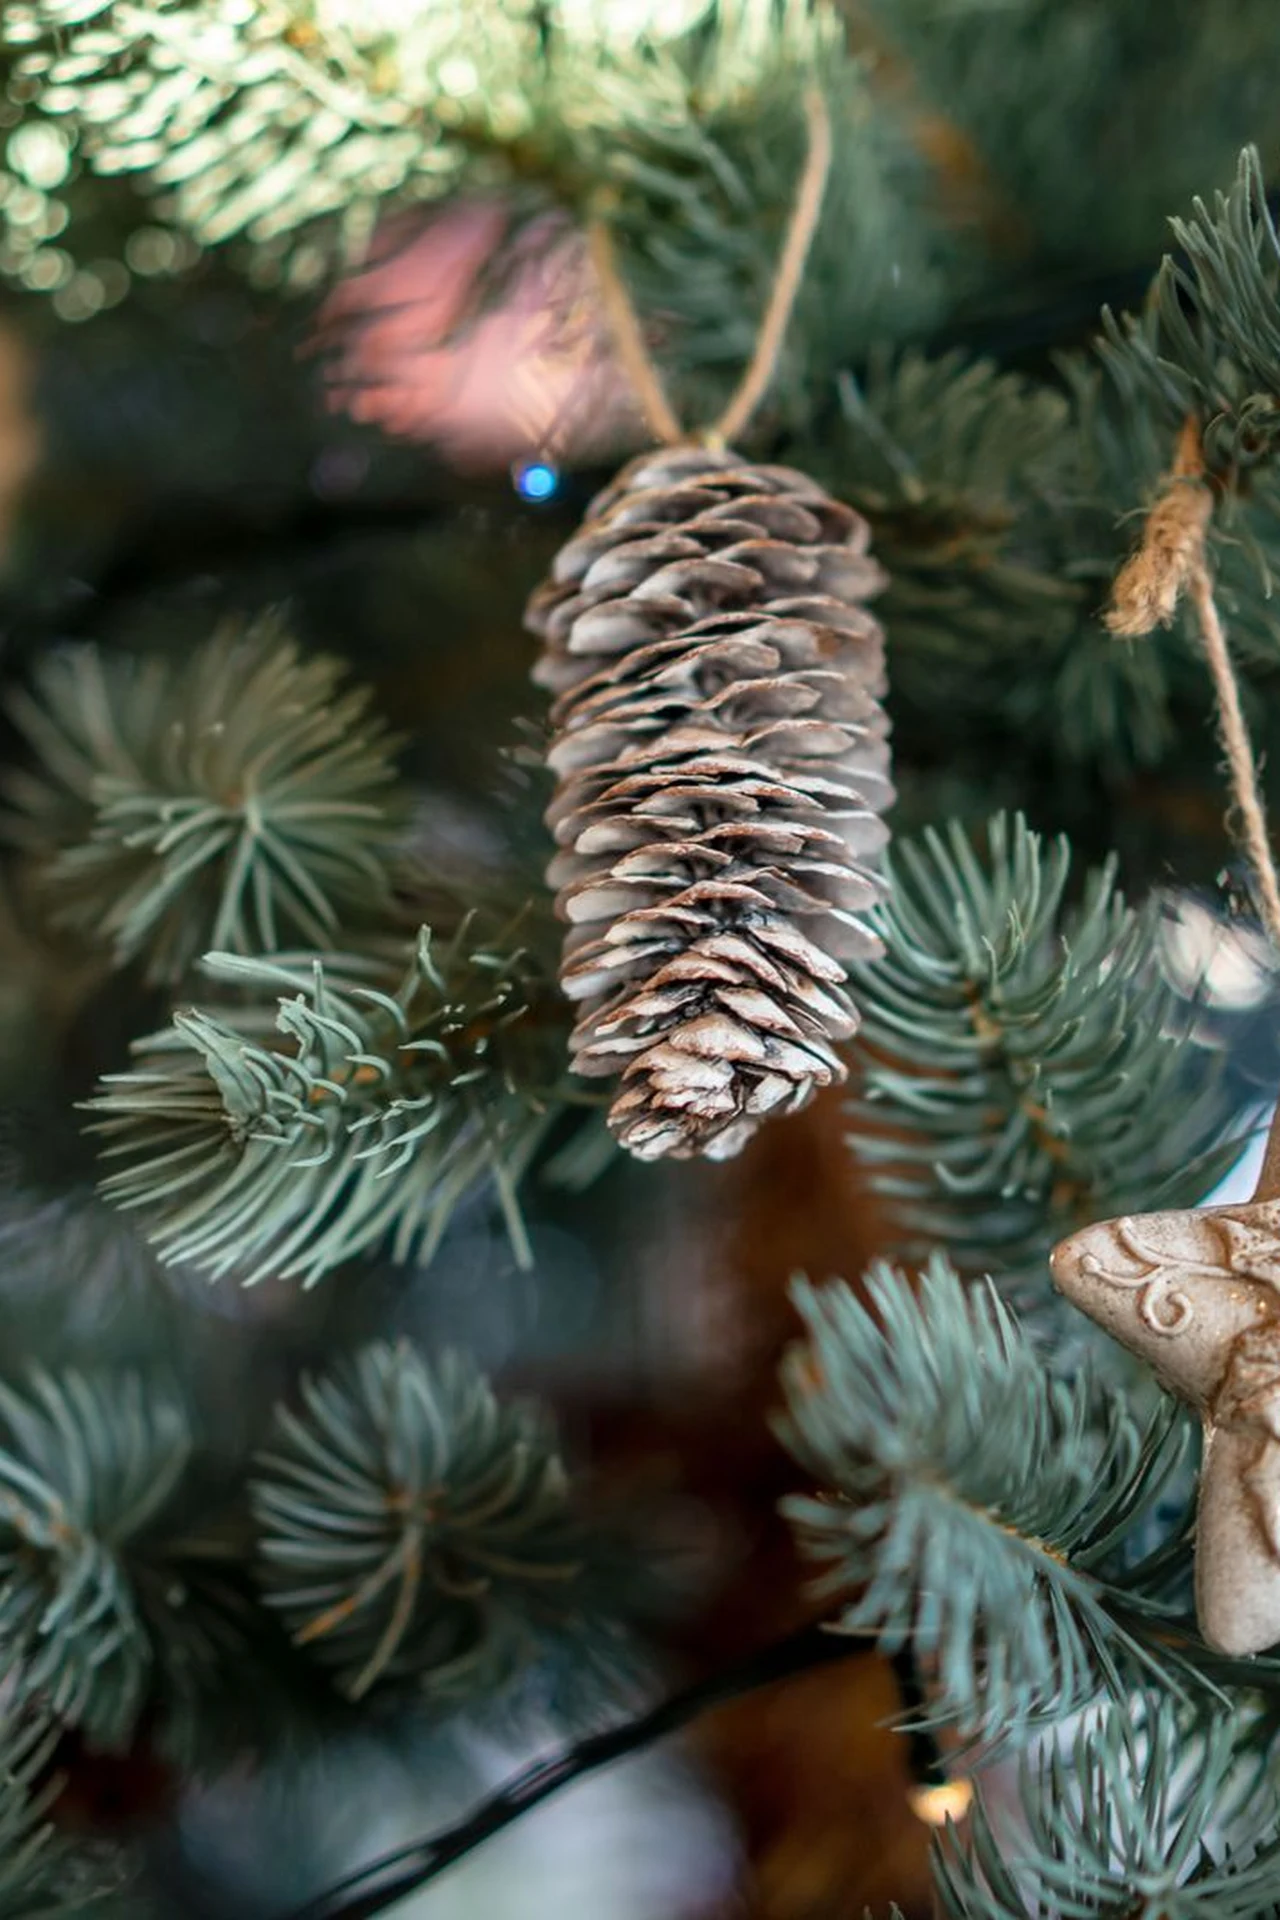
A pinecone ornament is a pinecone with a ribbon: the simplest ornament there is, and one of the most beautiful. A pinecone dipped in white paint looks frosted, a pinecone with a dusting of glitter looks snowy, and a plain pinecone looks like the forest came indoors.
Bake the pinecones in a low oven first, to open them up and kill anything living inside — a pinecone straight from the garden can hide insects, and nobody wants those on the tree. Let them cool completely before you paint or glitter them.
Tip: Tie the ribbon around the top scales rather than gluing it on — a tied ribbon can be retied next year, and a glued one comes off with the paint.
10. Bake Gingerbread Ornaments
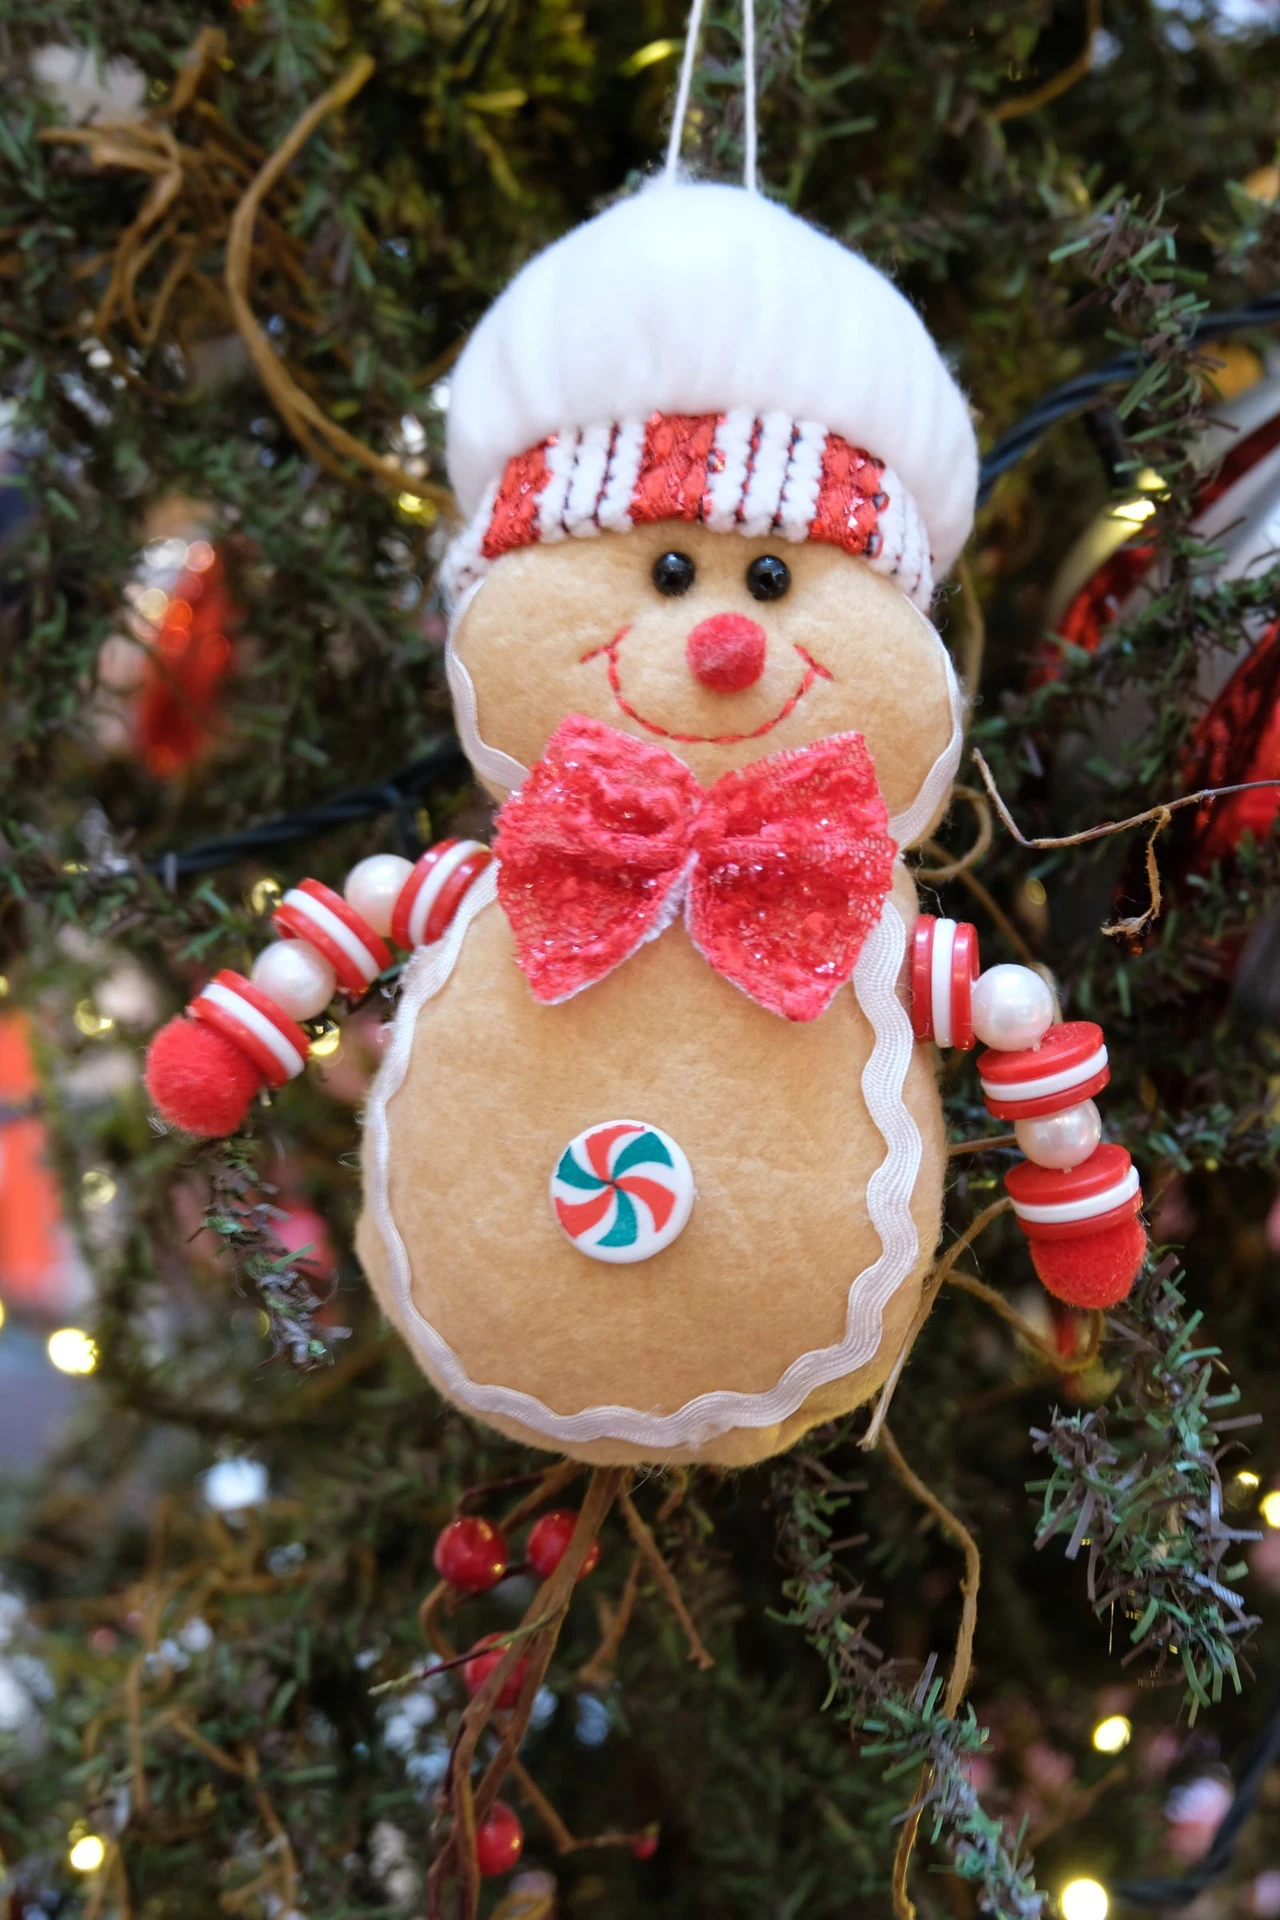
A gingerbread ornament is a biscuit you hang on the tree: a gingerbread man, a star, a little house, baked hard, decorated with icing, and hung with a ribbon through a hole poked before baking. It is the ornament you eat on Boxing Day, which is half the fun.
Bake the biscuits a little longer than you would for eating, so they go hard and dry — a soft gingerbread ornament sags on its ribbon, and a hard one hangs straight. Poke the hole before baking, and make it generous, so the ribbon threads easily.
Tip: Ice the ornaments after they have cooled completely, and let the icing dry overnight before you hang them — wet icing smears on the ribbon, and a smeared ornament is a wasted one.
11. Fill a Bauble With Greenery
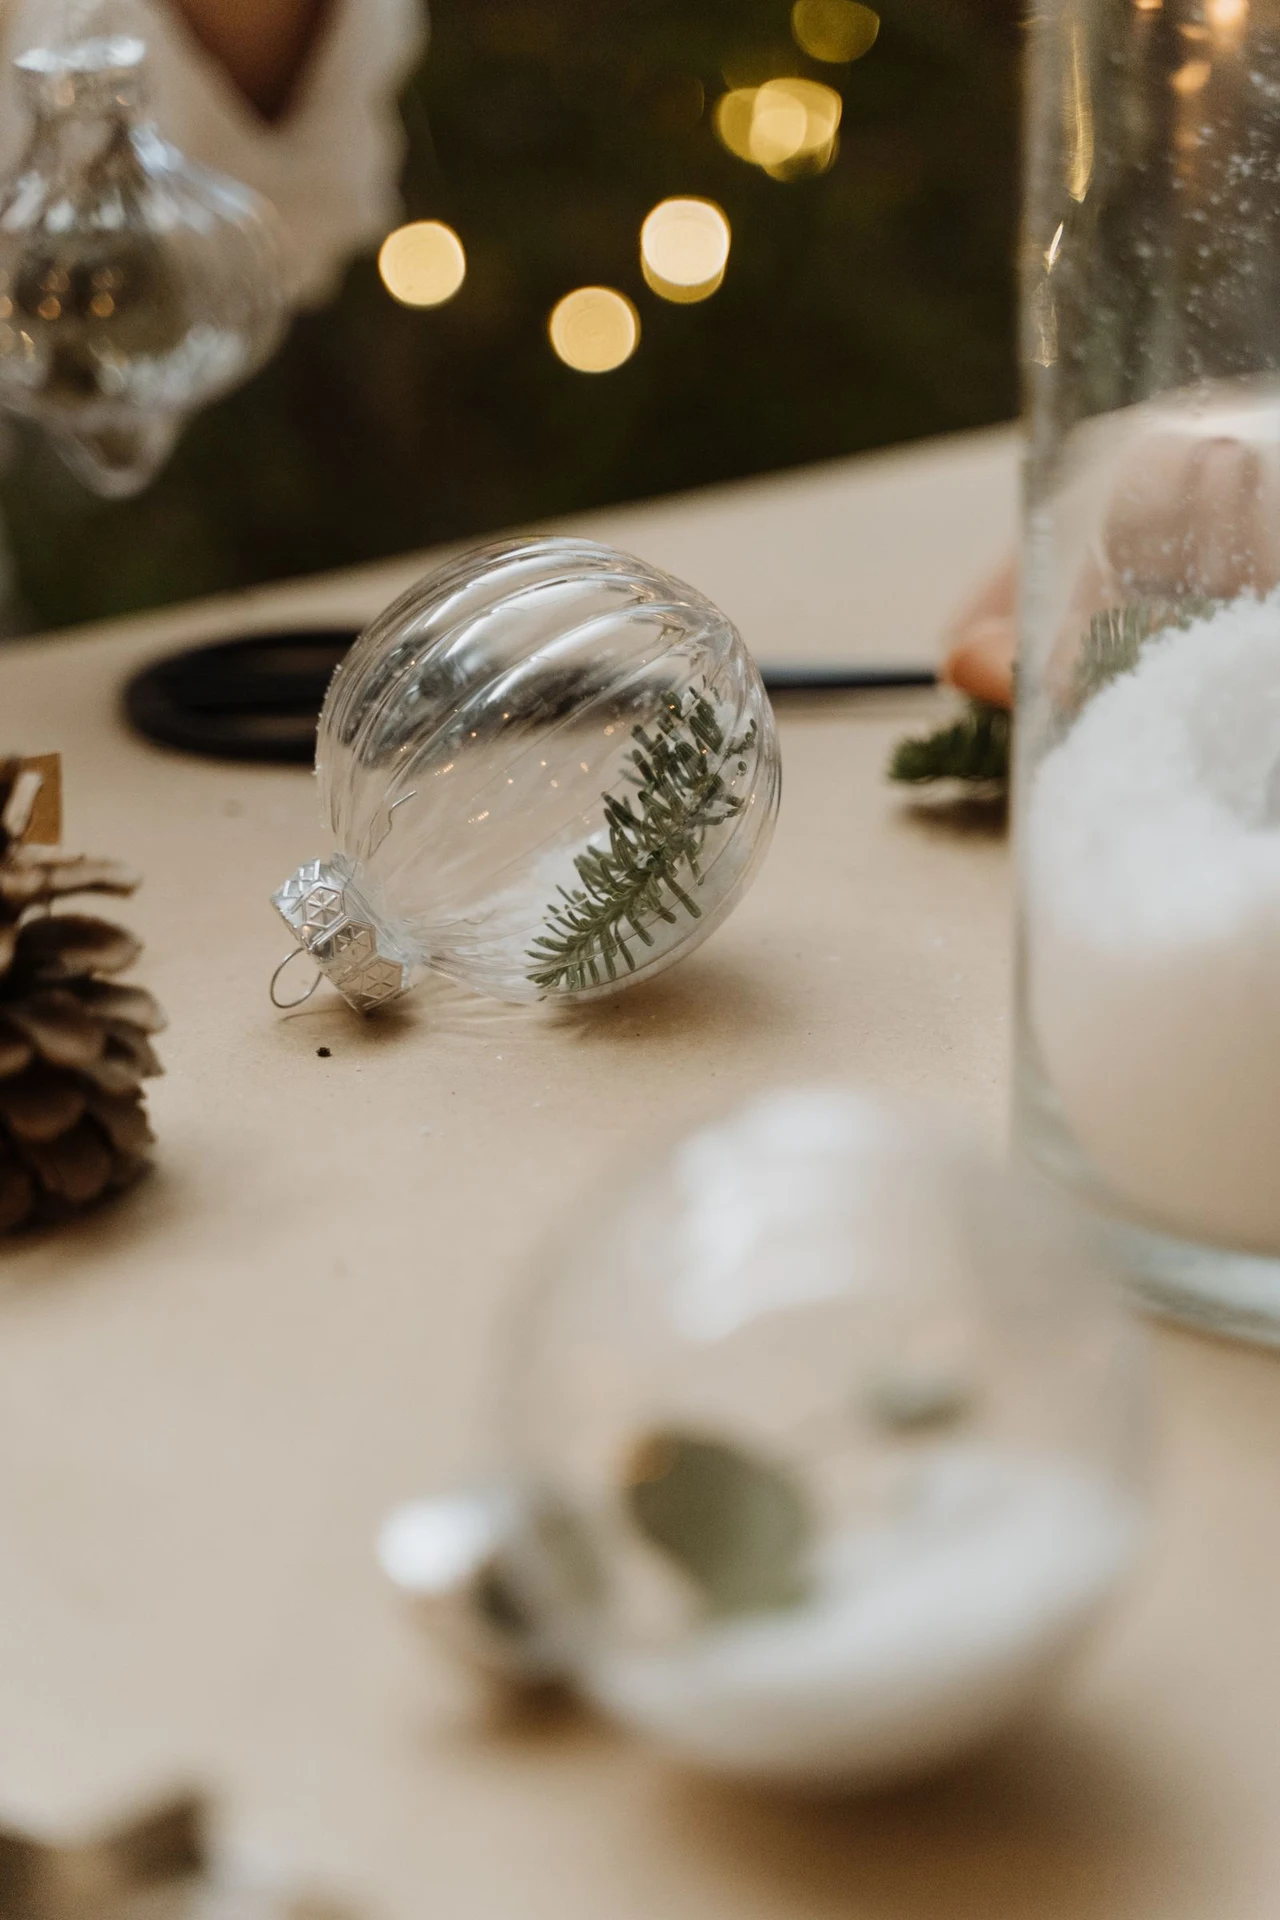
A clear bauble filled with greenery is a little garden on the tree: a pine sprig, a few berries, a tiny fern, sealed inside the glass like a terrarium. It is the gentlest ornament on the tree, and the one that looks most like the forest came indoors.
Use a clear bauble with a removable top, and place the greenery with tweezers — fingers are too big, and a finger inside a bauble smudges the glass. A single sprig looks better than a crowded bauble; leave room for the light to get in.
Tip: Dried greenery lasts for years inside a sealed bauble; fresh greenery wilts in a day. Dry the sprig first, and the ornament will look the same next Christmas.
12. Hang a Snowman Ornament
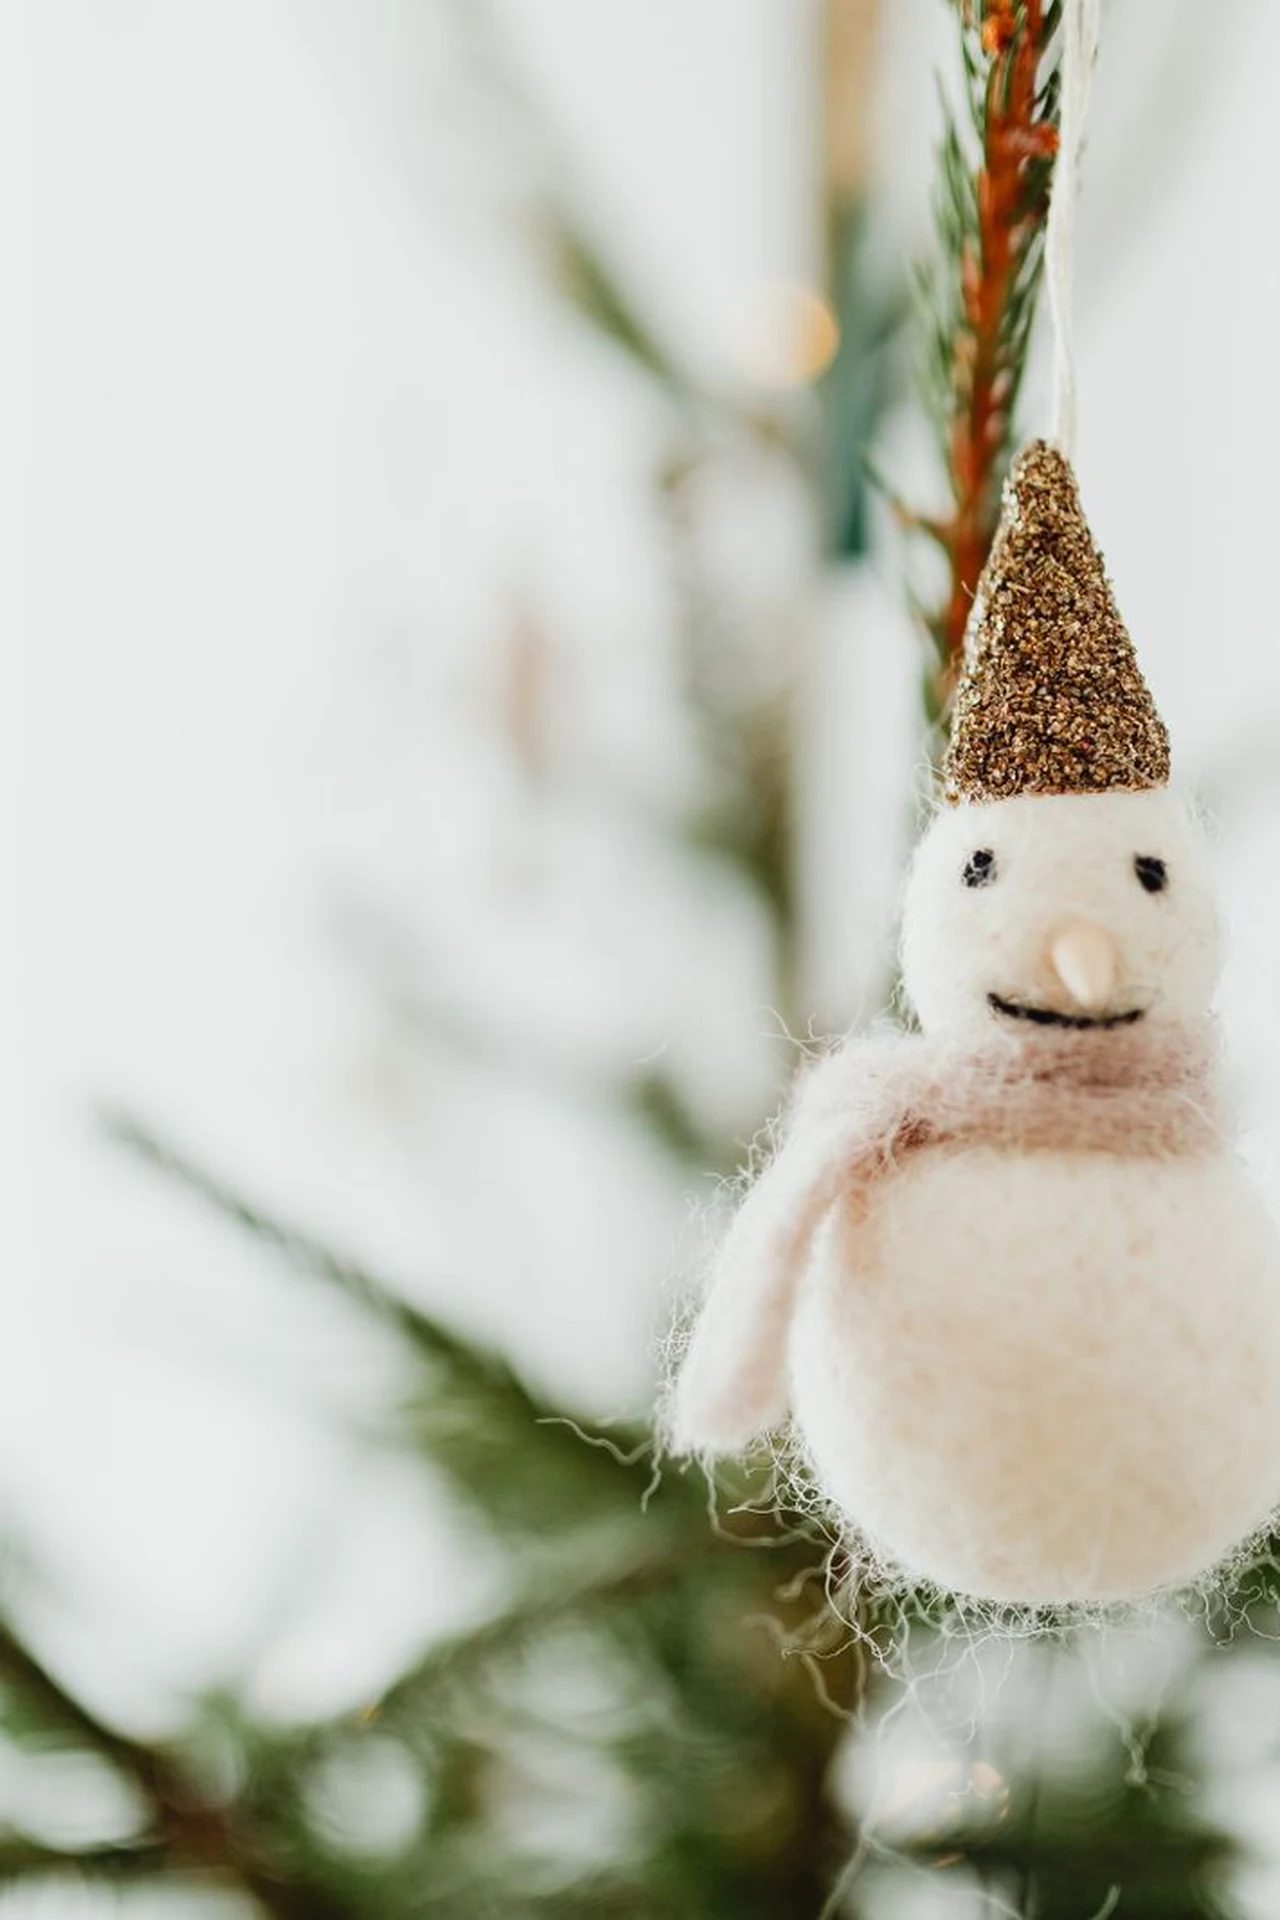
A snowman ornament is a little snowman that lives on the tree: a white figure with a carrot nose and a scarf, hung among the baubles like a tiny guest. It is the ornament children look for first, and the one that makes the tree feel friendly.
Hang the snowman ornament at eye level, where the face shows, and give it a little space — a snowman crowded among baubles disappears, while one with room around it becomes a character. One snowman ornament per tree is enough; two start an argument about which one is cuter.
Tip: A snowman ornament with a loop of ribbon hangs straighter than one with a wire hook — ribbon does not twist, and a snowman that faces the room is twice as charming as one facing the wall.
13. Shape Clay Snowflake Ornaments
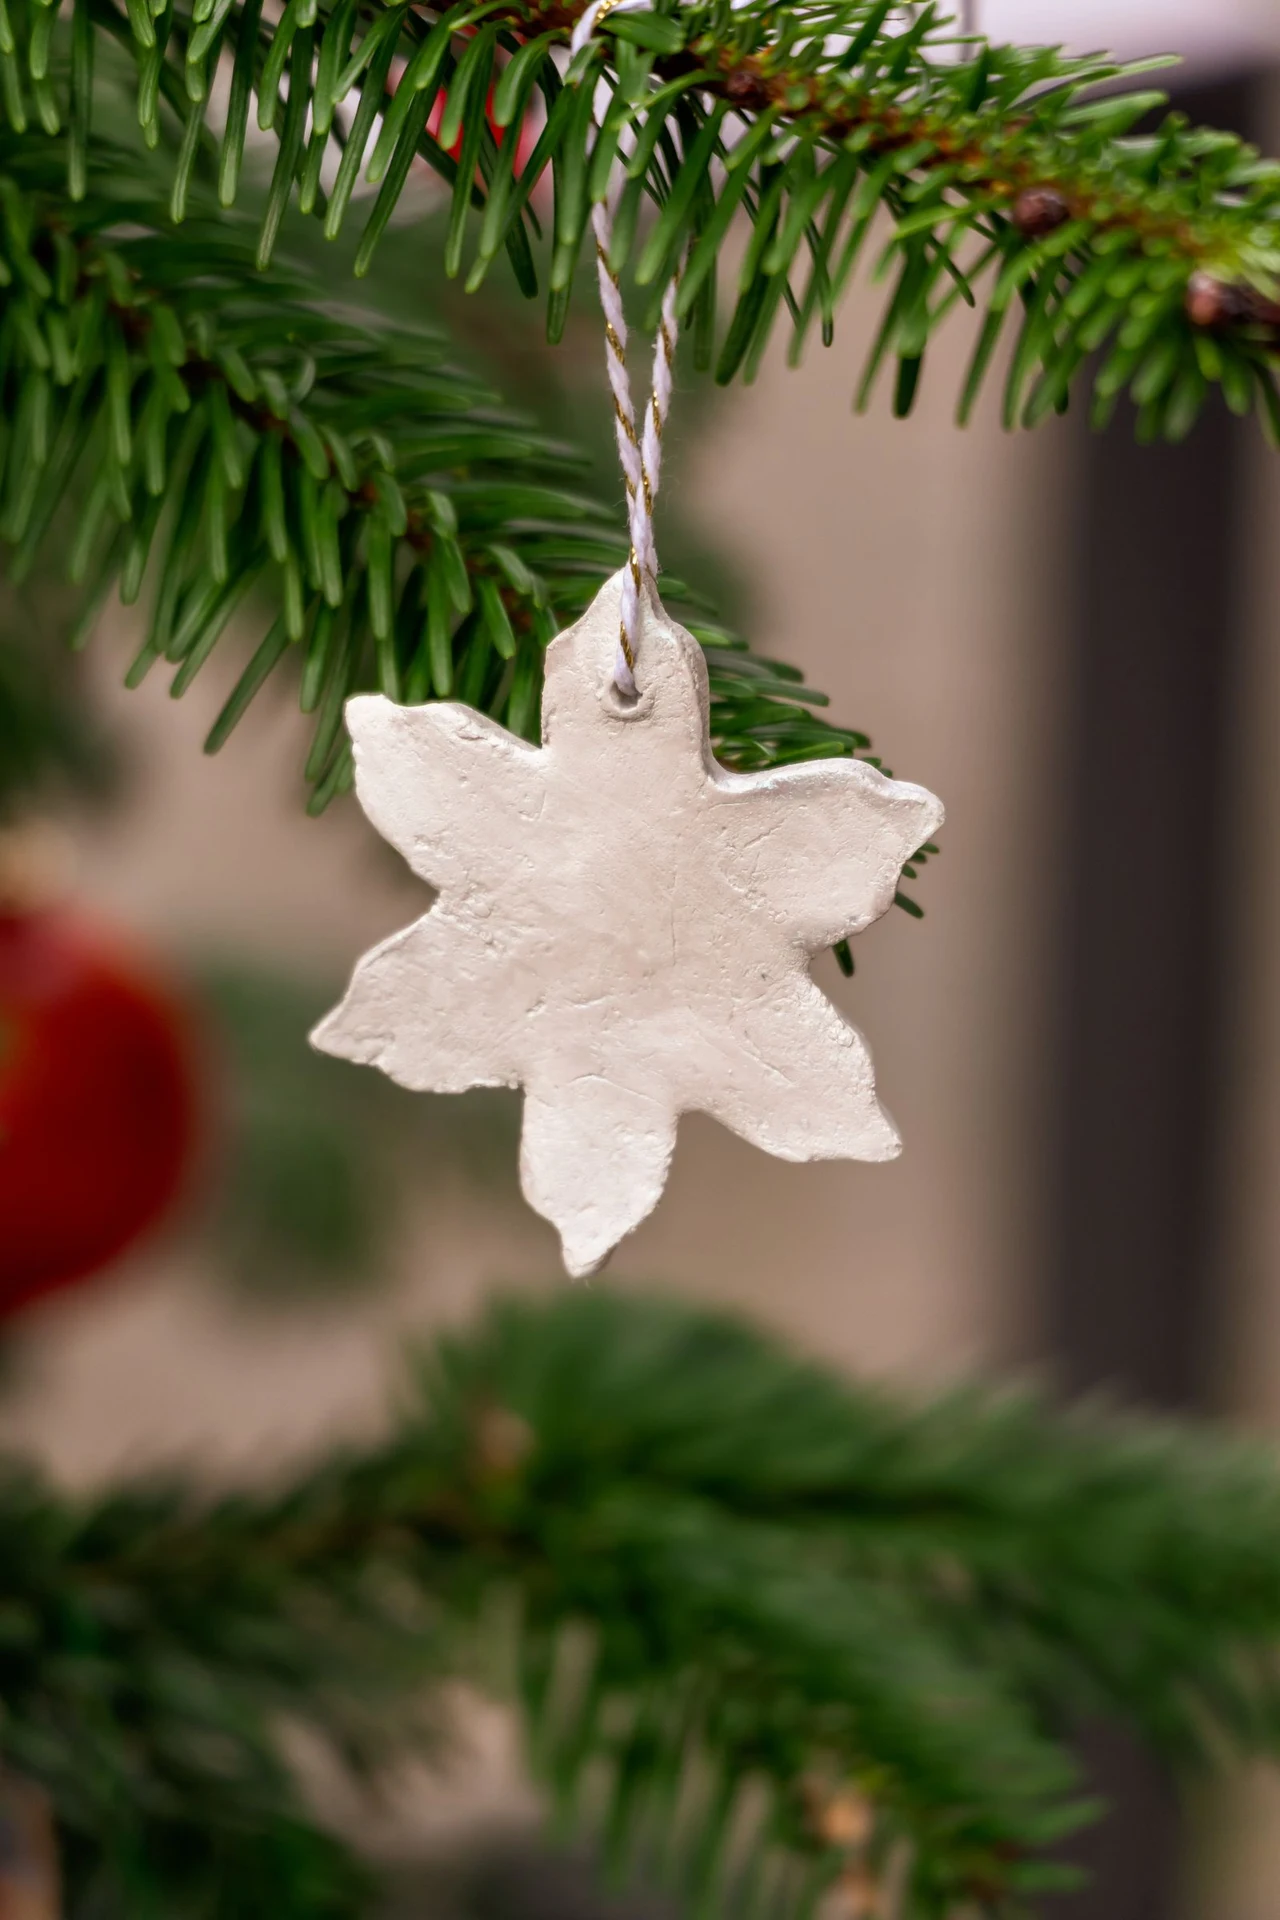
A clay snowflake ornament is a snowflake cut from air-dry clay, painted white, and hung on the tree with a thread. It is the ornament that looks like frost, and the one that costs almost nothing — a packet of clay, a snowflake cutter, and an afternoon.
Roll the clay thin and cut the snowflakes with a cutter, then poke a hole for the thread before the clay dries — a hole poked after drying cracks the ornament. Let them dry for a full day before painting, or the paint will peel.
Tip: Seal the finished snowflakes with a coat of clear varnish, or they will soften in a damp room — and keep them in a dry box, not the attic, over the summer.
14. Wrap Baubles in Yarn
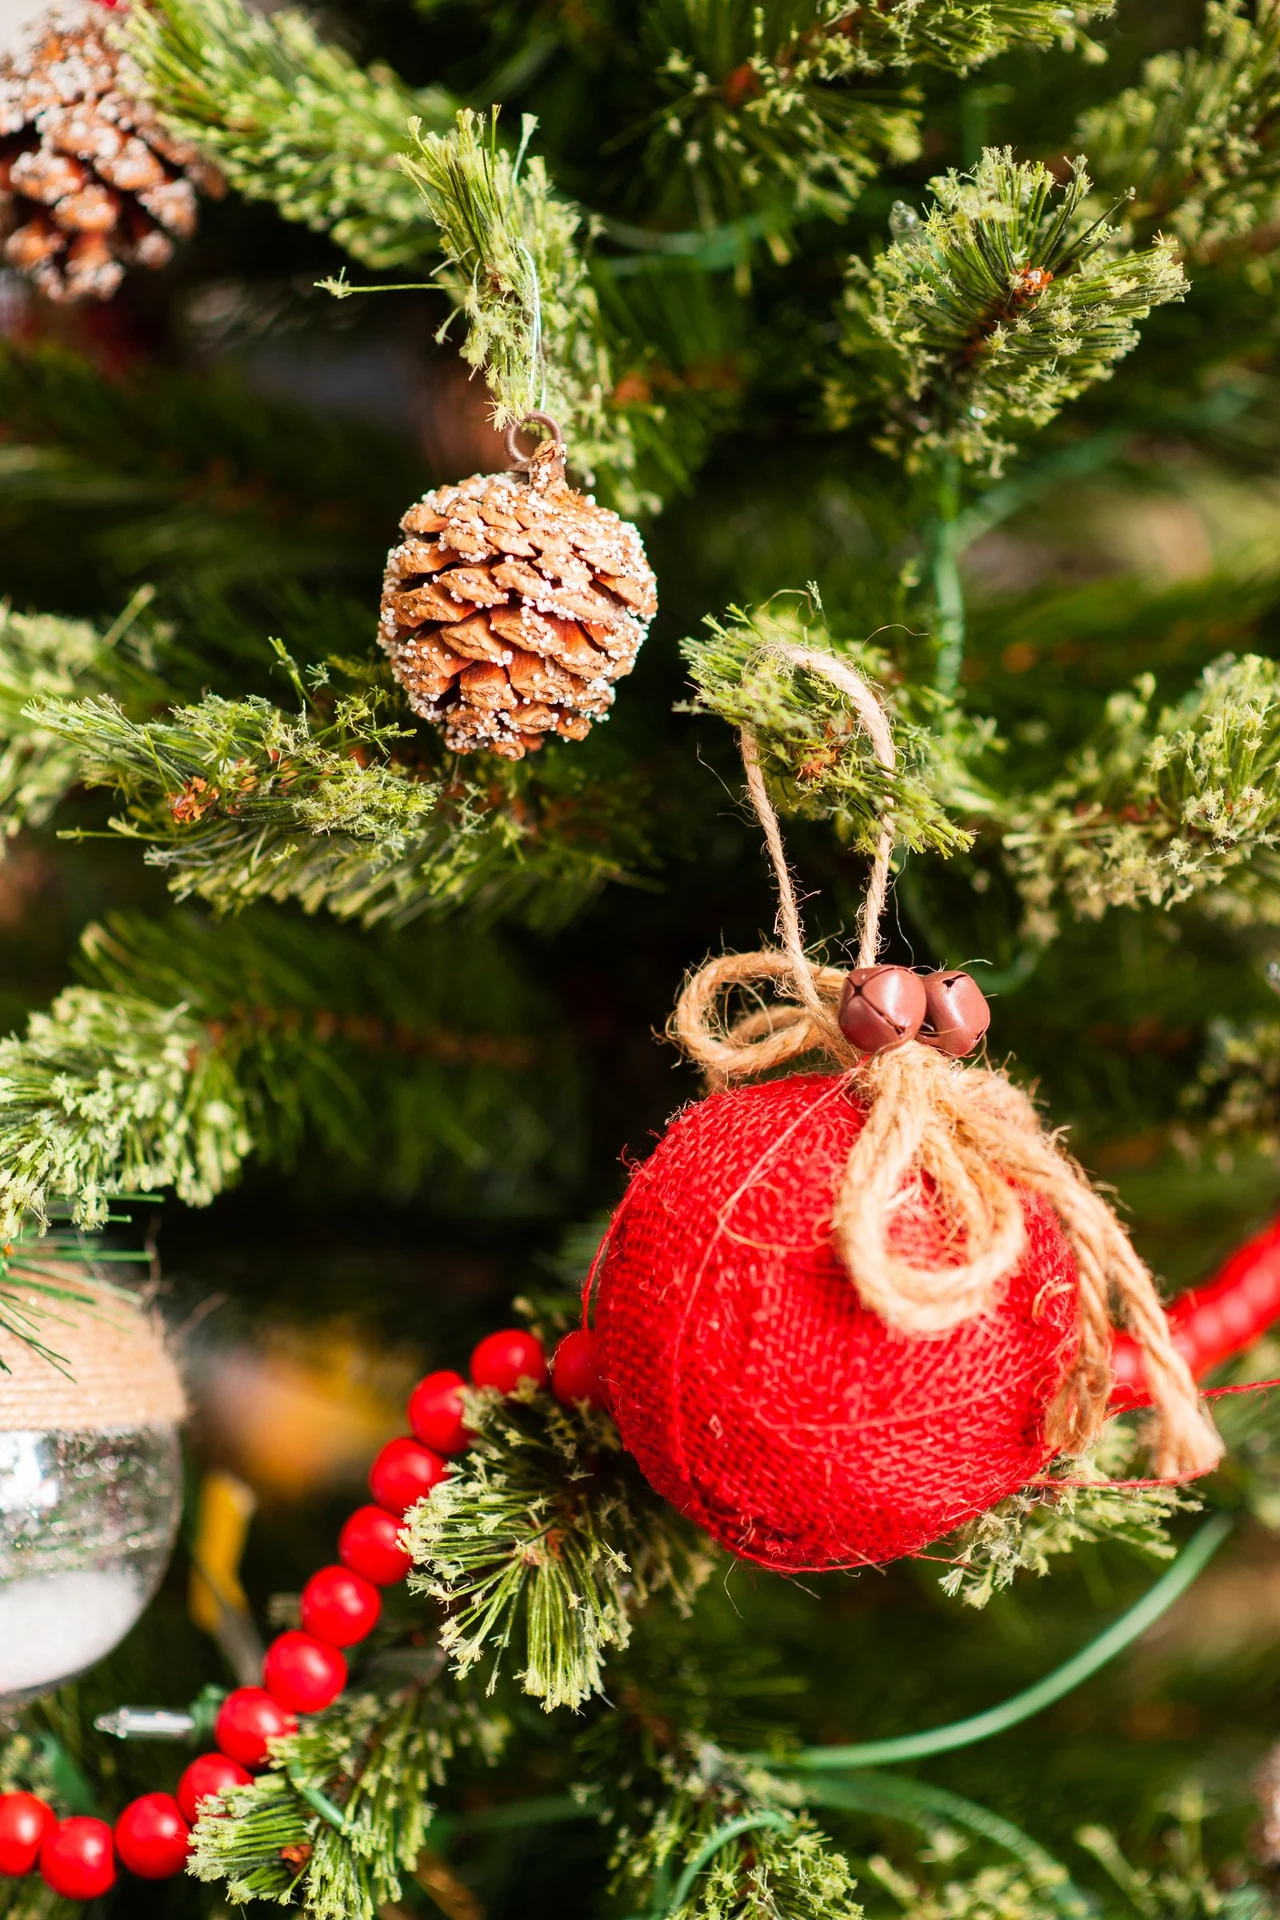
A yarn-wrapped bauble is a plain bauble wound round with yarn: a ball of wool wrapped in a spiral, tied off at the top, so the bauble looks knitted. It is the cosiest ornament on the tree, and the easiest to make in front of the television.
Start at the top and wind the yarn down in a tight spiral, keeping each row touching the last — gaps show the bauble underneath, and a gappy bauble looks unfinished. Glue the first and last rows, and let the middle rows hold themselves by friction.
Tip: Use chunky yarn for a quick result and fine yarn for a neat one — chunky yarn covers a bauble in minutes, and fine yarn takes an evening but looks like knitting.
15. Bake Star Biscuit Ornaments
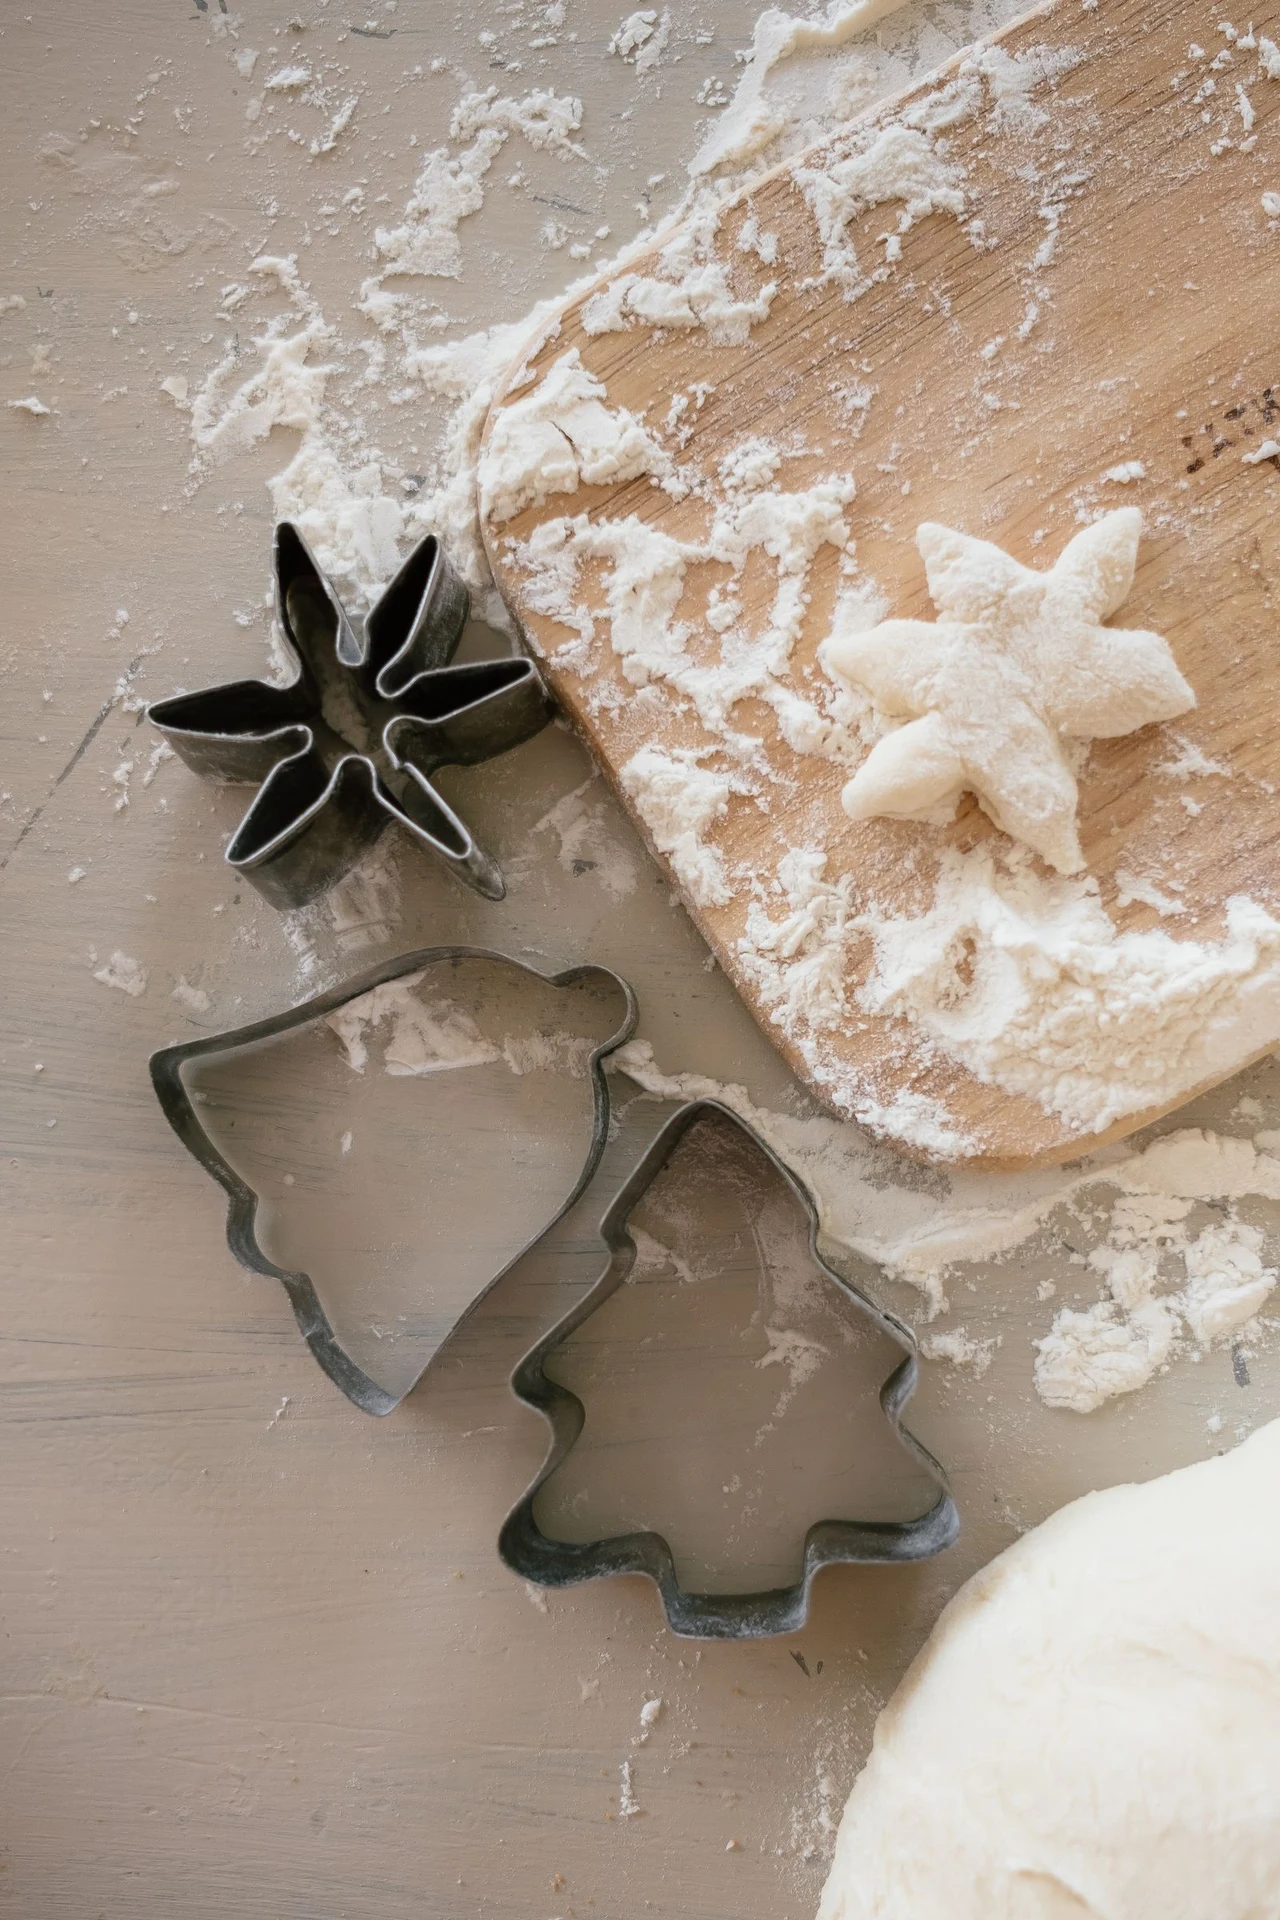
A star biscuit ornament is a biscuit you hang on the tree: a star-shaped shortbread, baked hard, dusted with sugar, and hung with a ribbon through a hole poked before baking. It is the ornament you eat on Boxing Day, which is half the fun.
Bake the biscuits a little longer than you would for eating, so they go hard and dry — a soft biscuit sags on its ribbon, and a hard one hangs straight. Poke the hole before baking, and make it generous, so the ribbon threads easily.
Tip: Hang biscuit ornaments high on the tree, out of reach of small hands and pets — a biscuit ornament at child height lasts about ten minutes.
Keep Reading
Love this look? Keep going with more ideas from Zoraventra:
Frequently Asked Questions
What is the easiest DIY Christmas ornament to make?
A pinecone ornament: a pinecone, a ribbon, and ten minutes. A clay snowflake ornament is the easiest one to make with children, and a felt ornament is the easiest one to make that lasts for years.
How do you make ornaments that do not break?
Use felt, fabric, wood, or yarn — soft materials that bounce rather than shatter. Keep glass baubles for the top of the tree, where nobody reaches, and handmade ornaments lower down.
What do you need to make clay snowflake ornaments?
Air-dry clay, a rolling pin, a snowflake cutter, and white paint. Roll the clay thin, cut the snowflakes, poke a hole for the thread, let them dry for a day, then paint and seal with varnish.
Can children make these ornaments?
Yes — clay snowflakes, paper stars, pinecones and felt ornaments are all safe for children, with an adult handling the oven and the scissors. Felt ornaments need a needle, so they suit older children.
How do you store handmade ornaments?
Wrap each one in tissue paper and store them in a divided box, in a dry place. Never pile handmade ornaments in a bag — felt crushes, clay snowflakes chip, and beaded ornaments tangle.