
You chose white shaker cabinets for a very specific reason: longevity. You are a practical homeowner who wants a clean, beautiful kitchen that will hold its resale value for the next twenty years. You don’t want a loud, trendy design that you will have to tear out in 2029.
But now that the cabinets and your light grey quartz countertops are installed, you are facing a dilemma. You know you want subway tile—it is the ultimate classic—but laying a basic 3×6 white tile in a standard horizontal brick pattern feels a little too safe. It borders on feeling “cookie-cutter” or builder-grade. You want the space to look thoughtfully designed and custom, without sacrificing that timeless appeal.
You don’t need expensive, wildly colored tiles to achieve a custom look. You simply need to change the geometry. Today, we are exploring 9 subway tile backsplash patterns for white shaker cabinets that elevate standard tile into a high-end architectural feature. From herringbone to vertical stacks, let’s find the layout that makes your kitchen unforgettable.
1. The Classic 50% Offset (and the 3×6 vs 4×12 Debate)
The standard 50% offset (the traditional brick pattern) is the baseline of subway tile patterns kitchen design. But if you want to make this classic pattern feel slightly more custom and updated, you need to change the scale of the tile.
This brings us to the great 3×6 vs 4×12 subway tile kitchen debate. A 3×6 tile is the historic, traditional size. However, using an elongated 4×12 tile in a 50% offset requires fewer grout lines. This creates a cleaner, slightly more modern, and less busy aesthetic that pairs beautifully with the simple, straight lines of shaker cabinet doors.
2. The 1/3 Offset (The Subtle Upgrade)
If you choose a longer tile like a 3×12 or a 4×12, laying them in a 50% brick pattern can sometimes cause “lippage” (where the center of one tile bows out slightly past the edge of the tile below it).
To prevent this and add a subtle custom touch, use a 1/3 offset pattern. Instead of centering the tile over the joint below it, you shift it by one-third. It creates a beautiful, cascading diagonal visual effect across the wall. It is an incredibly subtle shift from the standard brick look, but it immediately signals to buyers that a professional designer planned the space.
Skip the messy mortar and recreate this clean look yourself using this [White Peel and Stick Subway Tile Self Adhesive Pack] for a fast, flawless vertical layout.
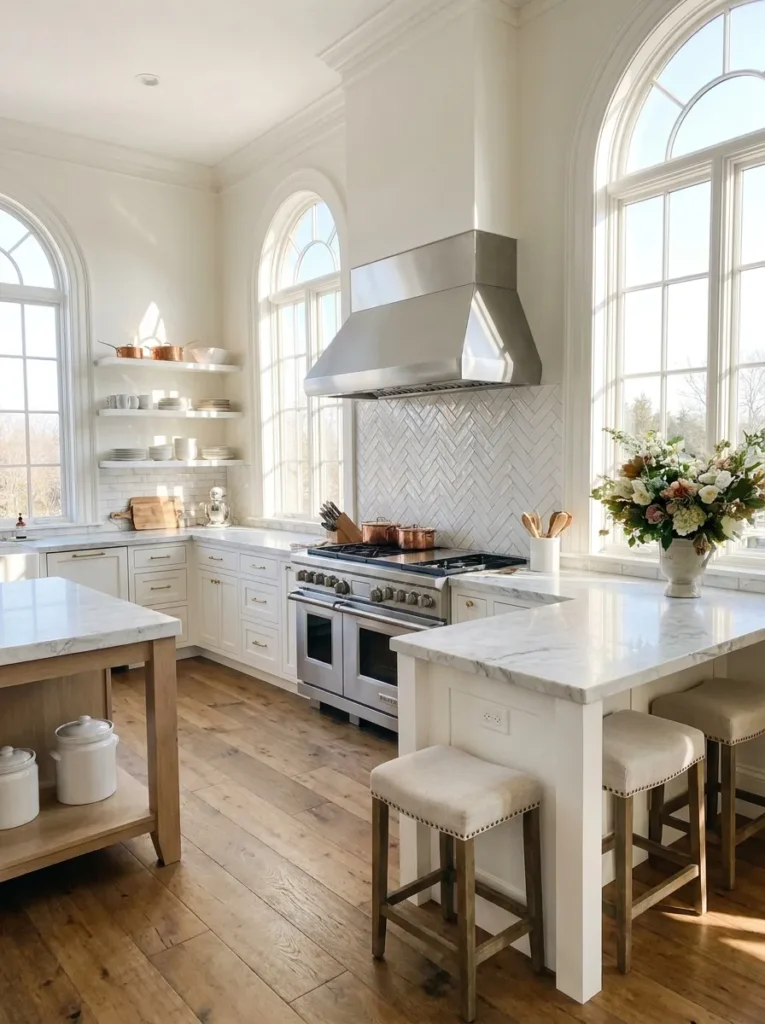
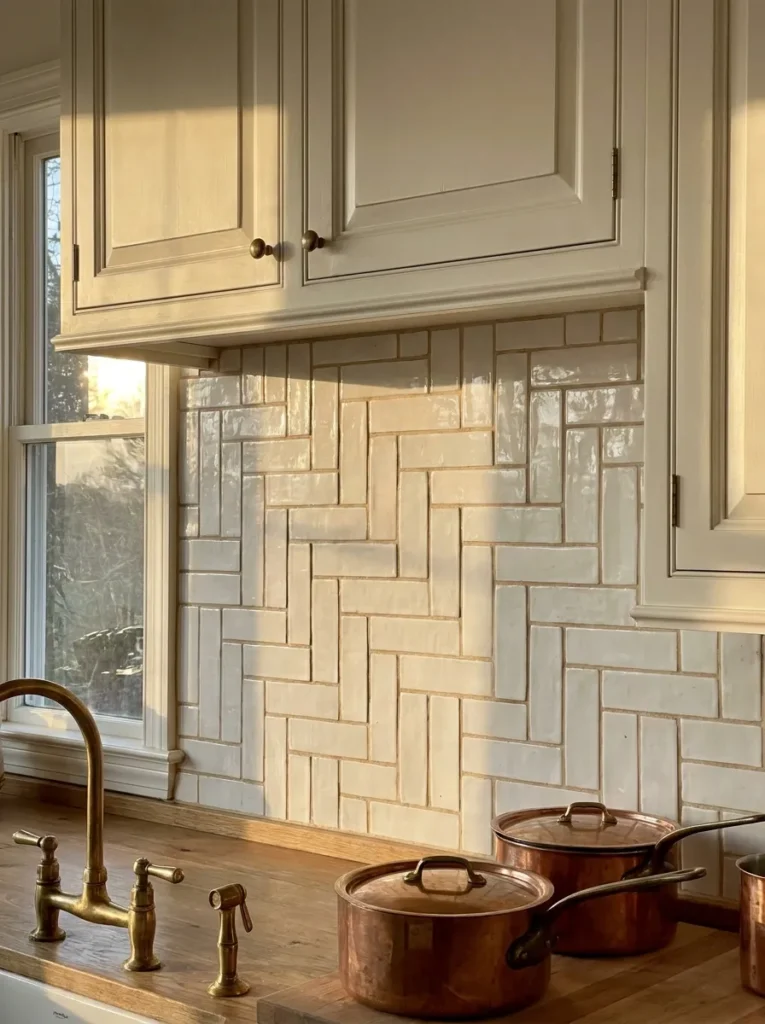
3. The 45-Degree Herringbone Backsplash White Kitchen
If your ultimate goal is high-end resale value, this is your layout. The classic 45-degree herringbone backsplash white kitchen design has been used in European estates for centuries.
The V-shaped zig-zag pattern adds incredible movement and luxury to the kitchen. Because white shaker cabinets are entirely made of rigid horizontal and vertical lines, the diagonal energy of the herringbone pattern provides the perfect sophisticated contrast. It turns a $1-per-square-foot basic white tile into a $15,000 custom look.
To inject that luxurious light bounce into your space on a budget, try this [Glossy Dolomite White Backsplash Tile Peel and Stick] option.
4. The Straight 90-Degree Herringbone
Want the movement of herringbone but prefer a slightly more orderly, structured feel? Rotate the pattern 45 degrees so that the tiles sit perfectly horizontal and vertical, rather than diagonal.
This is known as a straight herringbone or “step ladder” pattern. It marries the classic V-shape interlocking layout with the strict right angles of your white shaker cabinet backsplash. It feels a little more contemporary and transitional while remaining firmly rooted in traditional design.
For an easy floor-to-ceiling DIY, use these [Vamos Peel and Stick Backsplash Seamless Tiles] to get a perfectly smooth, professional finish over large walls.
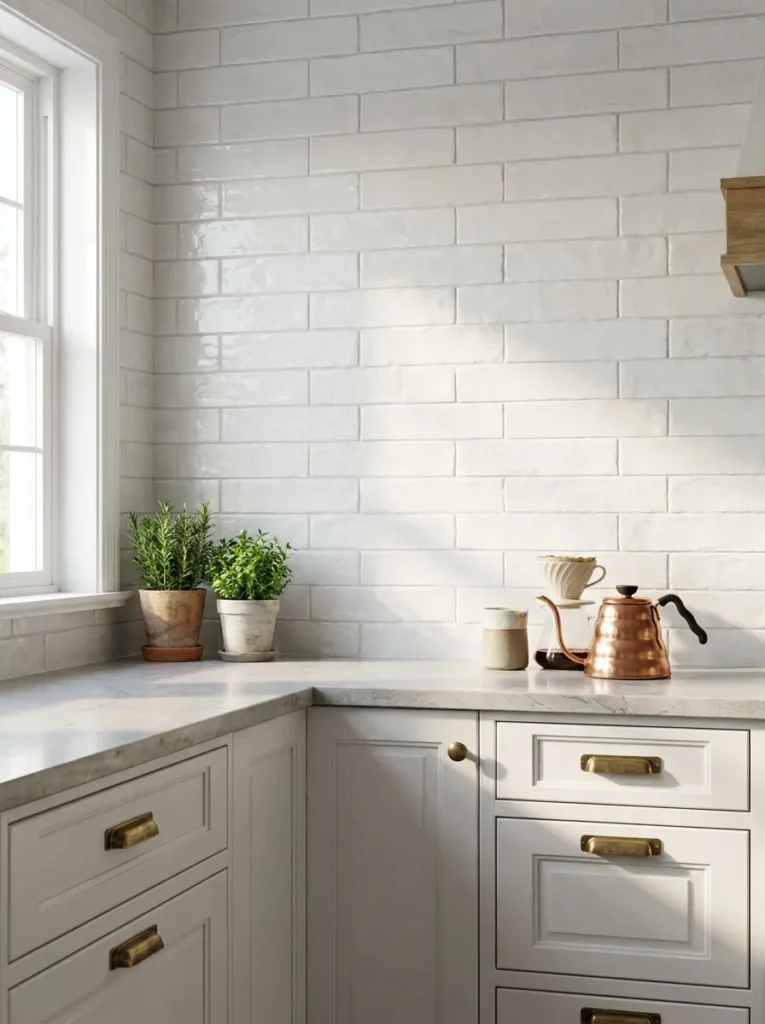
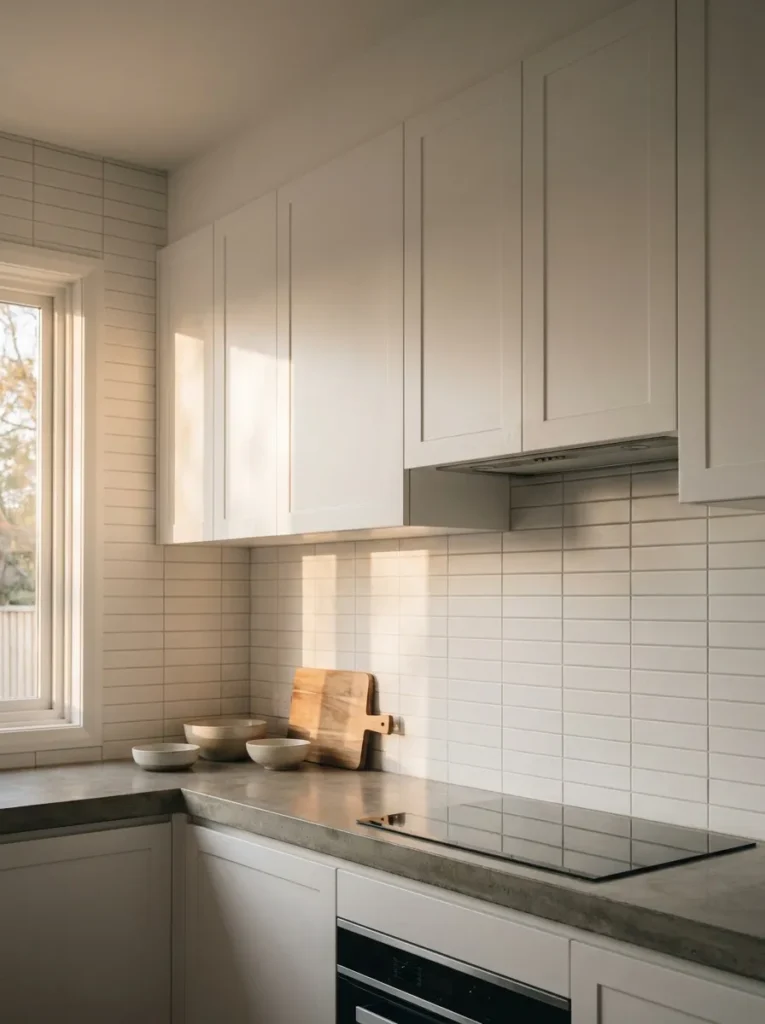
5. Horizontal Stacked (The Clean Grid)
If your home leans slightly more modern, mid-century, or Scandinavian, the traditional brick lay might feel too fussy.
Lay your subway tiles in a straight horizontal stack, where all the grout lines match up perfectly in a grid. This layout mirrors the exact square, recessed paneling of your shaker cabinet doors. It is a highly organized, visually calming pattern that looks intentional, minimalist, and incredibly clean.
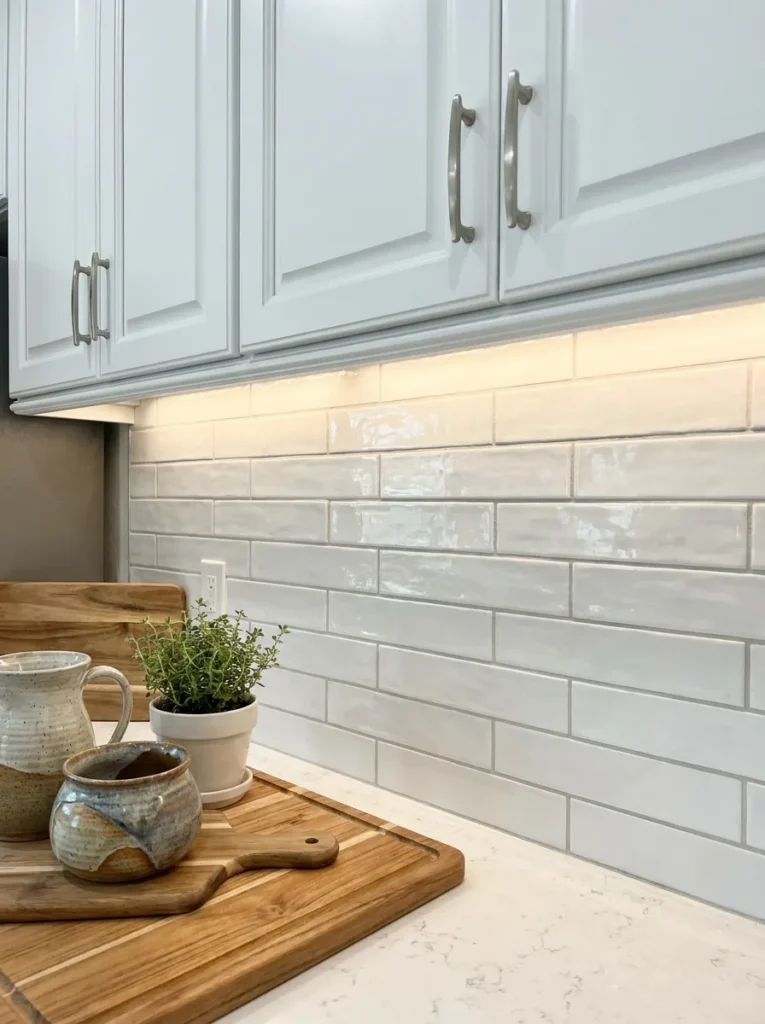
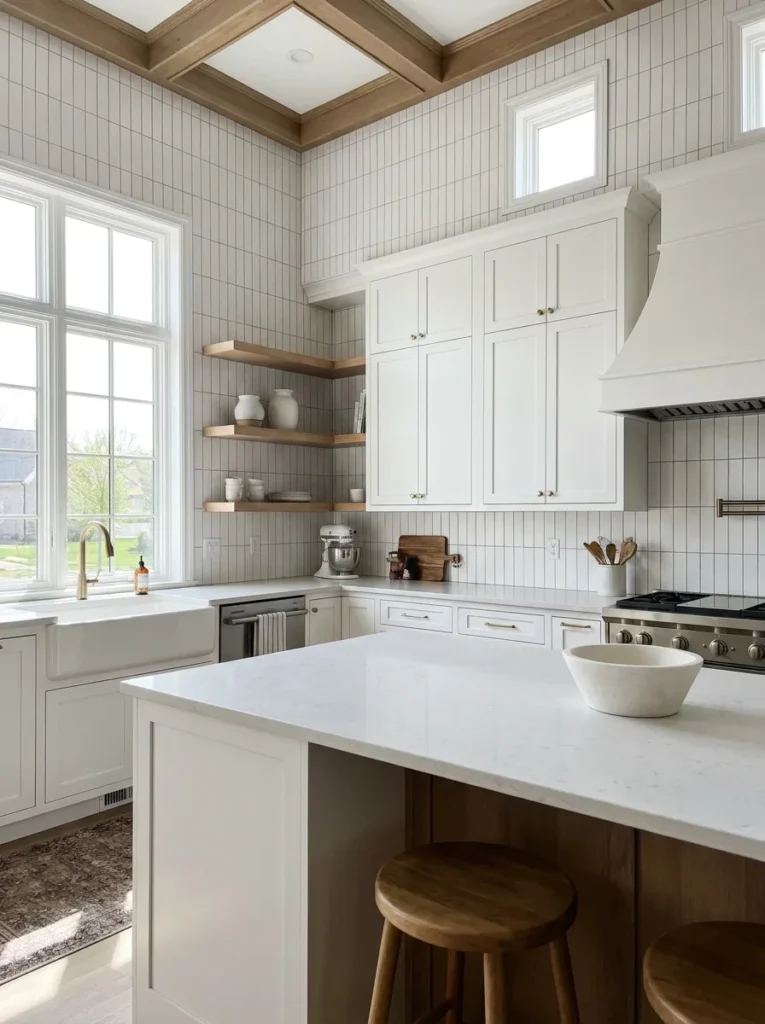
6. Vertical Subway Tile Kitchen (The Ceiling Lifter)
Do you have standard 8-foot ceilings? The best way to make your kitchen feel taller is to draw the eye upward using vertical lines.
A vertical subway tile kitchen layout (stacking the tiles straight up and down in neat columns) is currently very popular in transitional design, but it is deeply practical. By shifting the orientation 90 degrees, you instantly give the illusion of a higher ceiling and taller upper cabinets, making the entire room feel airier and more expansive.
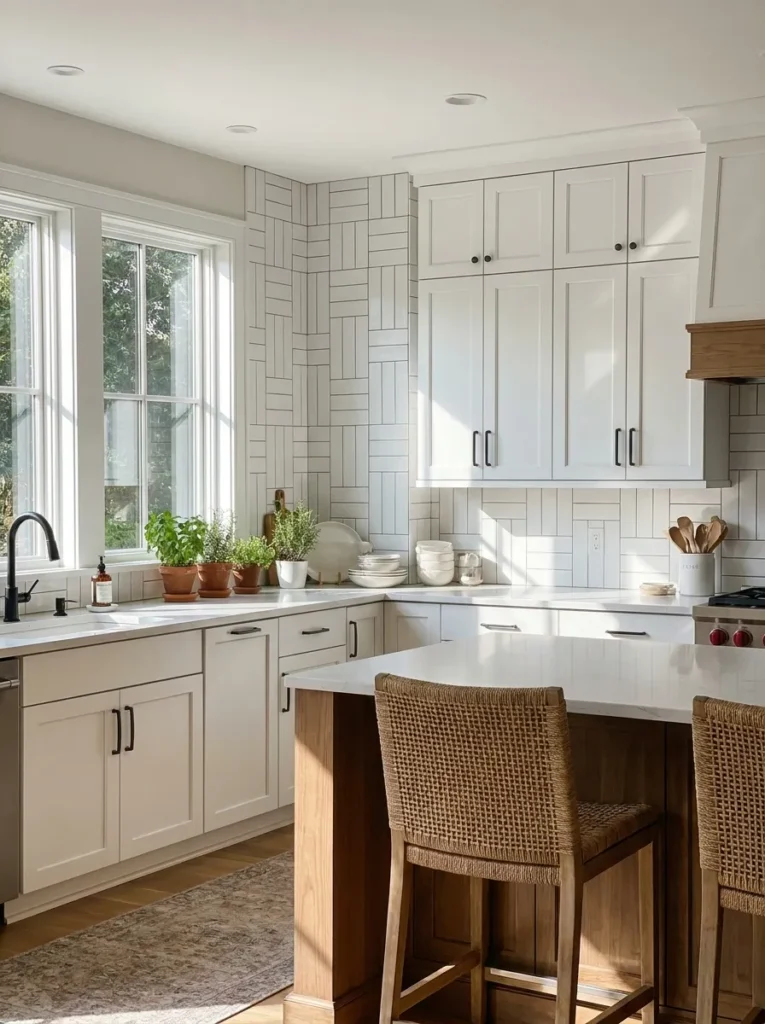
7. Vertical Staggered (The Woven Illusion)
If a straight vertical stack feels a little too rigid or modern for your taste, you can soften it by staggering the joints.
Turn the tile vertically, but lay them in a standard 50% or 1/3 offset. This creates an effect that looks almost woven, like a basket or a heavy textile. It is a fantastic option for classic white kitchen tile ideas because it respects the traditional brick-lay rule, but spins it just enough to make guests ask, “Wow, who did your tile?”
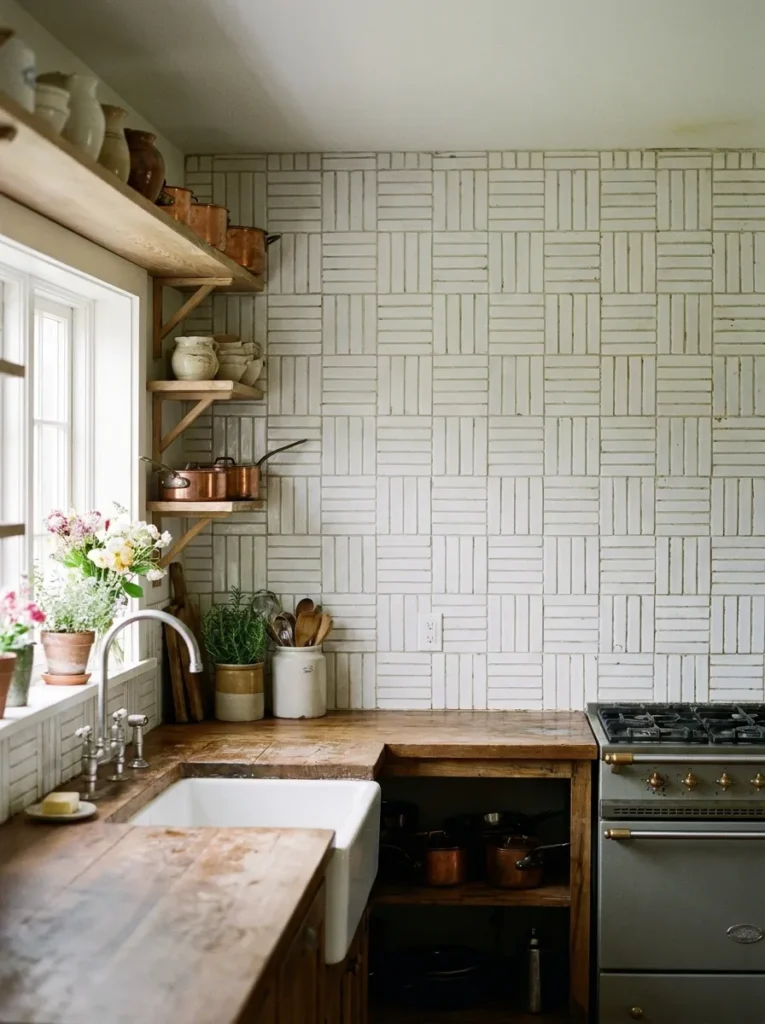
8. The Crosshatch (Basketweave) Pattern
For a truly historic or cottage-style feel, the crosshatch pattern is an incredible choice.
This pattern groups two or three tiles together horizontally, and then alternates with two or three tiles placed vertically, creating a woven square grid. When used as a backsplash, it adds massive textural interest and a subtle vintage charm. It is one of those rare timeless kitchen backsplash ideas that feels heavily customized but utilizes the most basic, affordable materials.
9. Subway Tile Grout Color Ideas: The Make or Break Decision
You can choose the most beautiful pattern in the world, but your choice of grout color will completely alter how it looks. When exploring subway tile grout color ideas, you have three distinct paths that drastically change your white kitchen’s aesthetic.
- Crisp White Grout: The tiles blend together into a seamless, highly subtle texture. The pattern (even herringbone) becomes a quiet whisper. This is the safest choice for resale.
- Soft Light Grey Grout: This is the designer sweet spot. A soft silver or platinum grey outlines each individual tile, highlighting your custom layout (like a vertical stack or 1/3 offset) without overwhelming the room. It also hides cooking stains much better than white.
- Dark Charcoal Grout: This creates high contrast and a slightly industrial, graphic look. It makes the grout lines the star of the show. Use this only with simple patterns (like horizontal stacked or brick); a dark grout on a herringbone pattern can look too busy next to shaker cabinets.

The White Shaker Backsplash Cheat Sheet
| Tile Layout Pattern | Best Vibe / Kitchen Style | The Visual Effect |
| 50% Brick (4×12) | Classic, Traditional, Safe | Timeless and clean with fewer grout lines |
| 1/3 Offset | Transitional, Thoughtful | A subtle, cascading custom upgrade |
| 45° Herringbone | Luxury, High-End, Formal | Adds dynamic diagonal movement and elegance |
| Horizontal Stack | Modern, Minimalist, Scandi | Calming, structured, matches cabinet squares |
| Vertical Stack | Contemporary, Airy | Visually lifts the ceiling height |
| Crosshatch | Cottage, Vintage, Historic | Adds woven texture and old-world charm |
Final Thoughts
Your white shaker cabinets are the perfect timeless foundation for your kitchen. You do not need to take massive risks with wild colors or trendy shaped tiles to make the space feel custom.
By simply turning a standard, budget-friendly white subway tile on its side into a vertical stack, or angling it into a luxurious herringbone, you can create a high-end, tailored look. Pair your chosen pattern with a soft, light grey grout to perfectly highlight the geometry, and you will have a stunning, classic kitchen that looks beautiful today and will easily sell your home twenty years from now.
Happy remodeling!
Affiliate Disclosure: As an Amazon Associate, I earn from qualifying purchases. This means if you click on my links and make a purchase, I may receive a small commission at no extra cost to you. Thank you for supporting my content!


Pingback: 8 Backsplash Ideas for Dark Cabinet Kitchen Layouts to Brighten Your Space - zoraventra.com